Page updated: 14 June 2026
Create a Custom Brush for light rays in Photoshop
This tutorial will show you how to create a custom brush in Photoshop.
This brush is used in the tutorial to create realistic light rays in Photoshop, but if you've not used Brush Behaviours before, this is a good introduction to customising brushes and creating brush presets with custom behaviours, that you can reuse.
ON THIS PAGE
1. Select the Brush tool
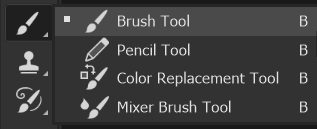
Select the Brush tool from the toolbar. It shares the button with 3 other tools, so the tool that is visible initially will be the last used tool.
2. Open the Brushes Panel
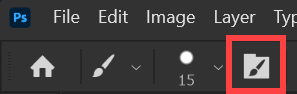
In the Options bar, click on the button highlighted in red to open the Brush Settings Panel.
We will change settings on 3 tabs;
Brush Tip Shape, Shape Dynamics and Scattering.
See the next 3 steps for details.
3. Brush Tip Shape
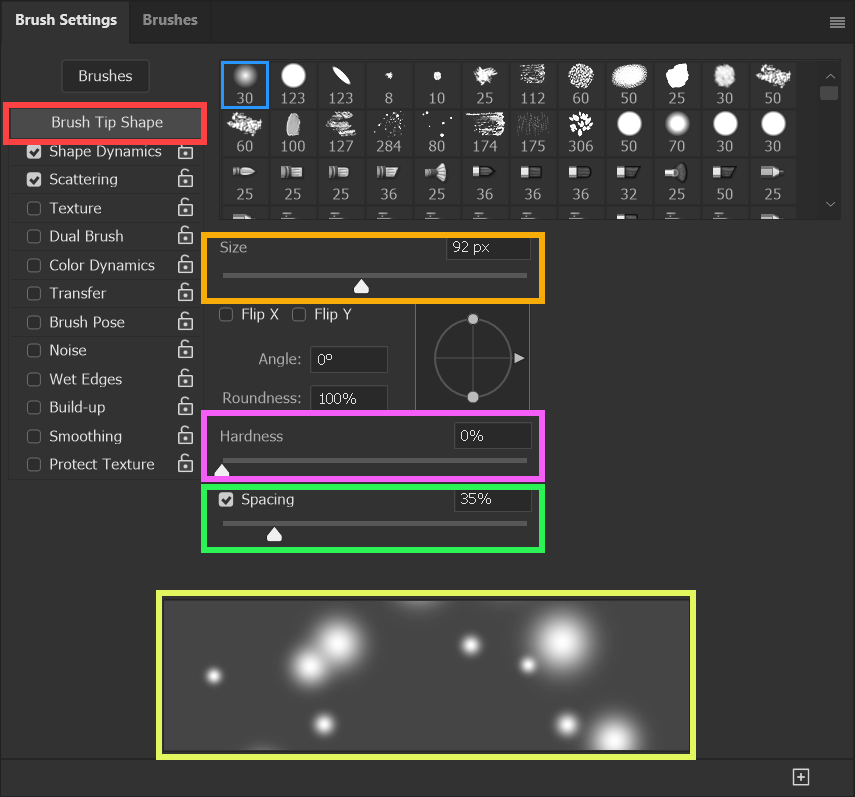
Select Brush Tip Shape (red highlight).
Adjust Size (orange highlight).
Set Hardness to zero (pink highlight)
Adjust Spacing to around 35. You will see a preview (yellow highlight), but note that it won't look the same as mine until you have adjusted Shape Dynamics and Scattering in the next 2 steps.
4. Shape Dynamics
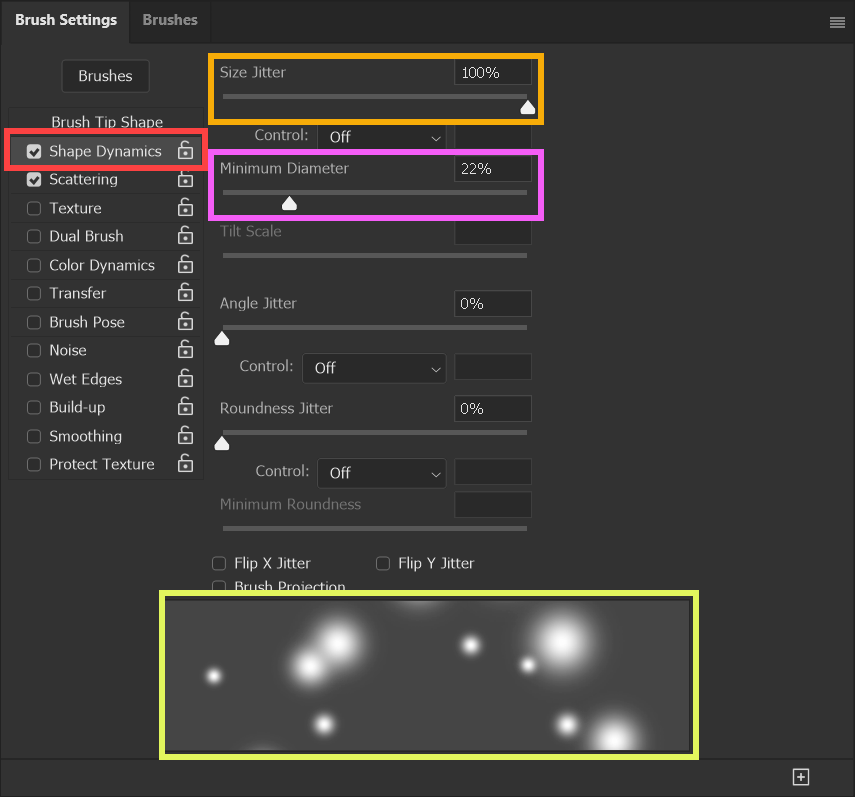
Select Shape Dynamics (red highlight).
Adjust Size Jitter to 100%, maximum (orange highlight).
Adjust Mininum Diameter to around 20-25% (pink highlight).
See the preview (yellow highlight).
5. Brush Scattering
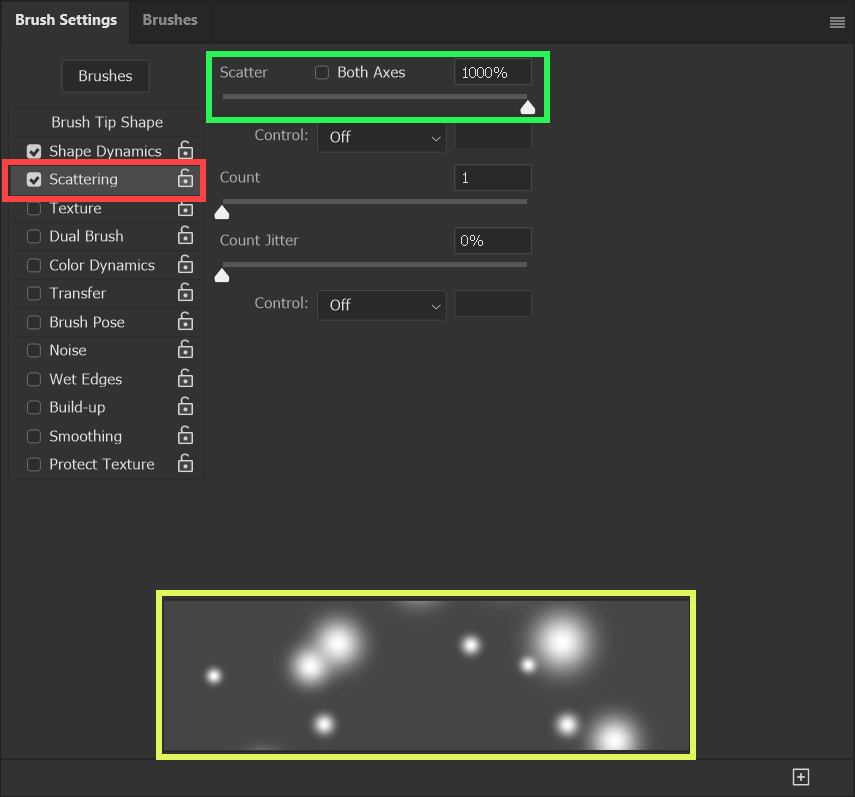
Adjust Scattering to the maximum (green highlight).
See the preview (yellow highlight.
If you need to, return to the other settings to fine tune, to get something similar to the screenshot. Note that it does not have to be very similar. You are just looking to achieve different size dots, randomly placed, while you paint.
6. Save Brush Preset
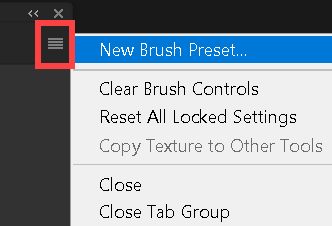
Save the Brush as a Brush preset, so you can use it again.
Click on the menu button (red highlight). This is in the top right corner of the Brush Settings Panel.
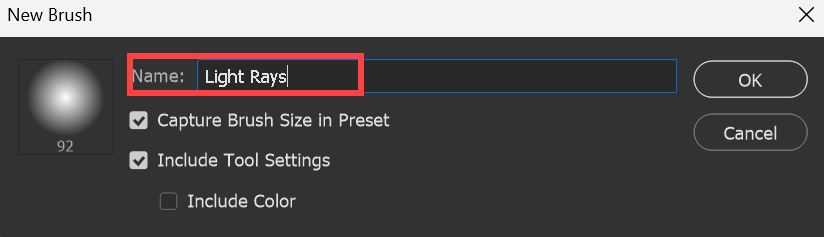
Type a name for your brush.
7. Finding the Brush Preset
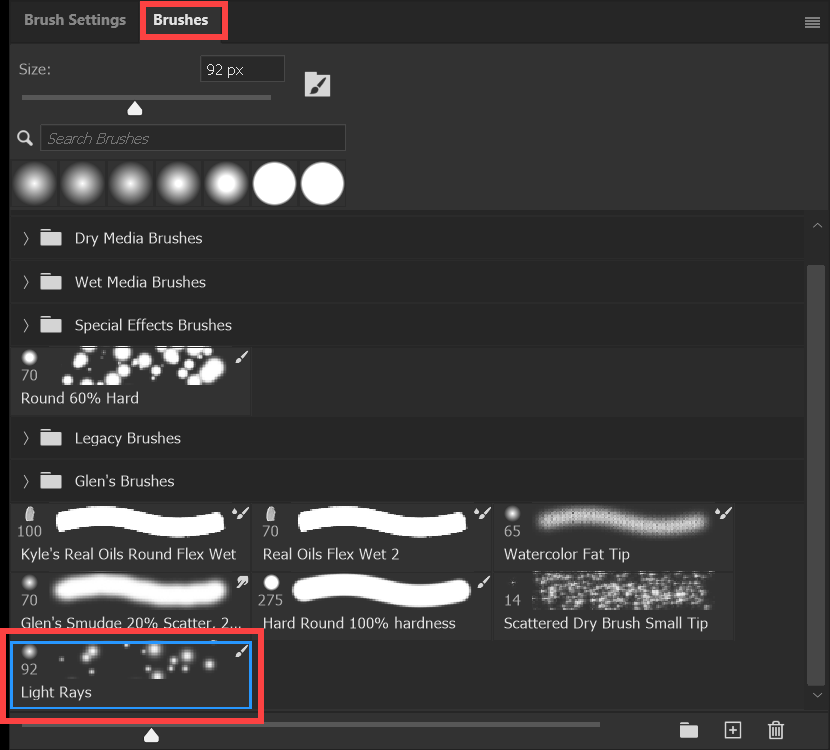
If you want to select the brush in the future, select the Brushes tab and look down towards the bottom of the panel. The brush I just created is highlighted in red.
8. Foreground Color White
Select the black layer.
Ensure Foreground Color is White. The Foreground & Background Colors are towards the bottom of the toolbar, which is usually on the left of the screen.
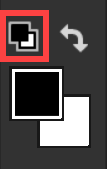
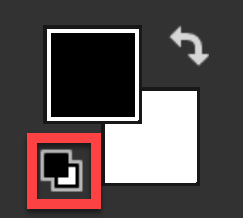
To reset Foreground & Background Colors, press the D key. Or click on the Default Colors button (red highlight on a 1-column and 2 column toolbar). This resets them to black and white. If white is not on top of black, press the X key to switch them.
Foreground & Background Colors are an important and much used tool in Photoshop. It's important you become familiar with them. For more information see Foreground & Background Colors.
9. Paint with the Brush

If you created a custom brush, using the Brush you just created, paint an area in the top middle of the image, on the black layer.
If you skipped creating a custom brush, select the Brush tool and select white as the Foreground color and paint something like what you see here.
Select a round brush and change the hardness to something around 50% hardness.
Vary the brush size. A quick way to change brush size is to use the square brackets keys [ and ]. For more keyboard shortcuts see Keyboard Shortcuts.
For more information about brushes, see Brush Tool.
For the tutorial to create a light beam, see Light Beam tutorial.
