Page updated: 14 July 2026
Develop: Crop and Remove Distractions
A Simple First Step in a Clean Lightroom Edit
In this tutorial, you’ll learn how to strengthen your composition by cropping the image and removing small distractions quickly and cleanly. We’ll use a real‑world beach scene as an example, focusing on simple, practical edits that make an immediate difference.
This tutorial is designed for beginners and anyone who wants a clear, confident start to the editing process before moving on to tonal adjustments and colour correction in Parts 2 and 3.
Before and After in this Tutorial

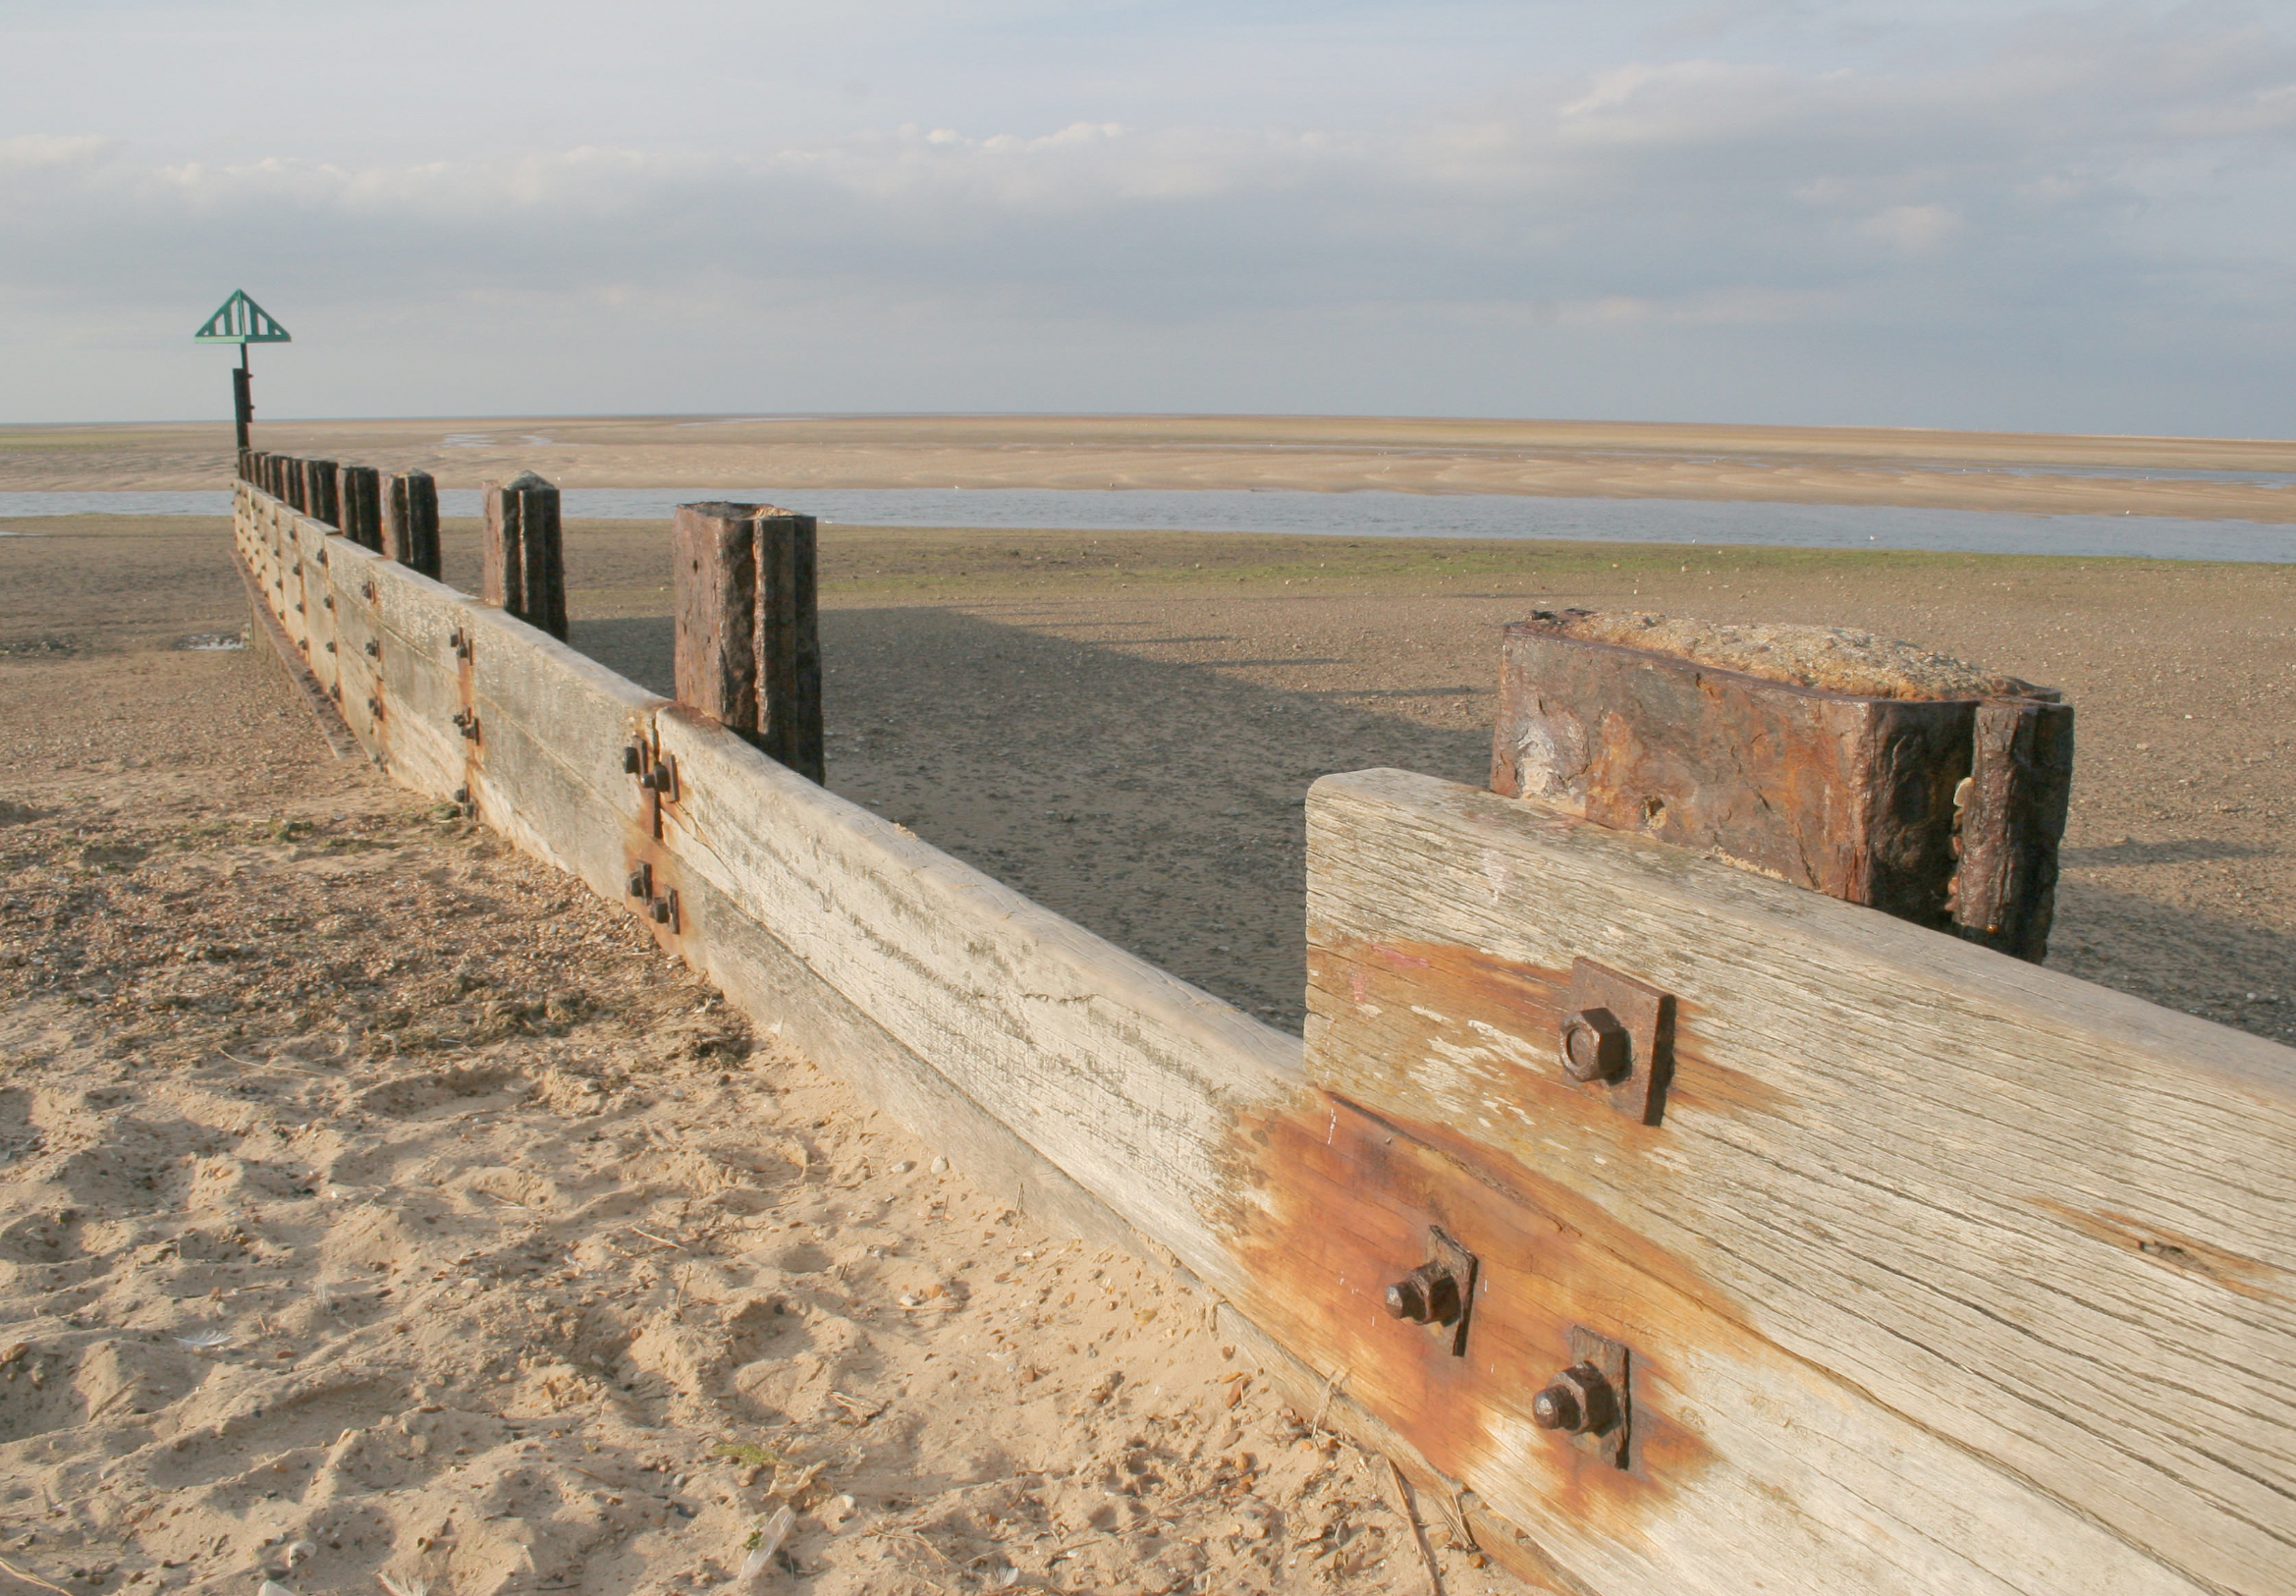
This photo contains small distractions near the left and right edges, and includes a small group of people in the centre. We will remove the edge distractions by cropping and remove the centre distraction using Heal and Clone, so you won't need to spend your credits using AI tools to remove such simple objects. Other tools (not AI) can often provide better quality results than AI.
The Final Image

The original image lacks contrast, contains distractions near the left and right edges, and includes a small group of people in the centre. The final version is cleaner, more balanced and has stronger tonal structure.
1. Crop to Remove Edge Distractions
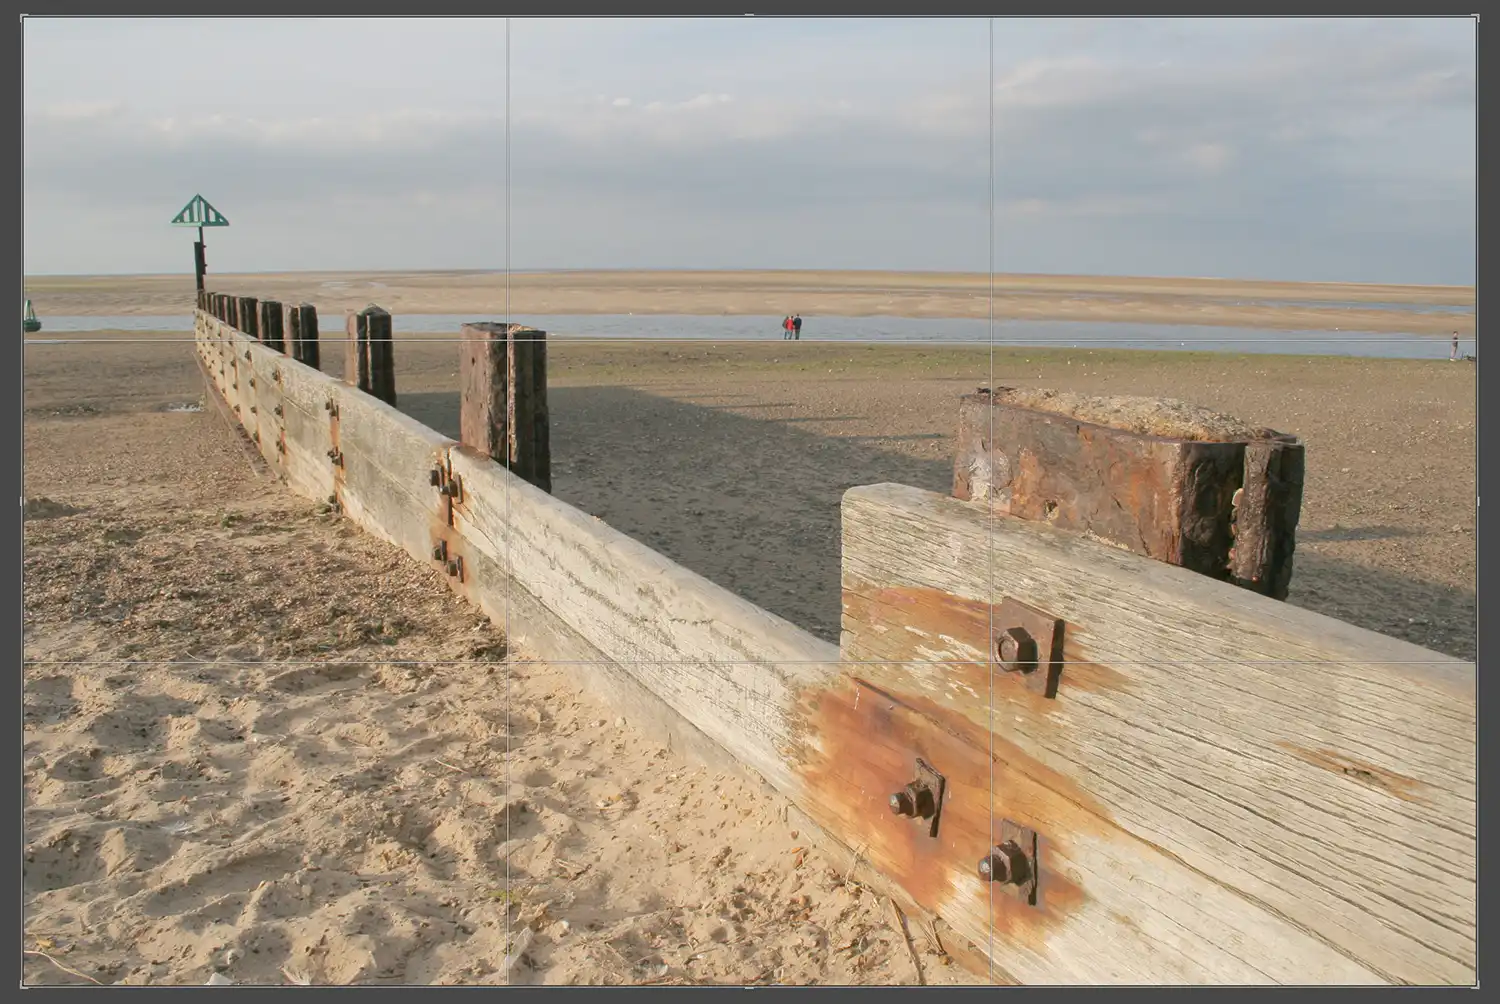
Start by cropping the image to remove distractions at the edges. This is quicker and easier to remove them by cropping and won't weaken the composition. A simple crop tightens the frame and focuses attention on the shoreline and sky.
Use the R key to activate the Crop tool, adjust the frame and press Enter to apply.
This is one of those keyboard shortcuts that is worth learning and using in Lightroom, as you will be using it a lot. If you prefer buttons, it's the one highlighted in red, in the bar that runs below the Histogram and above the Basics panel.

2. Remove Tools

Next, remove the small group of people in the centre of the frame. Lightroom’s Remove tool (or the older Healing tool) handles this quickly and cleanly.
Brush over the people and let Lightroom fill the area automatically. If needed, adjust the source area or refine the edges for a natural result.
This step helps simplify the scene and strengthens the overall composition.
Summary
This simple workflow — crop, remove distractions and adjust tones — is a clean, reliable way to improve almost any image. By tightening the composition, simplifying the scene and making a few careful tonal adjustments, you can create a balanced, natural‑looking edit without overcomplicating the process.
Continue with the Develop Basics tutorial or explore the Lightroom Learning Path to build your editing skills step by step.
