Page updated: 14 June 2026
Customizing the Lightroom Workspace
Lightroom gives you far more control over its workspace than most people realize. Even though you can’t freely move panels like you can in Photoshop, you can streamline the interface by showing or hiding individual panels, collapsing groups with Solo Mode, and using simple shortcuts to clear away everything except the image.
This tutorial focuses on the core tools for managing screen space, which is ideal for laptops and smaller displays where every pixel counts.
If you have a second screen available, Lightroom can take advantage of it to give you even more working space. Using a dual‑monitor setup is one of the simplest ways to boost productivity in both Lightroom and especially Photoshop. I’ll cover Lightroom’s dedicated second‑screen options in a separate tutorial.
There are also many options for customizing the Library module’s Grid View and Loupe View, but those are part of a different workflow. I’ll cover those Library View controls in a separate tutorial so this page stays focused on managing the workspace and panels.
ON THIS PAGE
1. Introduction
Click to view larger
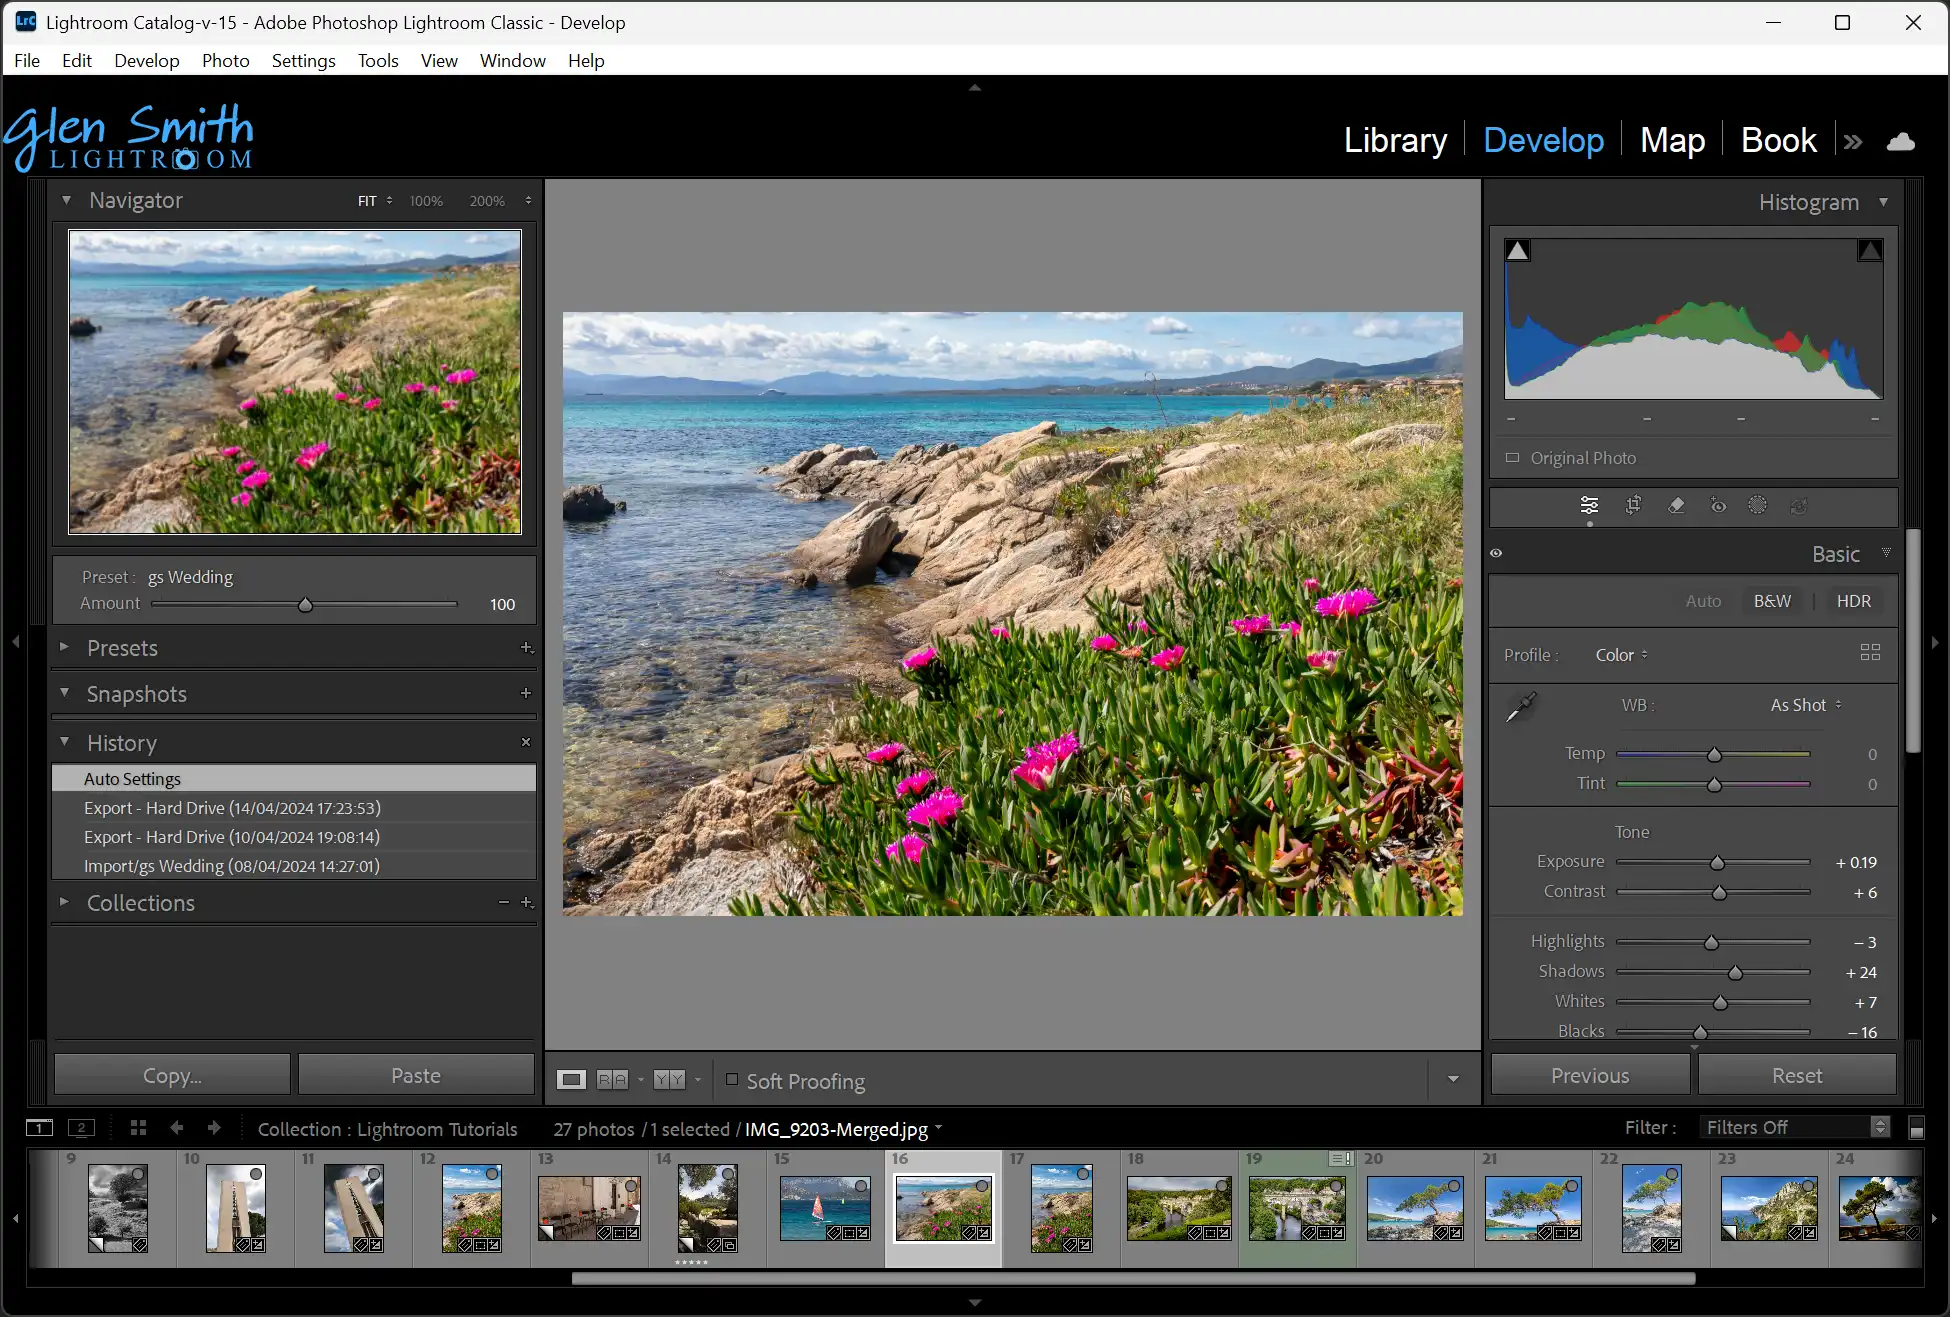
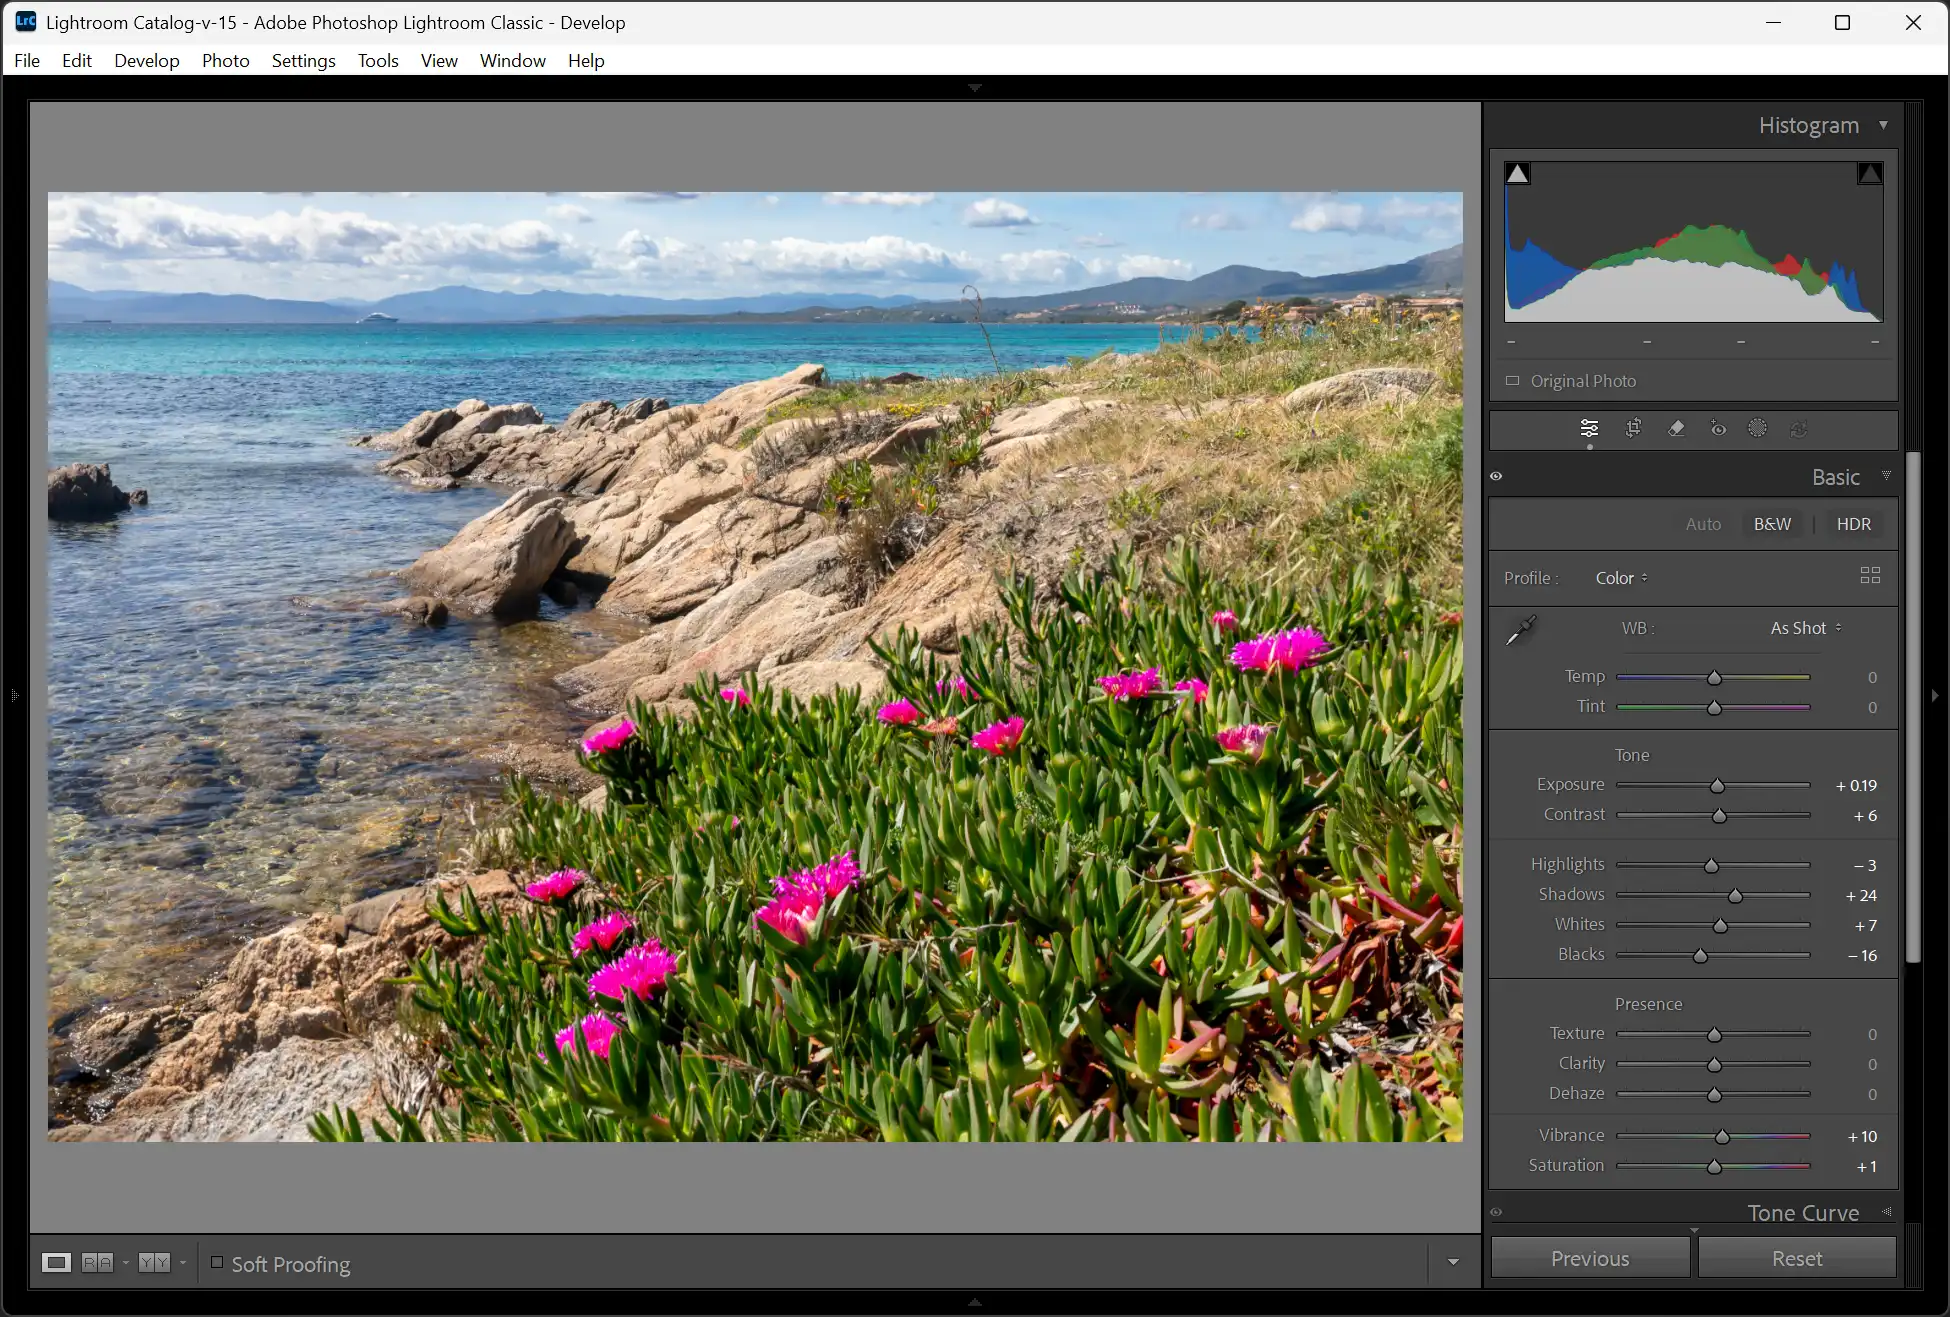
If you have a large screen, such as 32", you can work efficiently with all the Lightroom panels visible. But if you are working on a laptop, or smaller screen, this can be a bit cluttered.
This screenshot shows a screen at around 16", 1920px and there is not much room for the image. In the next steps, we'll look at options for hiding various panels.
2. Show & Hide Panels

Click to view larger
From the menu: Window > Panels. At the bottom of the dropdown menu, see the section highlighted in red. These are the panels at the top, bottom, left and right of the screen;
- F5 Show Module Picker - TOP
- F6 Show Filmstrip - BOTTOM
- F7 Show Left Module Panels - LEFT
- F8 Show Right Module Panels - RIGHT
F5, F6, F7, F8 are the Function keys that open and close the panels.
Click any panel header (such as Basic, Tone Curve or Detail) to expand or collapse it. Click on the small triangle or anywhere in the header. This works in both the left and right panels.
To change panel width, move your mouse to the inside edge of the left or right panel until the cursor changes, then click and drag to resize. There is a minimum width.
The following steps will show the screen with each of these panels hidden. You can hide them in any combination.
3. Top Panel Hidden
Click to view larger
The keyboard shortcut to show and hide the top panel, the Module Picker, is the function key F5.
Or click the small triangle in the header, or click anywhere in the header.
4. Filmstrip (Bottom Panel) Hidden
Click to view larger
The keyboard shortcut to show and hide the top panel, the Module Picker, is the function key F6.
Or click the small triangle in the header, or click anywhere in the header.
5. Left Panel Hidden
Click to view larger
The keyboard shortcut to show and hide the top panel, the Module Picker, is the function key F7.
Or click the small triangle in the header, or click anywhere in the header.
6. Right Panel Hidden
Click to view larger
The keyboard shortcut to show and hide the top panel, the Module Picker, is the function key F8.
Or click the small triangle in the header, or click anywhere in the header.
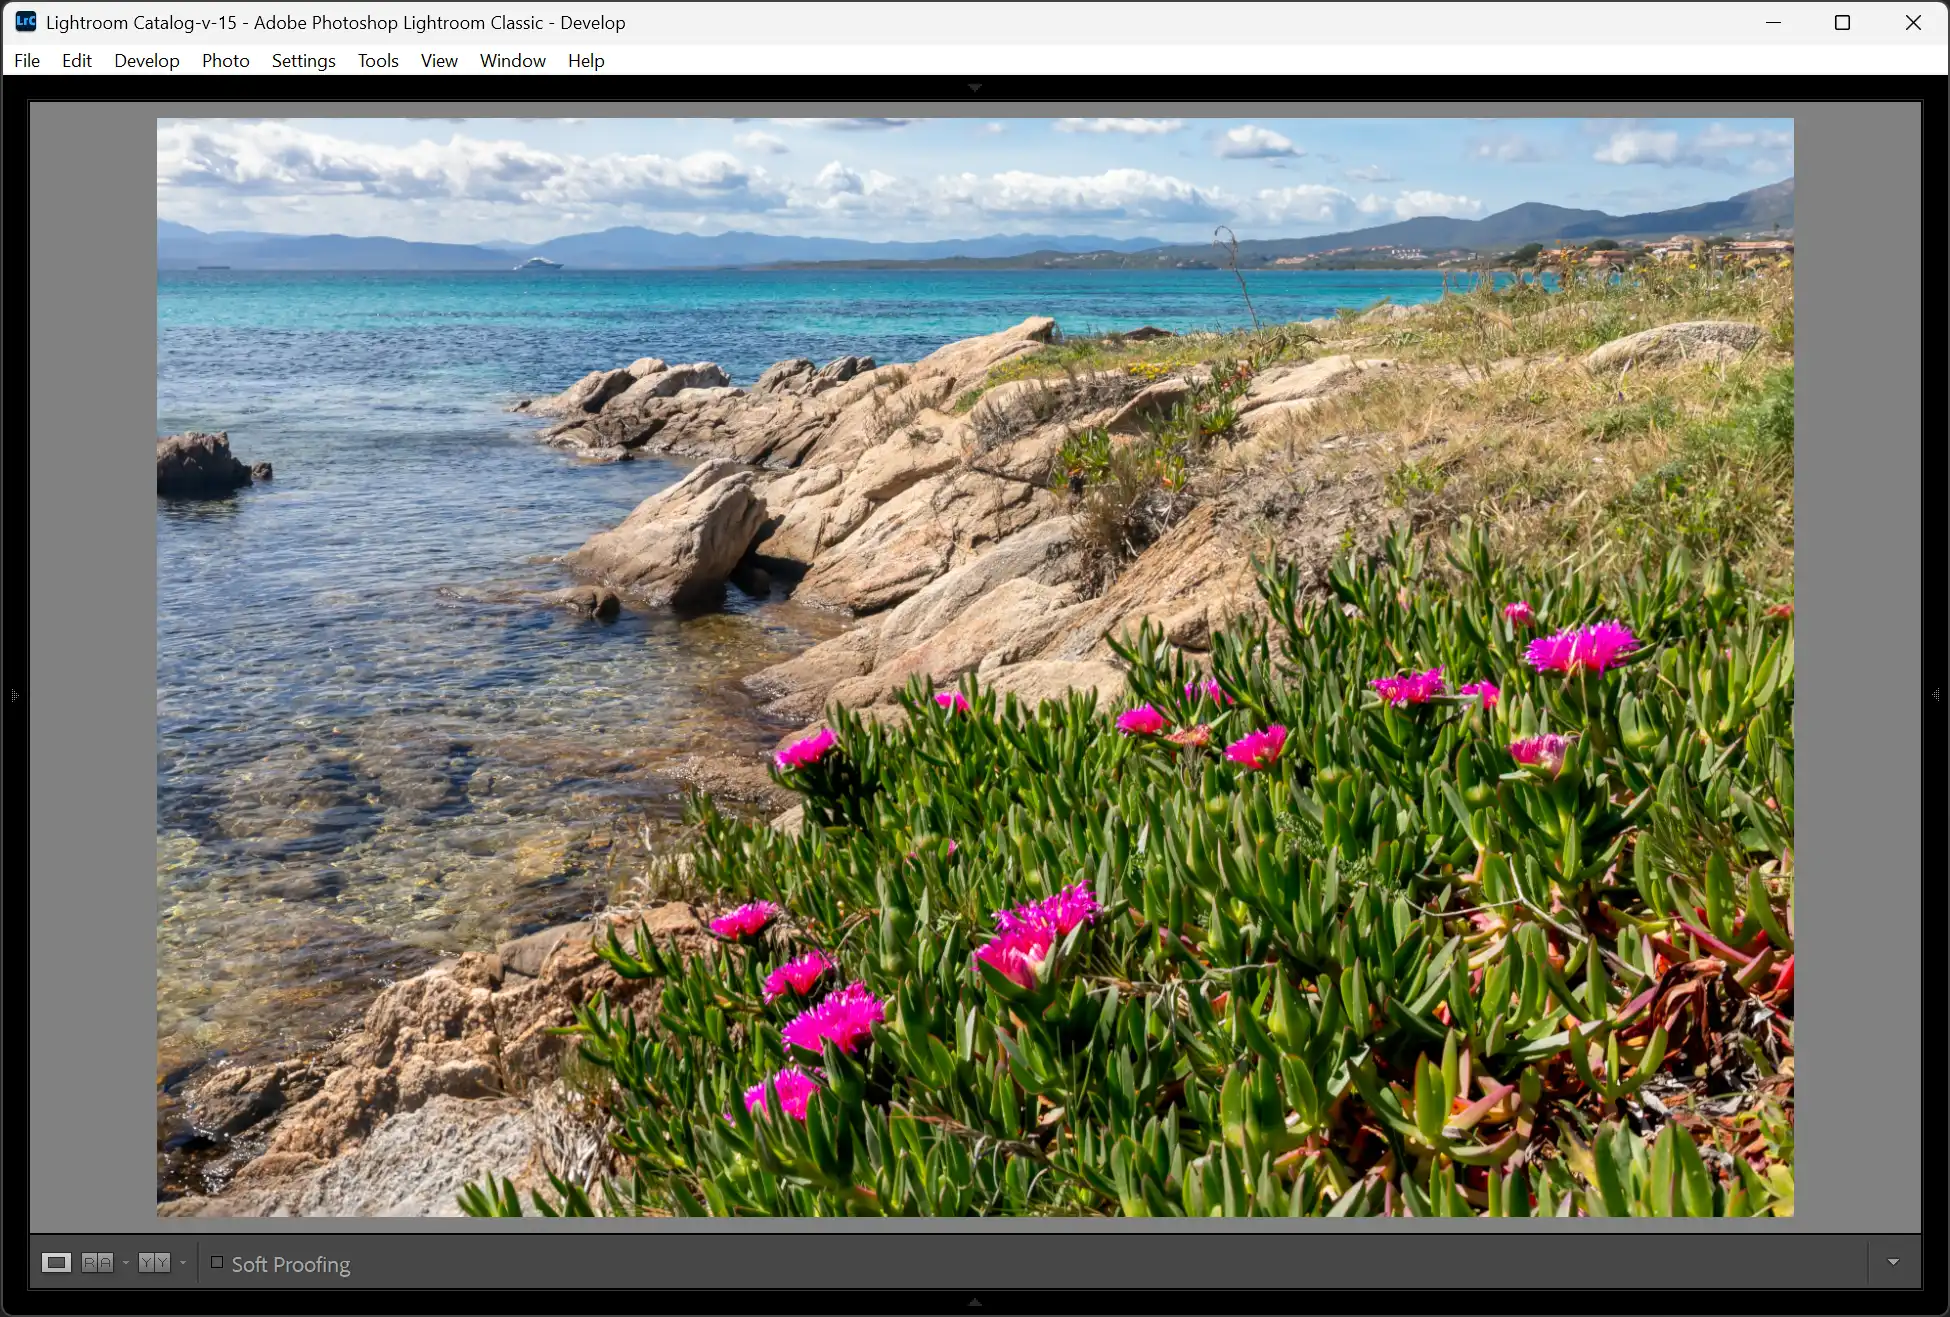
7. Show and Hide All Panels
To quickly hide everything except the image, press the Tab key. This hides all four panels; left, right panels, top and bottom panels.
Press Tab again to bring all the panels back. This is useful when you want to focus on the image without permanently changing your layout.
8. Showing Modules
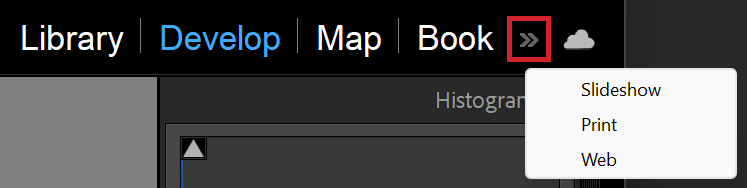
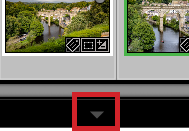
On large screens the modules are all displayed, but on smaller screens, some may be hidden. Click on the double chevron to show the other modules.
9. Solo Mode for Panels
Click to view larger
Click to view larger
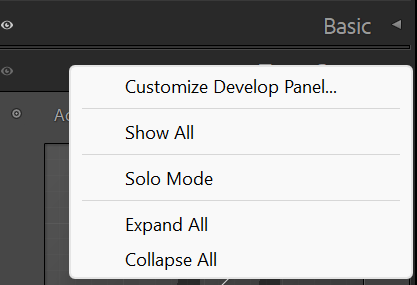
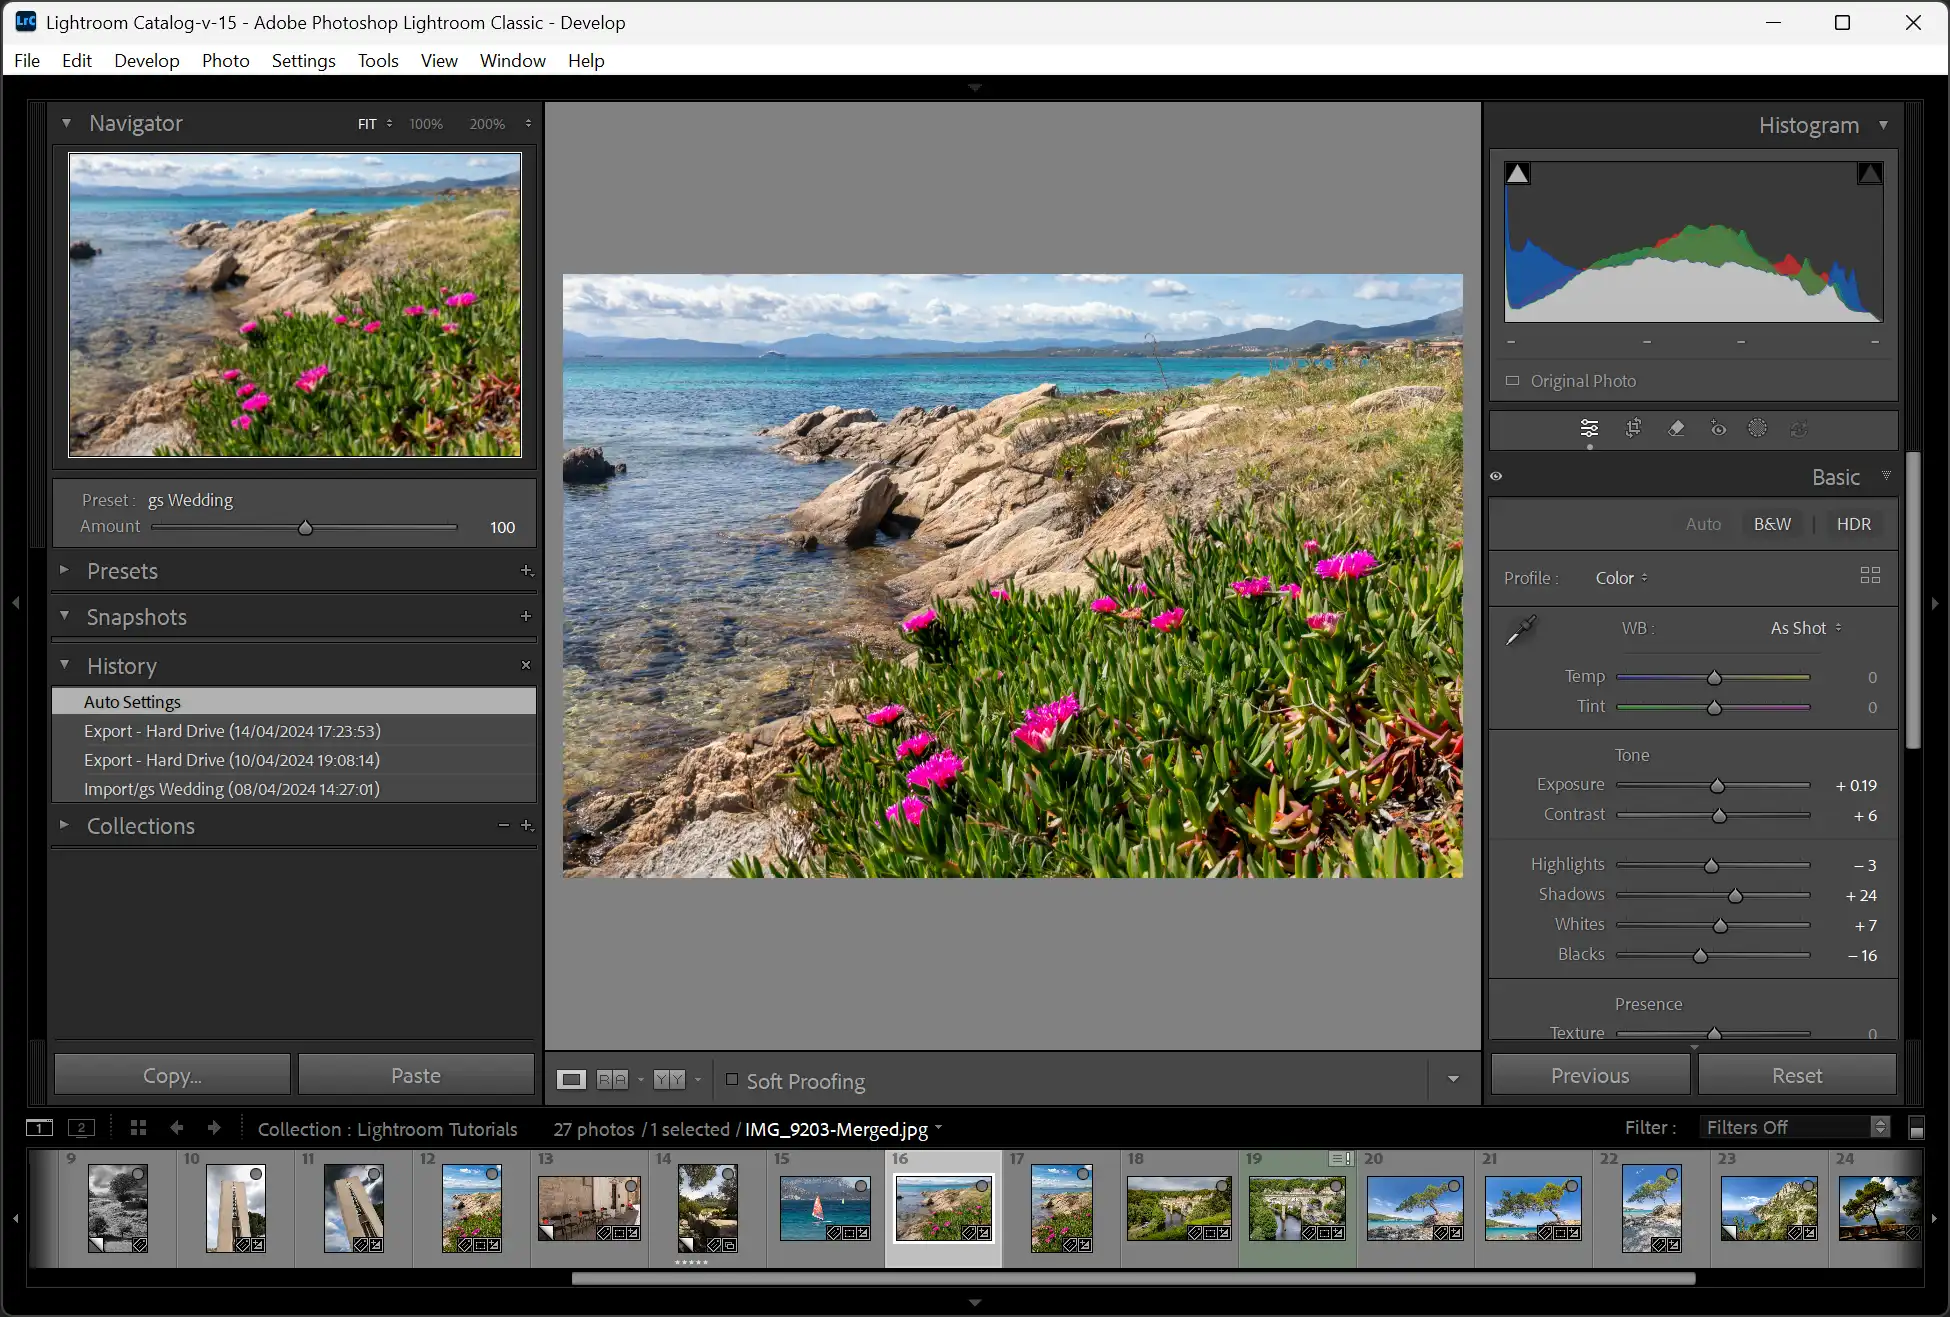
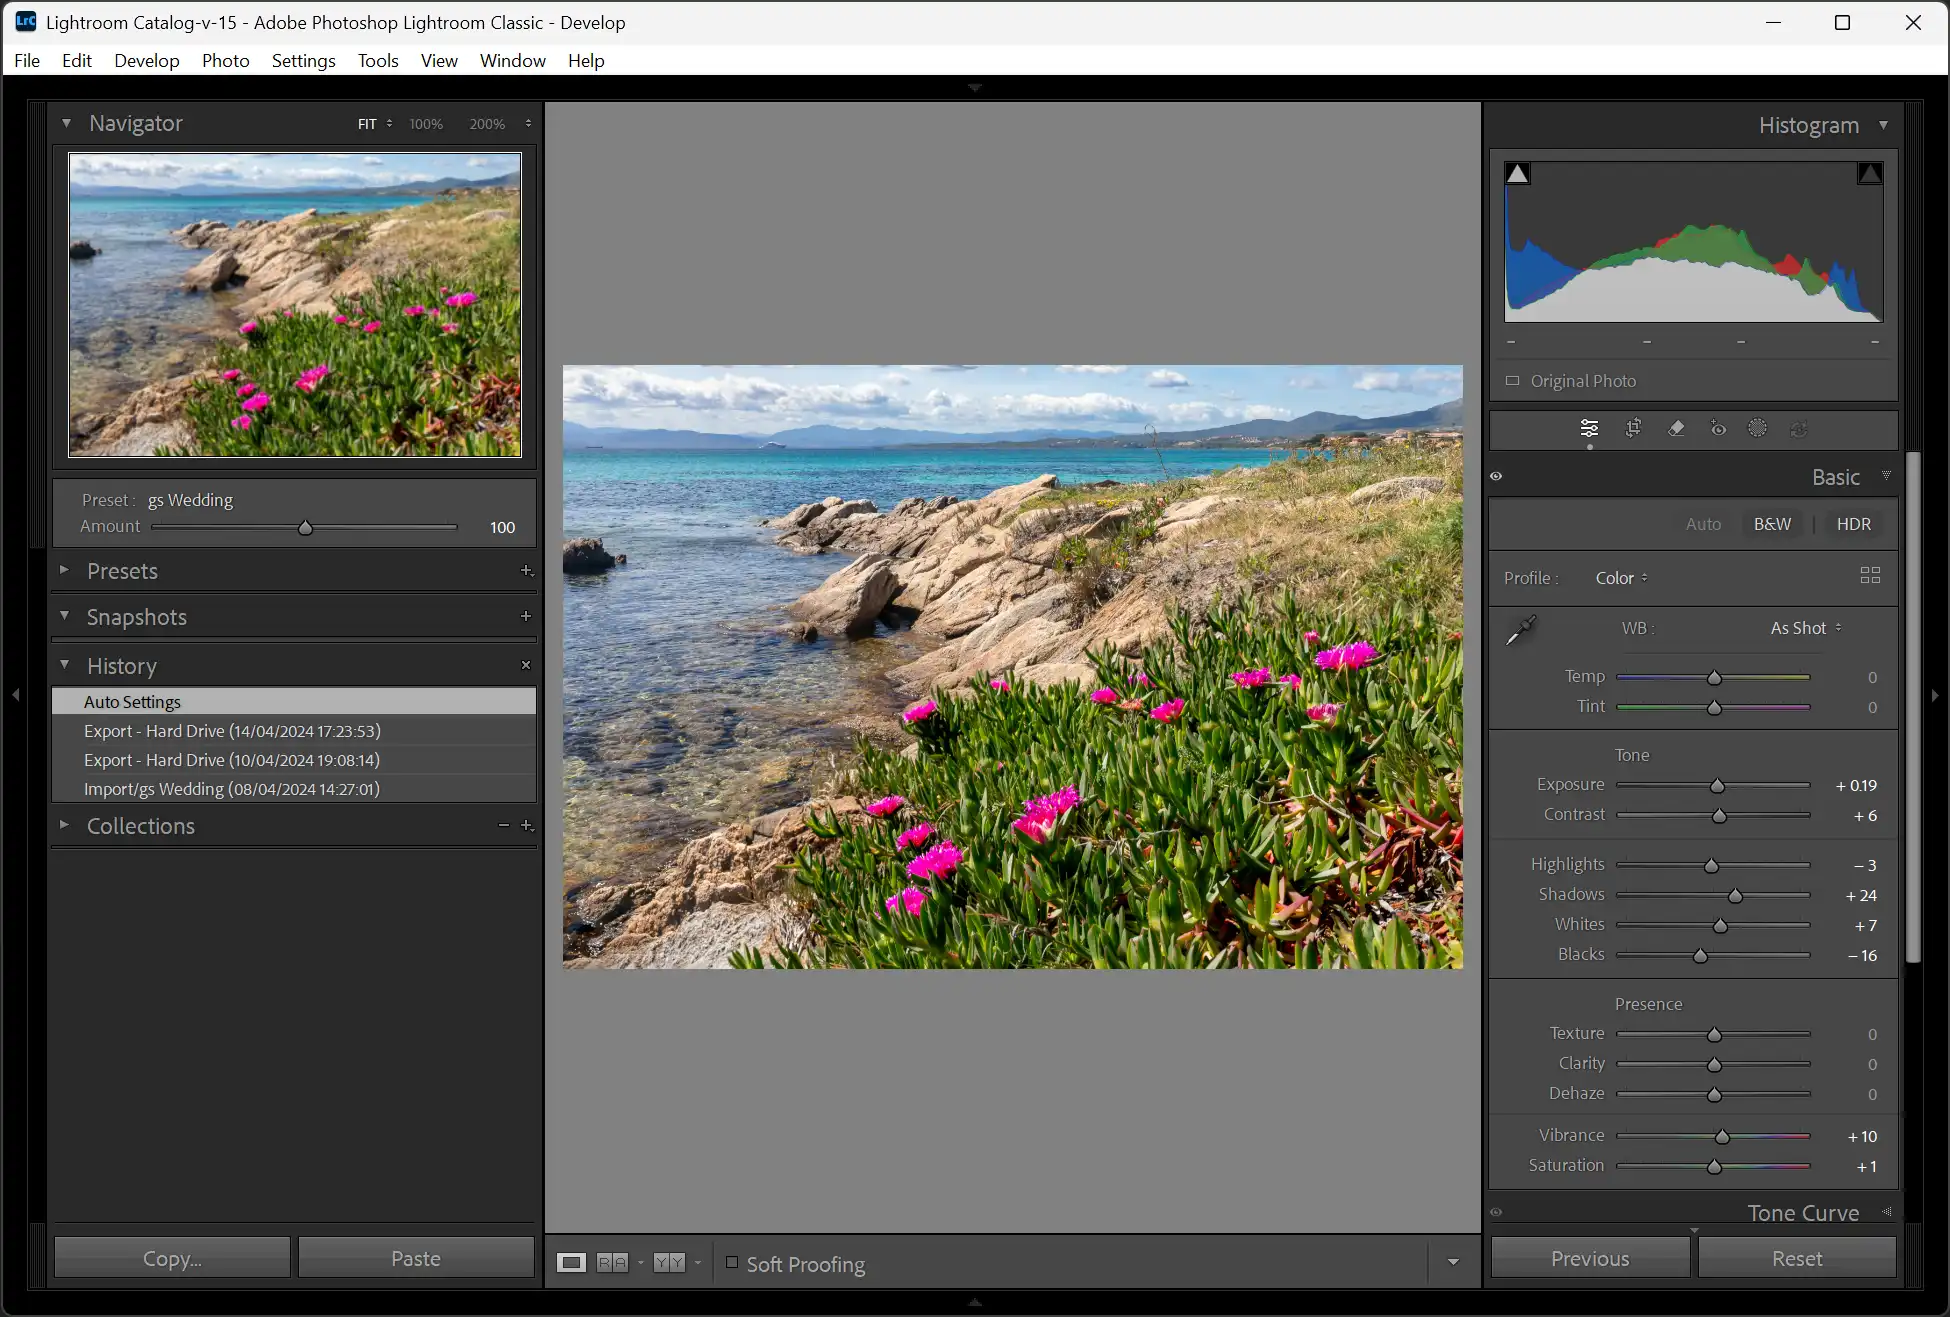
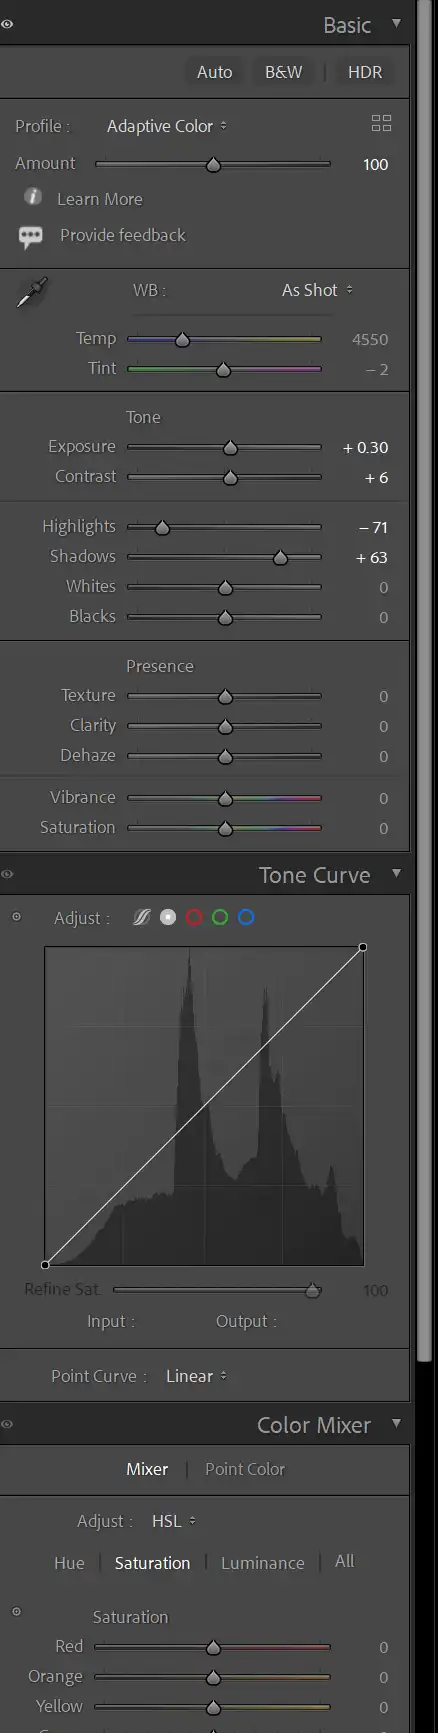
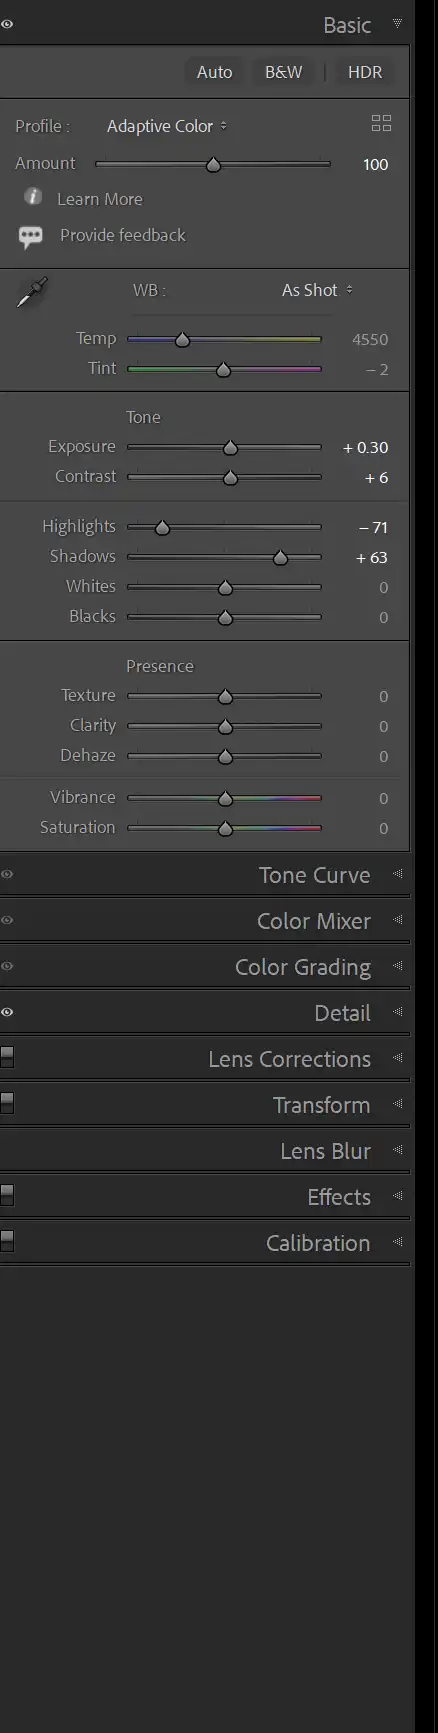
Solo Mode keeps your panels tidy by only allowing one panel to be open at a time. In the Develop module, right-click on any panel header (such as Basic) and choose Solo Mode.
With Solo Mode enabled, opening one panel automatically closes the others. This reduces scrolling and makes it easier to find the controls you need.
If you don't use Solo Mode and you open multiple panels, they all stay open until each is closed. If you have several panels open, you will need to scroll to find your chosen panel.
This is my preferred method of working, but it's easy to try both and see which you prefer.
Note the scrollbar on the right of the first screenshot and the lack of the scrollbar on the second screenshot, because there is no scrolling (if your screen is large enough).
10. Resetting the Panels
In the menu; Window > Panels, select the option to Toggle All Panels. This will hide all the panels. Then select Window > Panels and Toggle All panels again. This will show all the panels.
