Page updated: 14 June 2026
Flags, Stars and Color Labels in Lightroom
A Simple, Beginner‑Friendly System for Sorting and Organising Your Photos
Lightroom gives you three powerful tools for organising your photos: Flags, Star Ratings and Colour Labels. Used together, they create a fast, flexible workflow that helps you decide which photos to keep, which to reject, and which are ready for editing or export.
Many beginners feel overwhelmed when they first see all the rating options in Lightroom. Should you use stars or colours? What’s the difference between a Pick and a 5‑star image? And how do you filter your photos once you’ve rated them?
This tutorial breaks everything down step by step. You’ll learn what each rating system is for, how to apply them quickly using keyboard shortcuts, and how to combine them into a simple workflow that makes culling and organising your photos much easier.
By the end, you’ll have a clear, repeatable system you can use on every shoot — whether you’re sorting a handful of images or thousands.
What You’ll Learn
- How to use Flags, Stars and Colour Labels to organise your photos
- A simple, repeatable workflow for culling and rating images
- How to filter your photos using the Library Filter Bar
- How to use Compare and Survey View for tough decisions
- Speed tips to make culling dramatically faster
ON THIS PAGE
1. What Flags, Stars and Colour Labels Are For
Lightroom gives you three different ways to rate your photos; Flags, Star Ratings and Color Labels. Each one serves a different purpose:
- Flags: are ideal for quick decisions — keep or reject.
- Star Ratings: help you judge quality and you can later search for all 5 star photos, or 4 and 5 star photos, or create a collection of them.
- Colour Labels: help you label or group photos for any purpose, such as tracking your editing progress or grouping similar images, or grouping images for a particular project.
In this tutorial you’ll learn how each system works and how to combine them into a simple, beginner‑friendly workflow.
2. Using Flags: Pick, Unpick, Reject
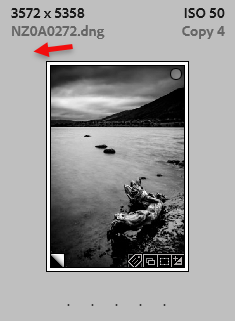 Unpicked
 Picked
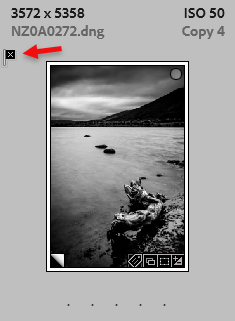 Rejected
Flags are the fastest way to sort through a large batch of photos. Press P to mark a photo as a Pick, X to mark it as a Reject, and U to unpick it.
Rejected photos are not deleted immediately — they simply become hidden from your main selection until you choose to remove them.
3. Viewing the Filter Bar
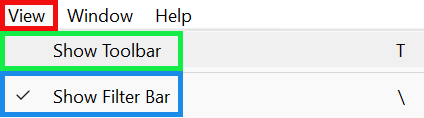
The Filter Bar is used in the next step, but may not be visible initially. To view the Filter Bar from the menu: View > Show Filter Bar.
I also recommend turning on Show Toolbar, as you will be using that later.
Note the keyboard shortcut for the Toolbar is the T key. And it's the backslash \ for the Filter Bar.
4. Confirming Rejected Photos

After flagging photos as Picks or Rejects, or Unpicked, you can filter them so you are only seeing one category, e.g. Rejects.
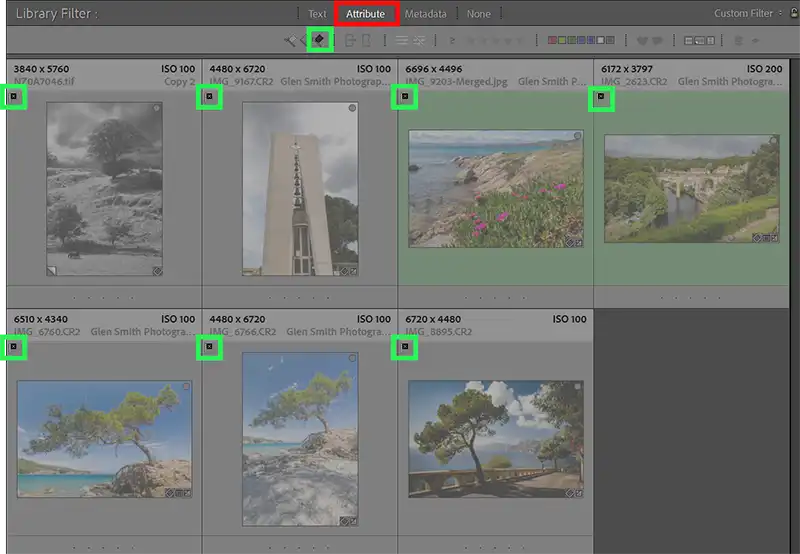
Select Grid Mode by pressing G, so you see a grid of thumbnails. In the bar directly above the thumbnails, click on Attibute (red highlight). Then click on the black flag (green highlight) to only show the rejected photos. Make sure that none of the other options are also selected (as this will affect which photos you see). Confirm that Picked and Unpicked flags, the star rating, or anything else are not selected.
If you change your mind about a rejected photo, you can press P to mark it as pick, or U to mark it as unpicked. Both of these options will remove the Rejected flag. If you then delete all rejected photos, these picked and unpicked photos will not be deleted.
5. Deleting Rejected Photos Safely
 Confirm notice if Deleting filtered photos.
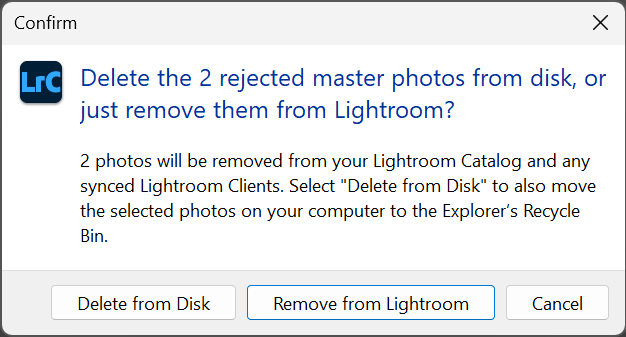 Confirm notice if selecting Delete Rejected Photos... from Photo menu.
To remove or delete rejected photos you can either:
- Delete them after filtering for rejected photos (described in the previous step).
- Select from the menu: Photo > Delete Rejected Photos (bottom of dropdown menu). If using this method, you do not need to filter them first (although you can), and they will be automatically filtered so you can view them before removing or deleting.
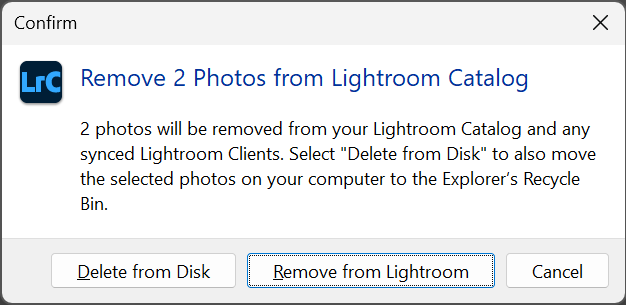
6. Remove vs Delete from Disk
When deleting rejected photos, Lightroom gives you two options:
- Remove — removes the photo from your Lightroom catalog, but the file stays on your computer.
- Delete from Disk — removes the photo from Lightroom and deletes the file from your hard drive.
If you’re unsure which to choose, select Remove. You can always delete the file later.
7. Viewing the Toolbar
Not only will the Toolbar allow you to assign ratings and colors by clicking on it, (useful if you forget the keyboard shortcuts), but it is also very useful for viewing star ratings and color labels of a selected photo. The Toolbar may not be visible initially.
To view the Toolbar from the menu select: View > Show Toolbar.
Note the keyboard shortcut for the Toolbar is the T key. And it's the backslash \ for the Filter Bar.
8. Add Star Ratings & Color Labels to the Toolbar
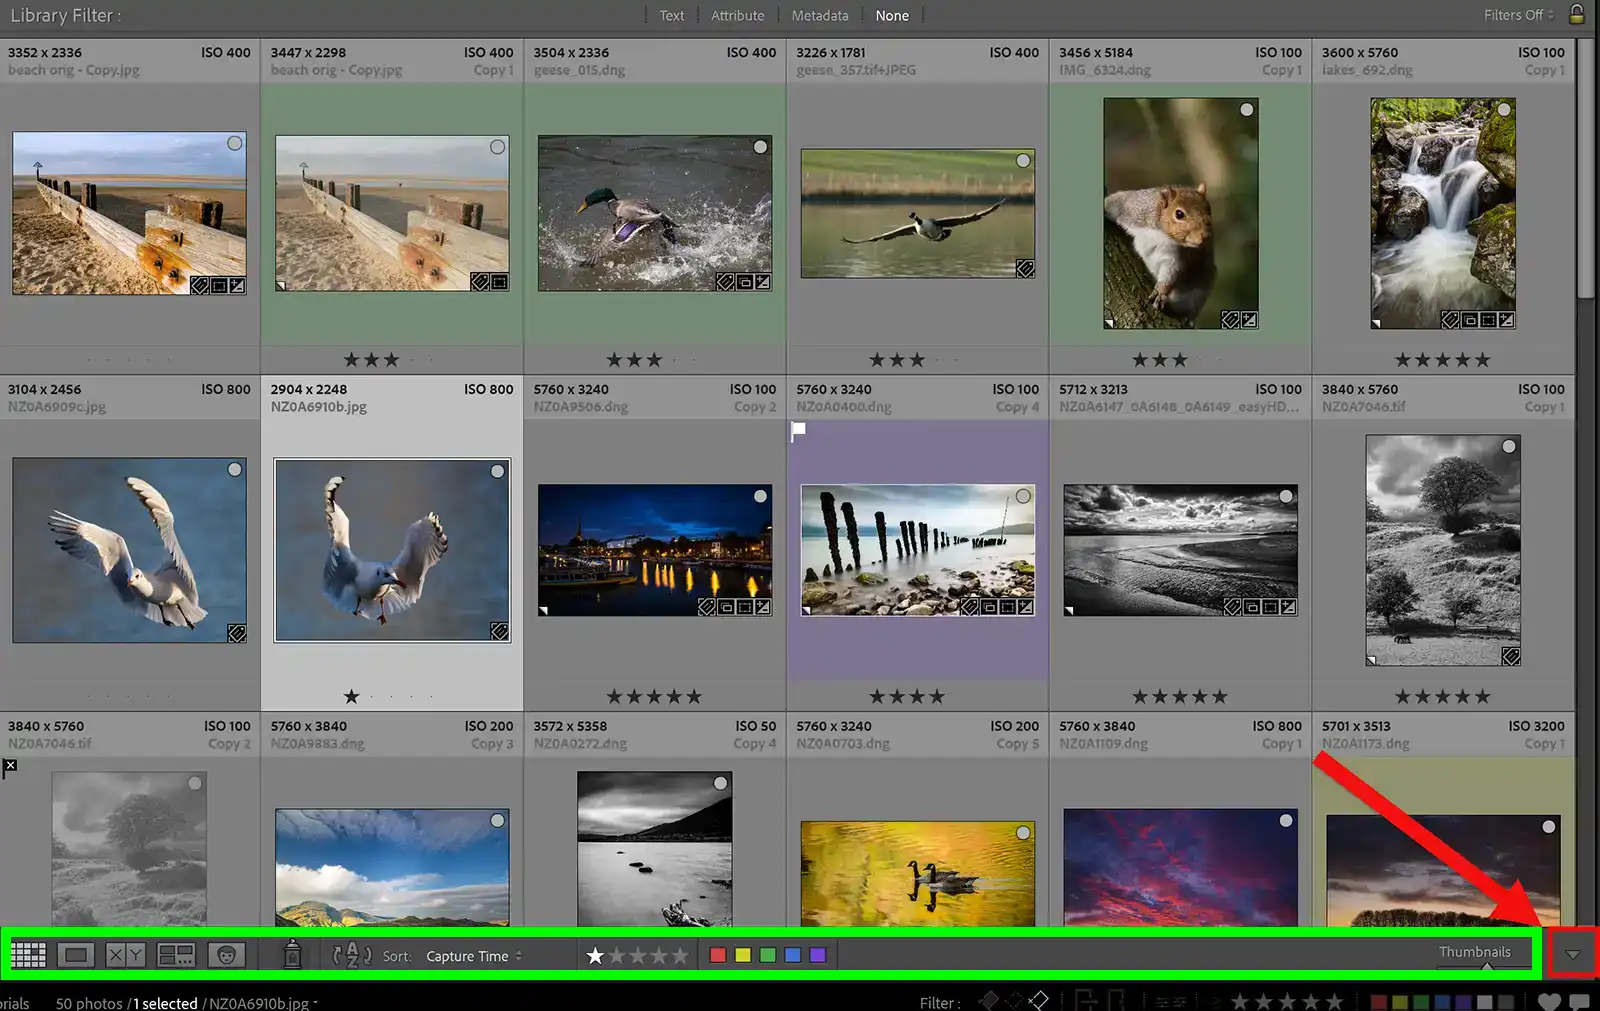
Click to view larger
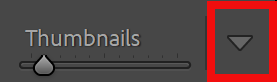
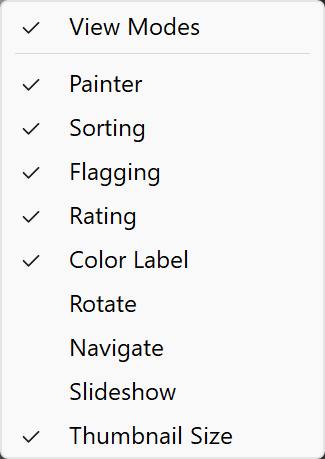
When the Toolbar is visible (green highlight, see previous step), click on the menu button indicated by the red arrow.
From the dropdown list select Rating and Color Label and anything else you want visible.
You can assign star ratings with the keyboard, or clicking on the stars in the Toolbar.
9. Star Ratings (1–5 Stars)

To add a star rating with the keyboard, press 1–5 . You can change the rating at any time by pressing a different number, or press 0 to remove stars. Stars are ideal for judging quality once you’ve finished your initial culling.
I suggest a simple system, such as:
★ for usable, ★★★ for strong images, and ★★★★★ for your best work.
My system is 3, 4 and 5 stars. ★★★ for usable, ★★★★ for strong image and ★★★★★ for the best images.
10. Colour Labels
Click to view larger
You can also apply color labels via the keyboard or clicking on them, providing the Toolbar is visible (step 7).
Press 6 for Red, 7 for Yellow, 8 for Green and 9 for Blue. Colour labels can be used for tracking your editing progress, for example: Red = needs editing, Yellow = editing in progress, Green = finished. Or use them for any other reason.
To remove a color label, simply click on that color on the Toolbar, or use the keyboard number.
Note that purple can only be assigned via the Toolbar.
11. View Ratings & Color Labels
You can view star ratings and color labels in a number of places, including;
- Grid View (G) - Flags, stars and colour labels appear under each thumbnail
- Loupe View (E) - The Star Rating appears in the Toolbar below the image
- Filmstrip (bottom panel) - Flags, stars and colour labels appear under each thumbnail.
- Develop Module - Flags, stars and colour labels appear under each image in the Toolbar.
Note that you will have to select what appears on the Toolbar for each of the different views: Grid, Loupe, Develop.
12. Filtering by Flags, Stars & Colours

Click to view larger
Use the Library Filter Bar to show only the photos you want to see. Choose the Attribute tab to filter by flags, stars or colour labels.
You can combine filters — for example, show only ★★★ photos that also have a green color label.
13. A Simple Rating Workflow
Here’s a clean, beginner‑friendly workflow:
- Use P for keepers and X for rejects.
- Filter for rejects and check them.
- Remove or Delete rejected photos.
- Give star ratings to the keepers, or just the best keepers.
- Use colour labels to track your editing progress or for other purposes.
14. Speed Tips
Speed up your editing of a large number of images with these tips;
- Turn on Auto Advance by pressing Caps Lock. Lightroom will automatically move to the next photo every time you apply a rating.
- Type P for a Pick
- Type X for a reject
- Type 1-5 for star rating
- Type 6-9 for color label (except purple)
- Type 0 to cancel a star rating
18. Summary
Flags, stars and colour labels give you a fast, flexible way to organise your photos in Lightroom. Once you understand what each system is for — and how to combine them — culling becomes quicker, editing becomes clearer and your entire workflow becomes more enjoyable.
Whether you’re sorting a handful of images or thousands, the simple workflow in this tutorial will help you stay organised and make confident decisions about which photos to keep, edit and export.
