Page updated: 26 July 2026
Perfect Sky Masking Workflow in Lightroom Classic
A Complete 3‑Part System for Building an Accurate Sky Mask
This page brings together a complete three‑part workflow for creating a perfect sky mask in Lightroom Classic. Each tutorial focuses on a different stage of the process — expanding the mask, refining it with precision, and finally creating a perfect foreground mask by duplicating and inverting the sky mask.
Lightroom’s automatic Select Sky tool is powerful, but it rarely produces a flawless mask on its own, especially around branches, leaves, mountains, or textured terrain. This workflow fixes those issues at the source, giving you a clean, accurate sky mask you can rely on for natural‑looking edits.
The Three Tutorials
This workflow is designed to be followed in order. Each part builds on the previous one, forming a complete system for accurate sky masking:
Part 1 — Add to Mask with Color Range
Expand the sky mask by targeting specific colours Lightroom missed, especially blue tones between branches.
Part 2 — Subtract Using Intersect with Object
Remove mountains, hills, and other non‑sky areas with precision, creating a clean and accurate sky boundary.
Part 3 — Duplicate & Invert Mask
Create a perfect foreground mask so sky and land can be edited separately without rebuilding selections.
Together, these three tutorials form a complete Lightroom Classic workflow for building a reliable, high‑quality sky mask — and a perfectly matched foreground mask.
Before and After
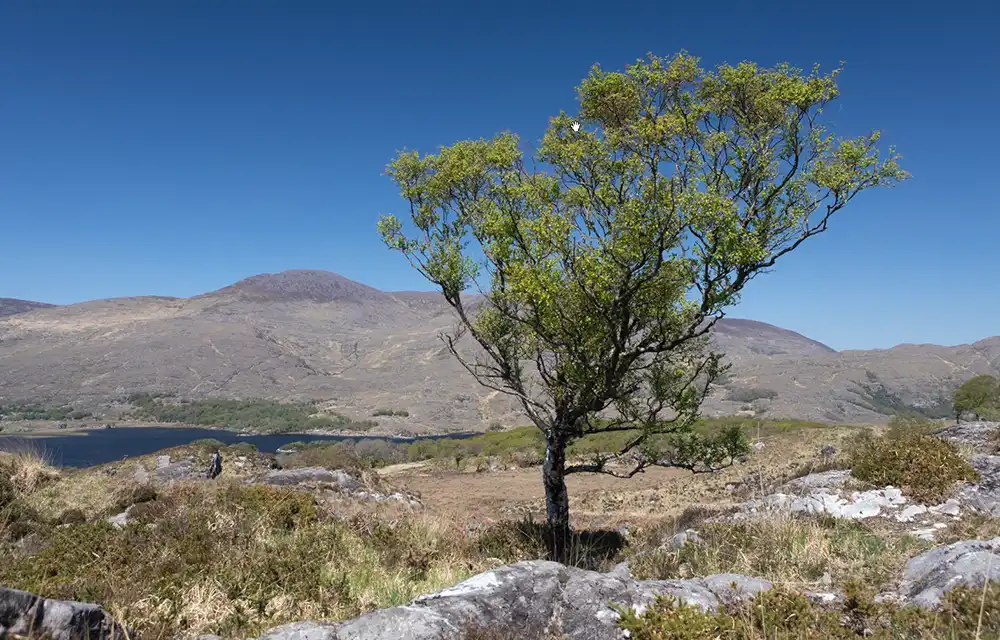 Original unedited photo
 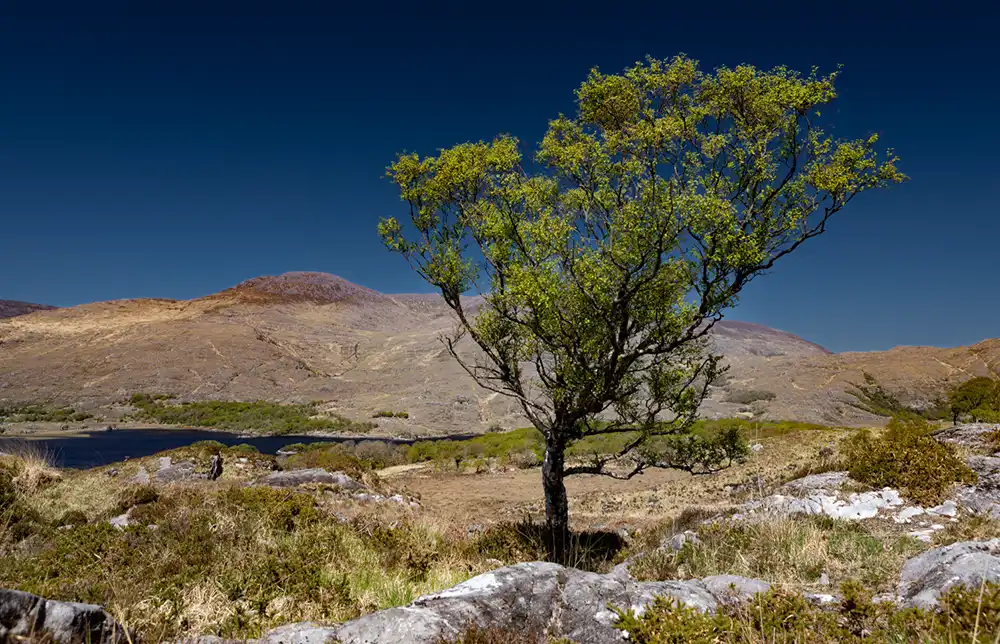 Final edited photo after completing all three tutorials
 Note: The edited version intentionally exaggerates the sky to make the improvements easier to see throughout the workflow.
Why This Workflow Works
Lightroom’s automatic sky detection is good, but it often struggles with:
- fine detail such as branches and leaves
- mountains and distant hills
- uneven sky tones
- foreground elements that overlap the sky
This workflow fixes those issues by improving the mask itself — not by hiding imperfections with feathering or blending. By the end of the three tutorials, you’ll have:
- a complete and accurate sky mask
- a perfectly matched foreground mask
- a balanced final edit with no halos or mismatched lighting
