Page updated: 14 June 2026
Using Tutorial Files in Lightroom
How to Download and Import the Files
If you're new to Lightroom or just unsure how to get the tutorial images into your catalog, this quick guide will walk you through the steps. You'll learn how to download the files, where to save them, and how to import them into Lightroom so you're ready to follow along with each lesson.
What this tutorial covers
This tutorial is a simplified tutorial on importing photos. It covers what you need to know to download the files and get them into Lightroom. If you would like a more detailed tutorial on importing photos, please see these related tutorials;
A more detailed look at importing photosA simpler alternative Import workflow
ON THIS PAGE
1. Download the Tutorial Photos
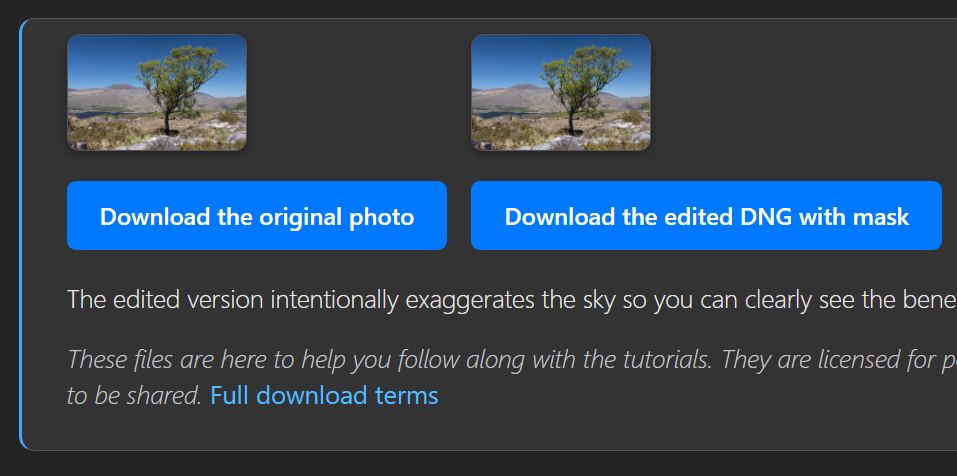
Some tutorials have photos you can download, in JPEG and DNG formats. The DNG files may contain masks and adjustments.
Click on the download button in the tutorial. In this example you can download the original photo and / or the edited DNG image, which has the completed masks that are covered in the tutorial.
Please note that the files are to help you follow along withe the tutorials. They are licenced only for this purpose. They are not licenced for use in your own projects and they are not for sharing. See Full Download Terms.
2. Where is the downloaded photo?
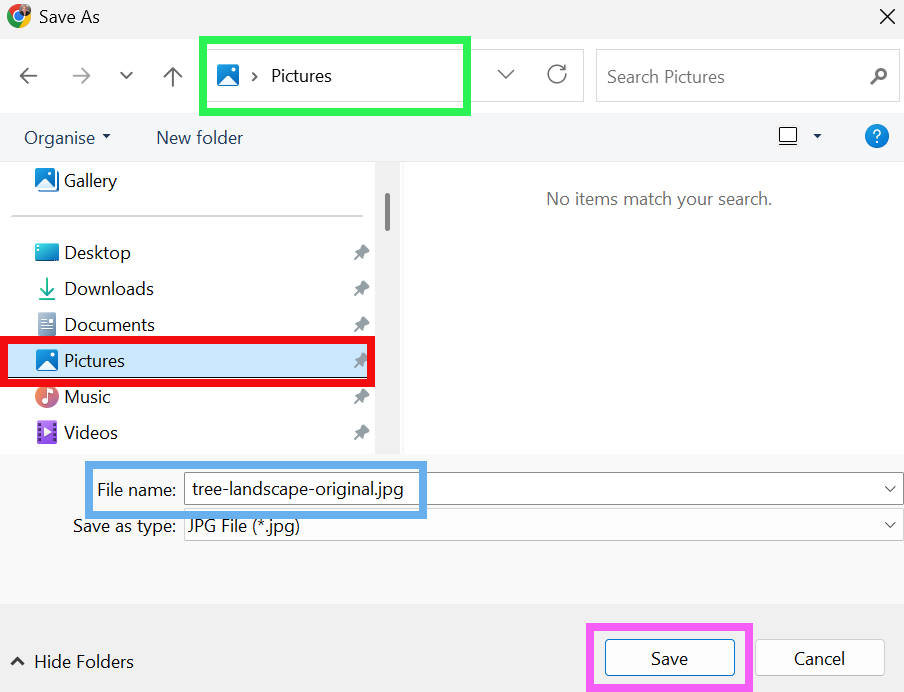
Depending on your browser and its settings, when you download something, it is often automatically saved into your Downloads folder. The Downloads folder isn't the best location for your photos, so I suggest that you save it into your Pictures folder, or even better, a subfolder within your Pictures folder, appropriately named.
This screenshot is from Chrome, which currently (June 2026) automatically opens this panel. To select the Pictures folder simply click on it.
If you want to create a subfolder, click on the New Folder button, name the folder, then open it.
If you normally store your photos somewhere else, then save it there.
Wherever you save it, you will need to import it into Lightroom from that location.
3. View Downloads
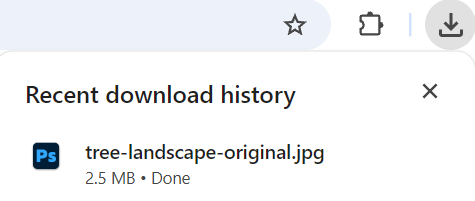
In Chrome, you can see your downloads by clicking on the down arrow button in the top right corner.
4. Open the Import dialog
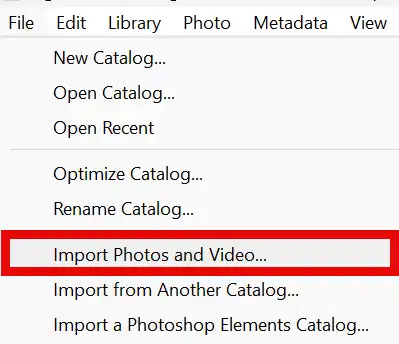
In Lightroom Classic, go to File > Import Photos and Video…. This opens the Import dialog, where you choose the source of your images.
5. Choose your photo source
On the left side of the Import dialog, select the location where your photos currently are. This will be where you just downloaded the photo to.
6. Set the destination
On the right panel, open Destination. Choose the parent folder where you want the images stored, then decide whether to organize them by date or into a single folder.
7. Destination: Into one folder
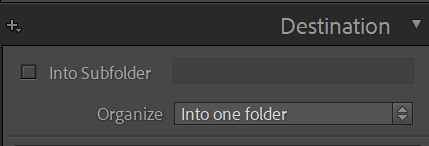
This time, select Into one folder.
It does what it says on the tin and puts your imported folders into only one folder.
8. Start the import
Click Import (Classic) or Add Photos (cloud). Lightroom will copy/move/add the files, build previews.
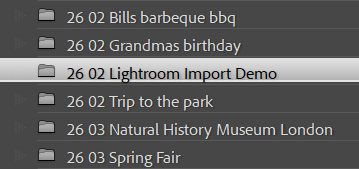
9. Go to Folder
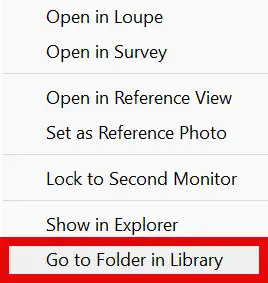
To view the actual folder you have just imported your photos into, right-click on any of the photos and select Go to Folder in Library.
10. View Photos
You will see the photos you just imported. From here you can open the photo in the Develop module (press D) and follow the tutorial.
Happy editing!
