Page updated: 24 July 2026
Create Select Object Mask in Lightroom Classic
Select Object vs Select Subject in Lightroom
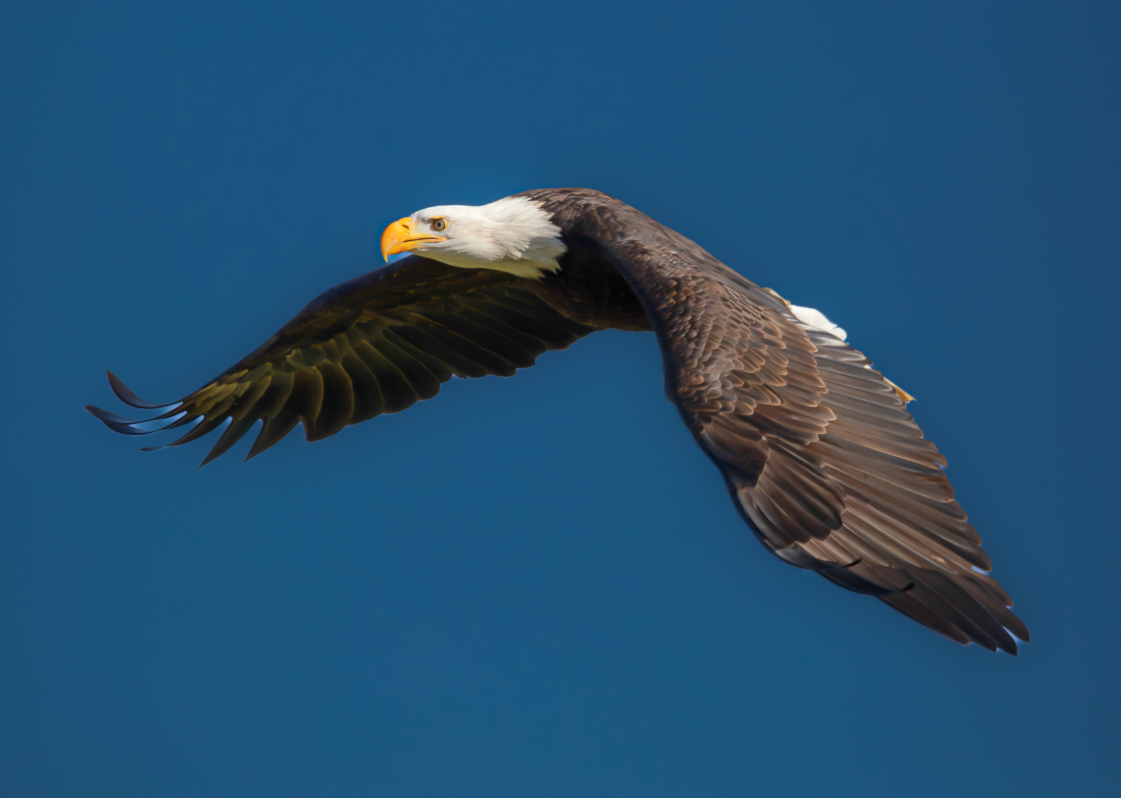
Previously: In the Select Subject tutorial, we saw that Lightroom struggled to create a clean mask of this bird. In this tutorial, we’ll fix that using Select Object.
This tutorial follows directly from the Select Subject lesson. There, the mask wasn’t perfect and the issues became obvious when darkening the sky. Here, we’ll use Select Object to achieve a much cleaner, more accurate result.
New to masking?
If you haven’t seen it yet, the Select Subject tutorial shows how Lightroom’s automatic subject detection works — and why Select Object can sometimes produce a cleaner result.

Download the Bald Eagle photo used in this tutorial
Feel free to download the photo and work along with the tutorial.
Please note: this file is provided for learning only and is not licensed for use in your own projects.
ON THIS PAGE
Select Subject vs Select Object
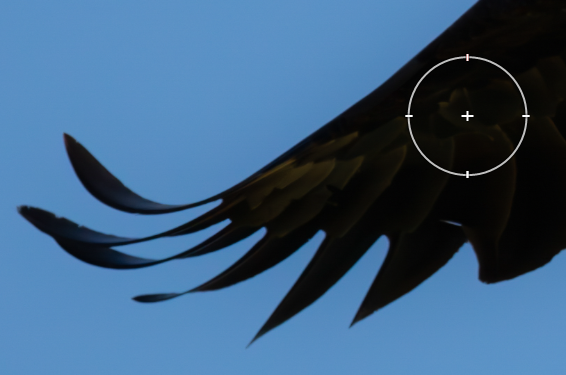
 Select Subject Mask. Imperfections visible on wing tips and under the beak
 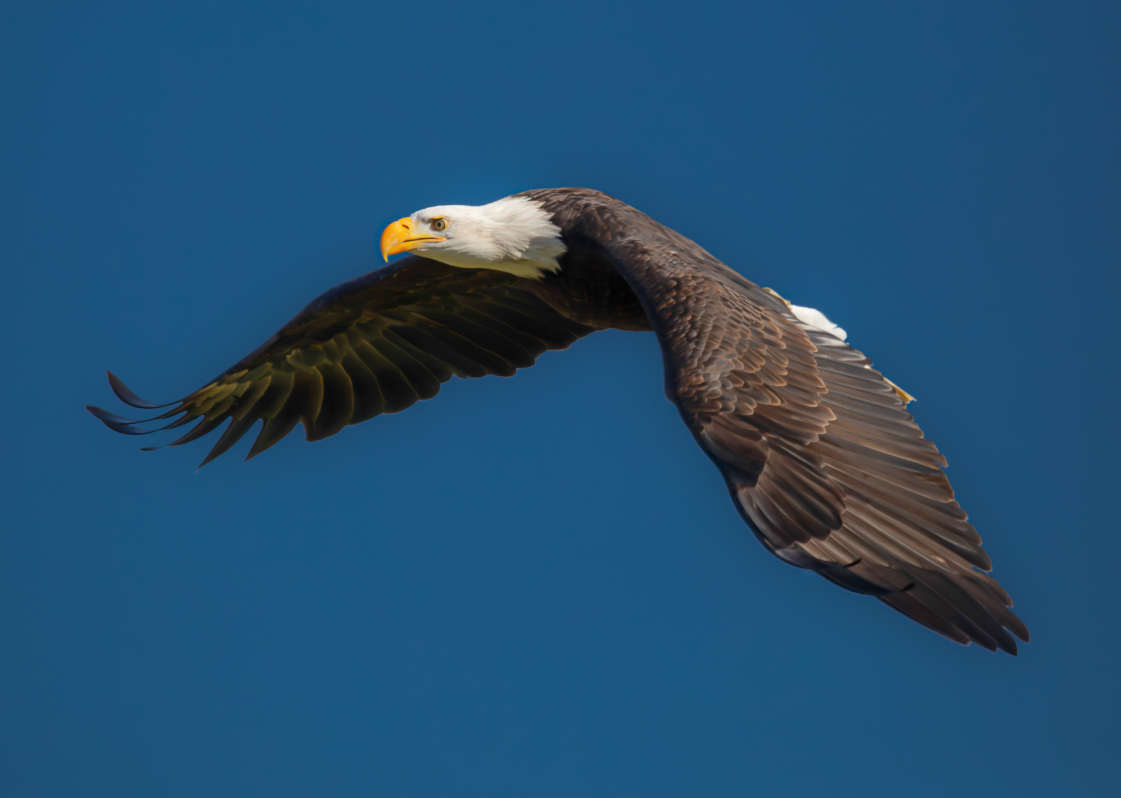 Select Object Mask. A better quality mask Select Subject Mask. Imperfections visible on wing tips and under the beak
 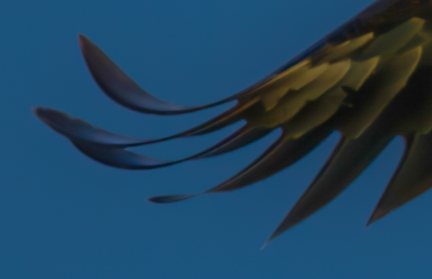 Select Object Mask. A better quality mask
 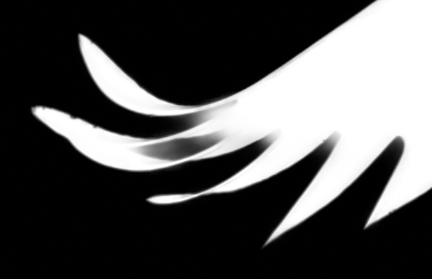 Select Subject Mask. Imperfections visible on wing tips and under the beak
 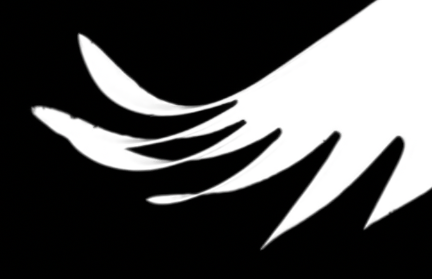 Select Object Mask. A better quality mask
 In this image, Select Object does a better job than Select Subject. The process is slightly different and is described in the steps below. If you have tried Select Subject and you see imperfections, simply delete the mask and create a new mask.
Step 1. Open the photo and the Masking panel
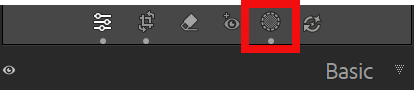 Select the masking button
 Open your photo in the Develop module, by pressing D on the keyboard or select Develop. This is where all local adjustments and masks are created. On the right‑hand side, locate the Masking icon above the Basic panel. Click it to open the Masking panel, which shows all existing masks and the options for creating new ones or deleting masks.
Step 2. Delete existing masks.
 Select the masking button
 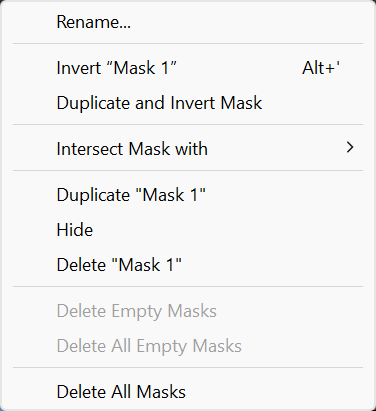 Select the masking button
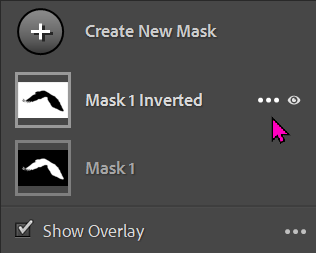
 If you have existing masks that you are not happy with, you can delete them and try again. To delete existing masks, move the cursor over the mask, to reveal the 3 dots.
Click the 3 dots to reveal the menu. You can delete all masks, or specific masks.
Click Create New Mask
Step 3. Create a Select Object mask
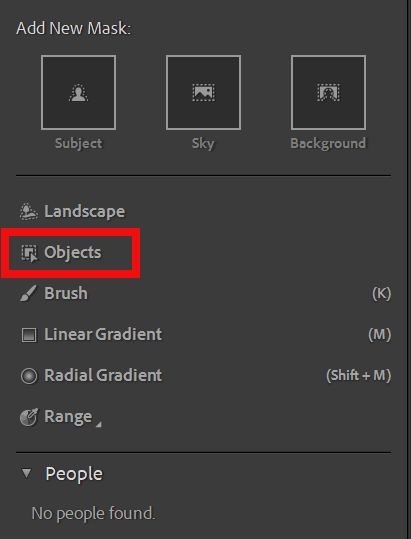 When adding a first mask, select Objects.
 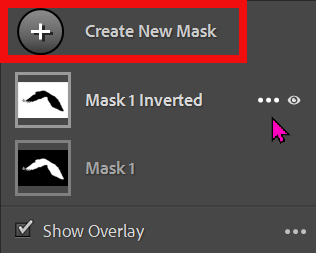 When adding additional masks, select Create New Mask
 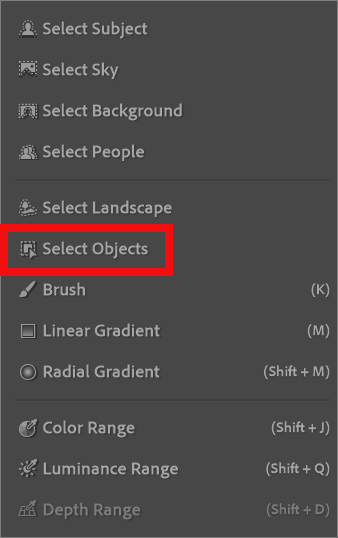 Then Choose Select Objects
 Depending on whether you are adding a first mask or additional masks, the menu's are slightly different, although you will select Objects.
Step 4. Selection Options
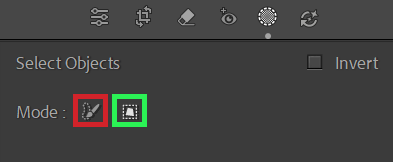 Review the overlay
 Unlike Select Subject, where the subject is automatically selected, when choosing Select Object, you must manually select the object.
You can do this using either mode;
- Brush Select: Hold the cursor over the button to see this message; "Paint over an object to create a refined mask. Powered by AI. Recommended for selecting objects within a complex background. For best results, paint over the entire object, plus a little extra.""
- Rectangle Select; Hold the cursor over the button to see this message; "Draw a rectangle around an object to create a refined mask. Powered by AI. Recommended for selecting objects that are clearly distinguished from their backgrounds."
In this image, with the object surrounded by plain blue sky, either method will work. However, in more complex images, drawing a rectangle may include other areas that will be selected. In those instances, painting with a brush will work better.
Step 5. Brush Select
 Review the overlay
 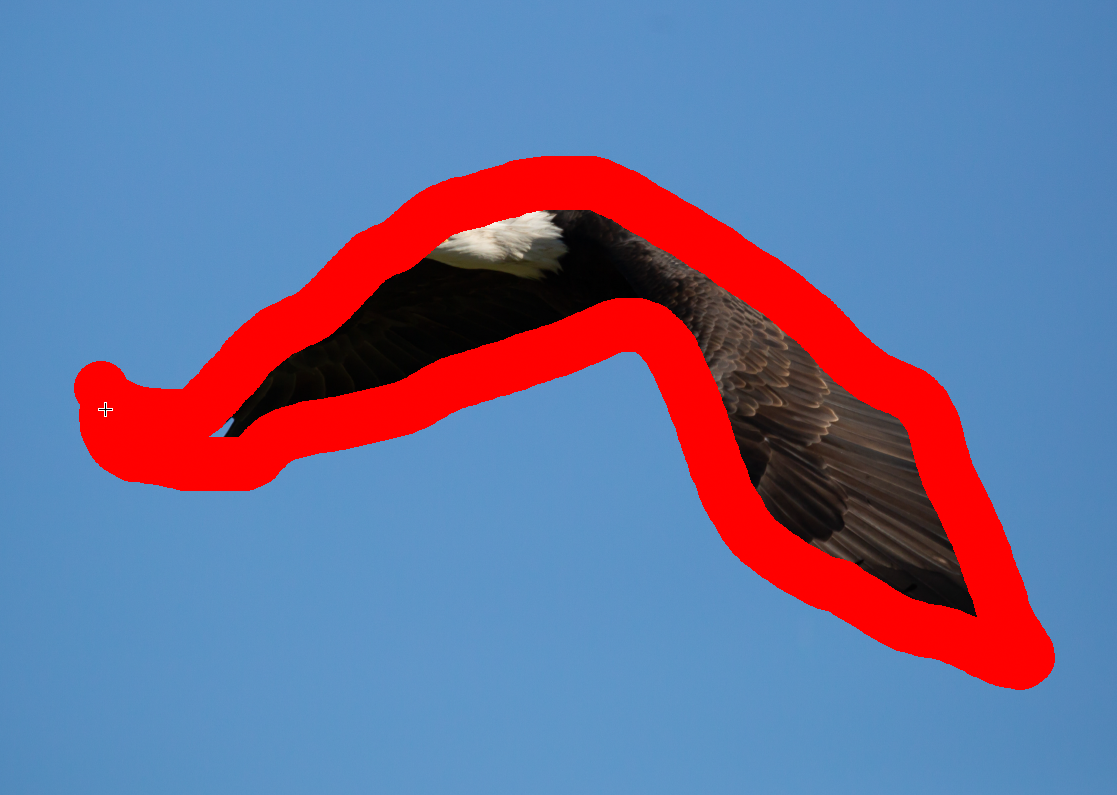 Review the overlay
 When choosing Brush Select, you will automatically see a brush. Adjust size by the slider or my rolling the mouse scroll wheel.
Adobe recommends brushing the whole area, although when the object is solid, i.e. has no gaps, you will get just as good results from just brushing the outline. If there are areas within the object that should not be included, you will get better results by brushing over just the areas you want selected.
Step 6. Rectangle Select
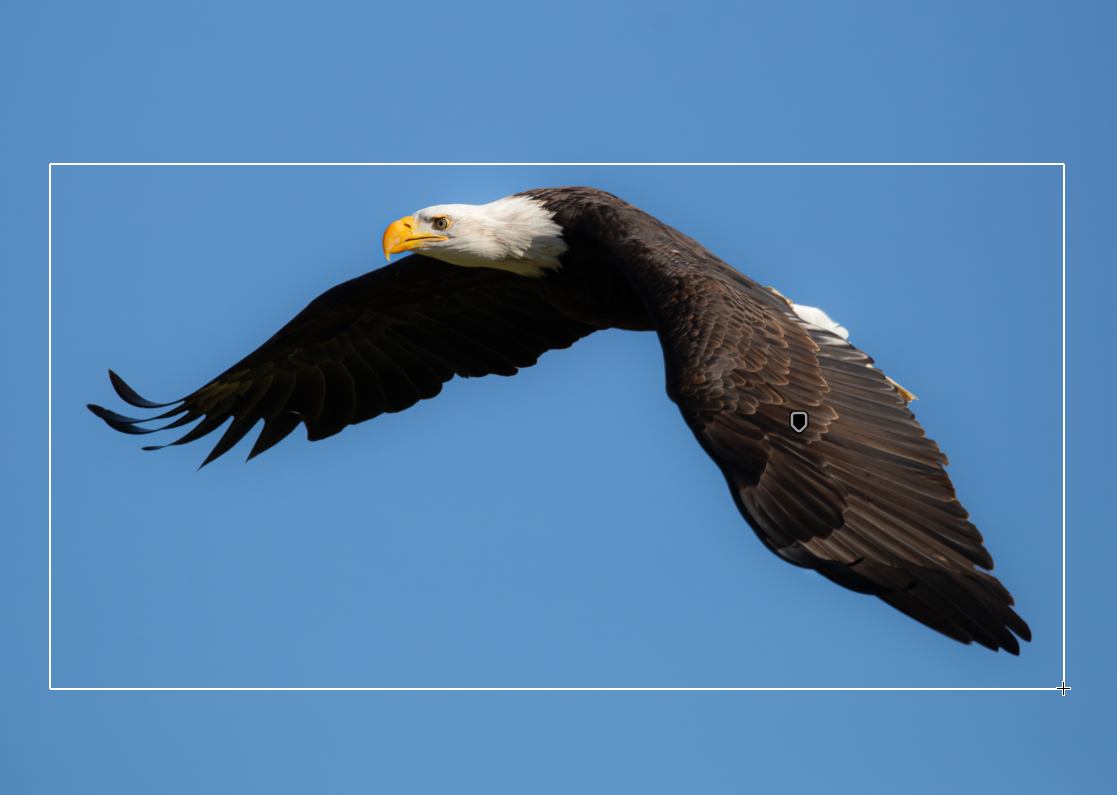 Review the overlay
 When choosing Rectangle Select, draw a rectangle around the object. This works well in images like this, where the subject is clearly defined against a plain background.
In more complex images, this won't work and you should use Brush Select.
Final Thoughts
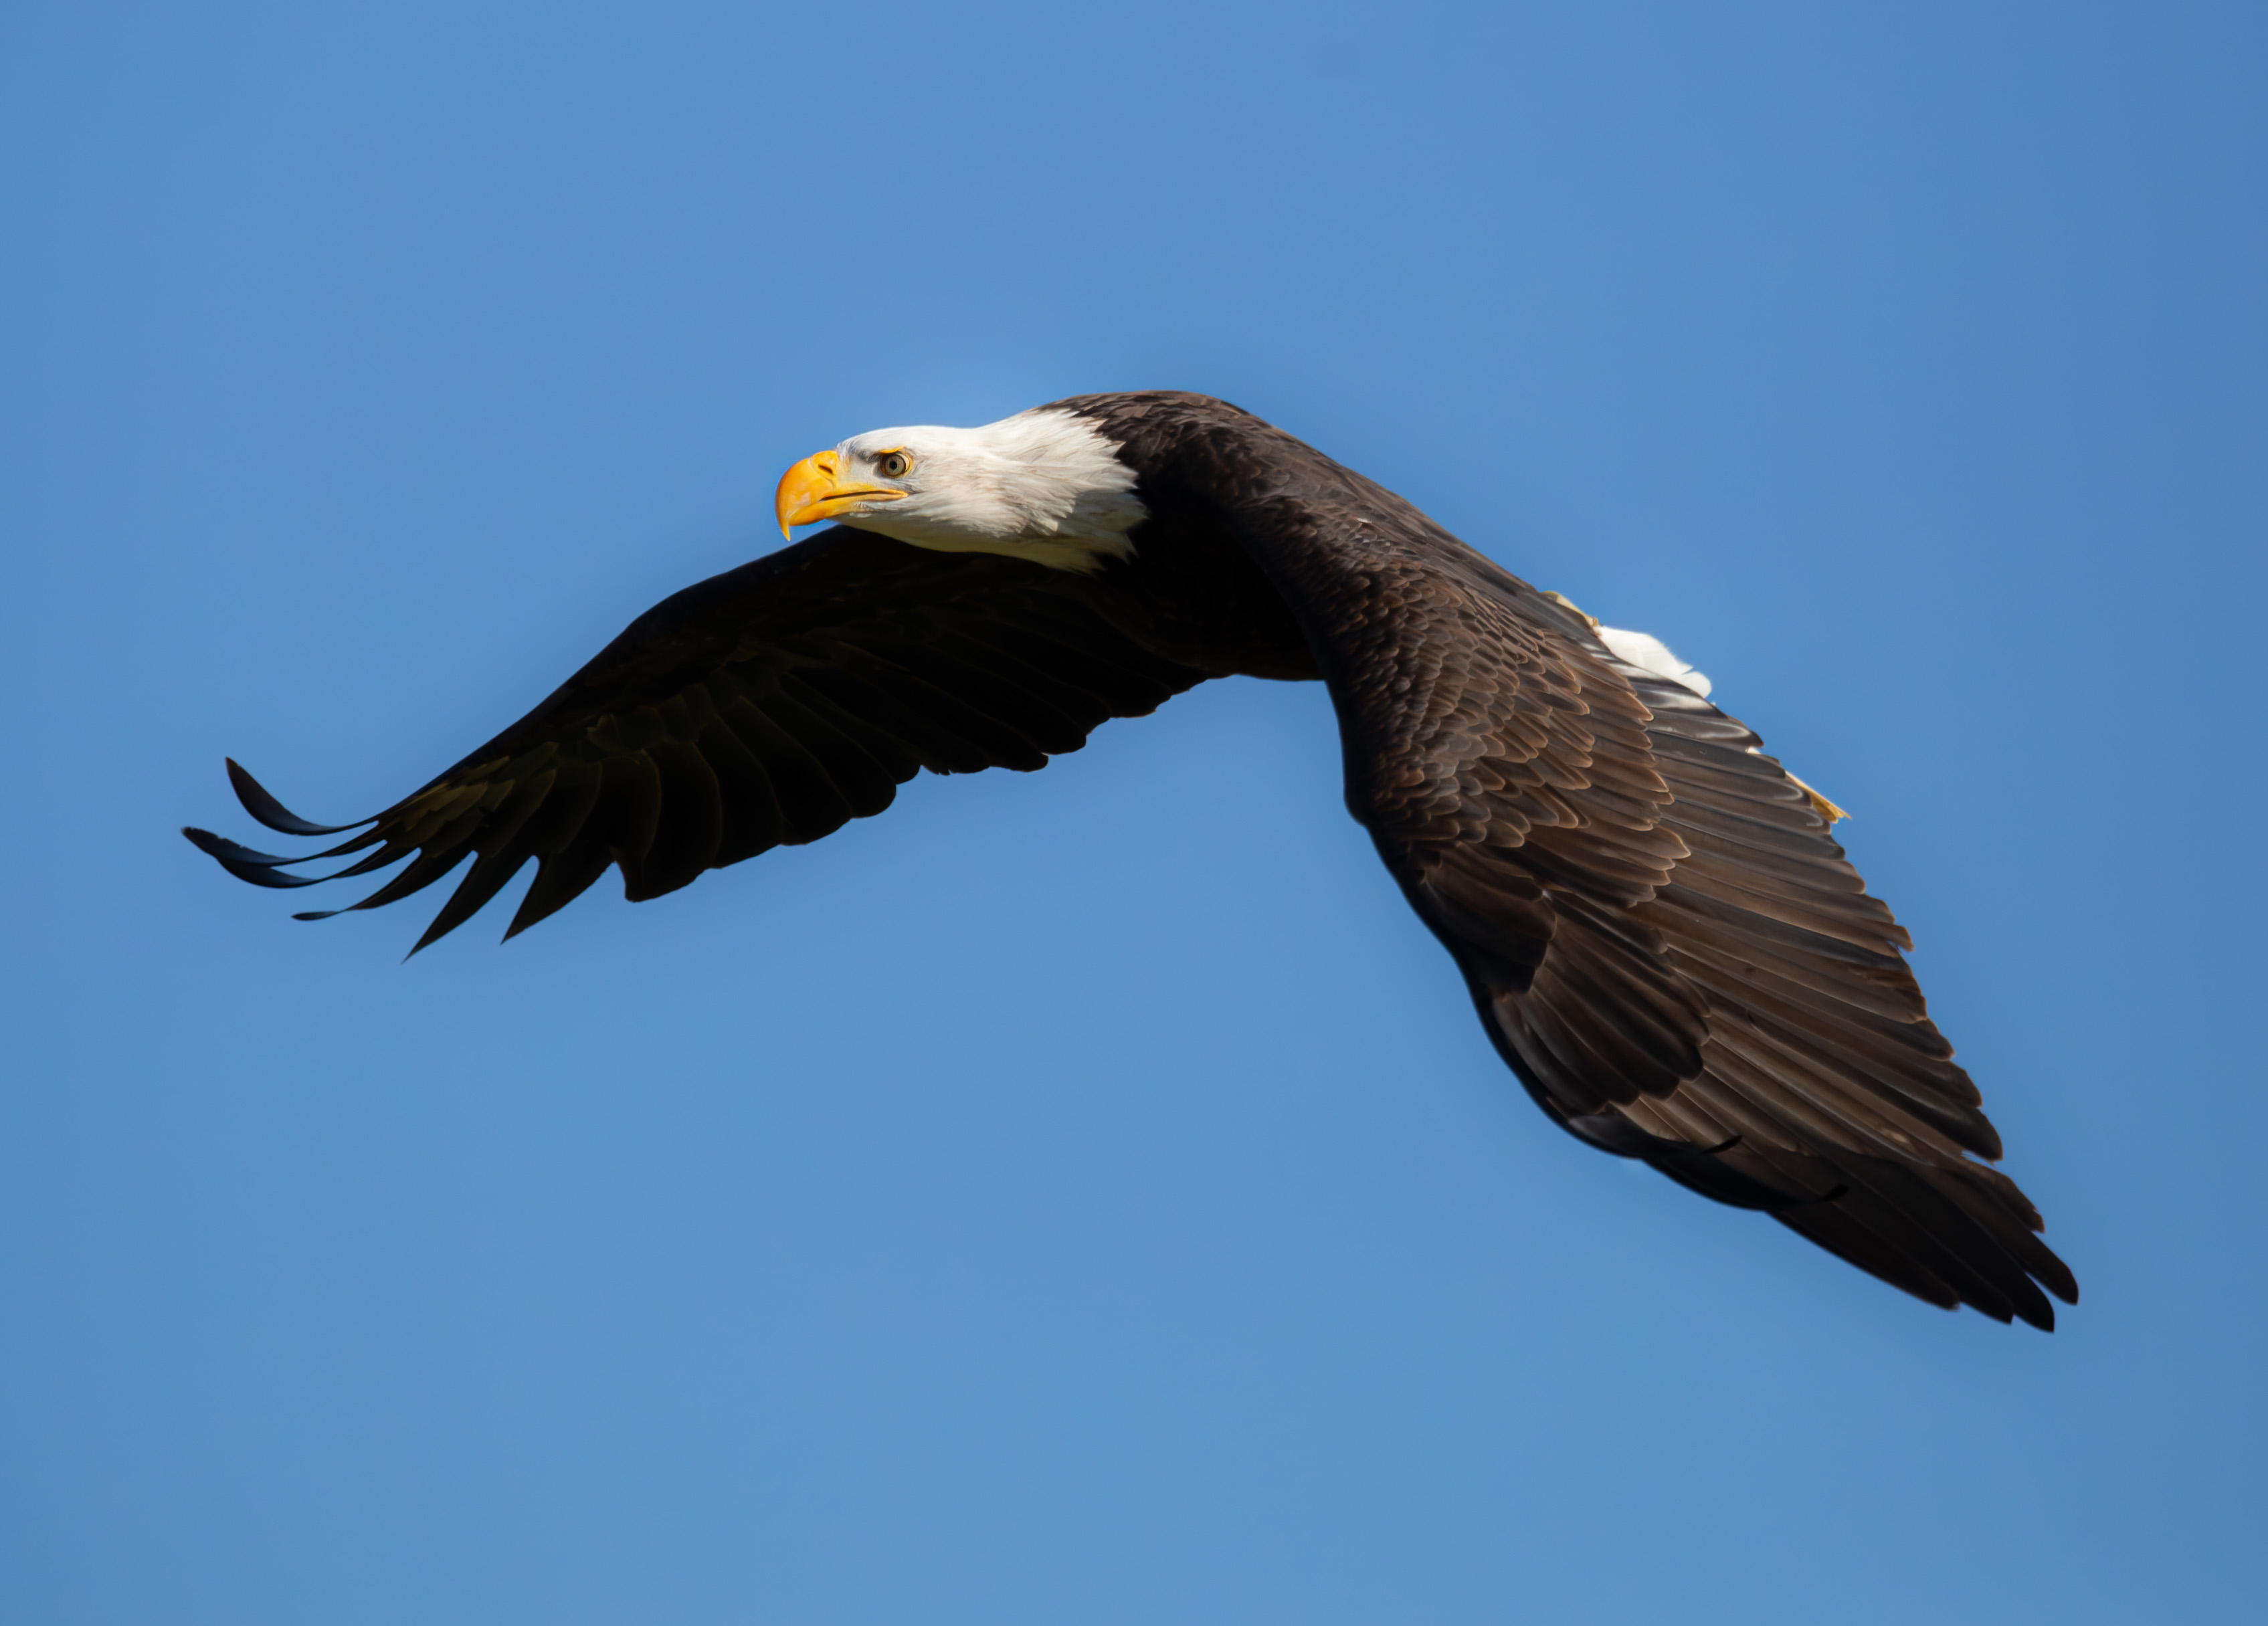
A clean, natural result In this image Select Object has produced a better mask, than Select Subject.
Be prepared to try different methods. If your first attempt at a mask doesn't produce a satisfactory mask, try a different method. In this case the different method works great, with no further work required.
By trying different methods, you will increase your knowledge and skill of masking.
