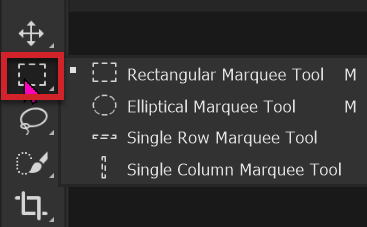
Marquee Tools
There are four Marquee tools, although two of them are not really used in image editing. The Marquee Tools are basic selection tools, but can be very useful in certain situations. For example the Elliptical Marquee Tool is useful for selecting a wheel, round, or elliptical shape. It may be that the Object Selection tool or other selection tools will make a good selection, depending on the image content. But sometimes this won’t be the case.
- Rectangular Marquee
- Elliptical Marquee
- Single Row Marquee
- Single Column Marquee
When using the Rectangular or Elliptical Marquee tools, I often find it helpful to Transform Selection, to achieve greater accuracy. See my tutorial on Transform Selection
Marquee Tools Options Bar

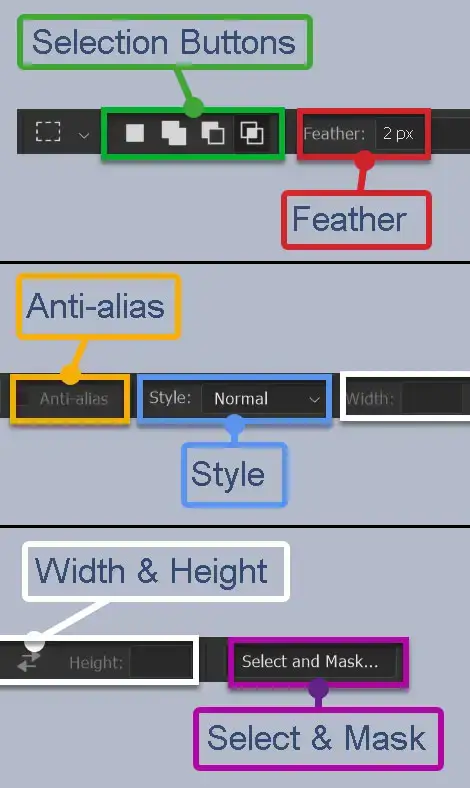
Selection Buttons
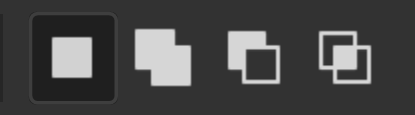
Many of the Selection Tools have these four buttons. Left to right, they are;
New Selection - Click to cancel existing selection and create a new selection
Add to Selection - Add to any existing selections
Subtract from Selection - Remove from existing selections
Intersect with Selection - Create custom shapes
Feather
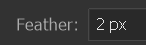
Feather blurs the edge of the selection, but must be selected before using the tool. A feather of zero would create a hard edge and this often is not helpful in blending your editing into your image, unnoticed (which should be your aim.
The amount of Feather depends on the area being selected. On a high resolution image, where a large area is selected, you will require a higher Feather and on a small area in an image, especially if the image is low resolution.
You may have to experiment, but this is an excellent way to learn and increase your skills. My suggested starting point would be 2-4px, but this depends on the size and resolution of the area selected.
Anti-alias


Anti-alias smooths out pixelated lines and edges.
Two circles were created with the Elliptical Marquee (press and hold Shift, while dragging for a circle), then both were filled with black. The top circle was created without anti-alias, while the bottom circle was created with anti-alias.
The bottom circles smoother than the top circle.
Anti-alias options exist in other tools as well. I recommend that where available, you turn on Anti-alias and leave it turned on.
Note that Anti-alias is only available for the Elliptical Marquee. It is not available for the other Marquee tools.
Style & Width & Height


Style and Width & Height are linked. Width and Height are only available when either Fixed Ratio or Fixed Size are selected. When Normal is selected, Width & Height are greyed-out (unavailable).
Select and Mask

Select and Mask is available on the Options Bar of most of the selection tools. It is also available from the menu: Select > Select and Mask...
Select and Mask is a very powerful tool that allows you to improve selections or layer masks. It comprises of several tools itself. It's such a a large and important subject that it has it's own dedicated tutorial.
This is such a large subject and essential skill for anyone using selections and layer masks in Photoshop.
Read the Select and Mask tutorial here [insert link].
Using the Rectangular Marquee
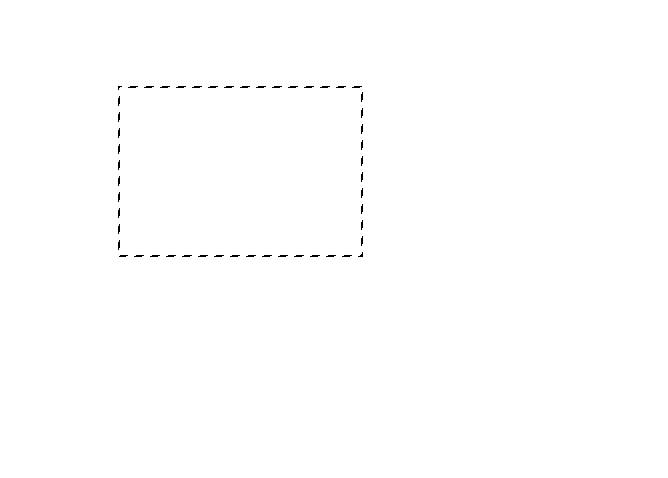
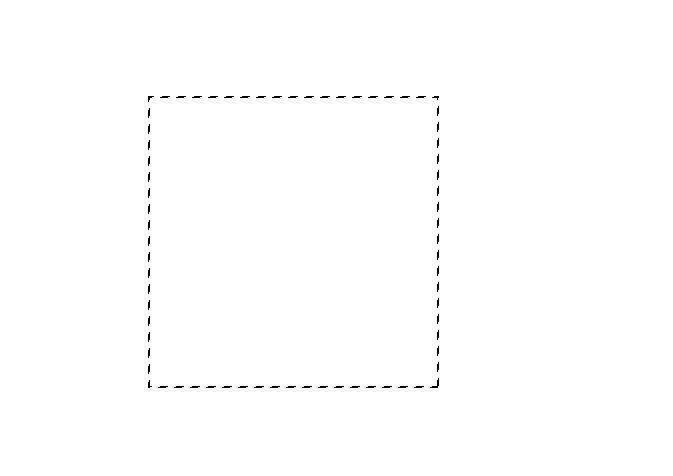
The Rectangular Marquee does what it says on the tin ... it makes rectangular selections. Just click and drag to draw your selection.
Before drawing your selection, decide which button to select; New, Add, Subtract, or Intersect. See the examples below for their different effects.
The first button is for new selections. Each time you start a selection you will cancel any existing selections.
New Selection cancels existing selections

With the New Selection button selected, when I created a second rectangle, the first disappeared.
To cancel a selection, press the Esc key (top left of keyboard).
To deselect all selections, you can got the menu: Select > Deselect. But the recommended method is the keyboard shortcut Ctrl+D. I strongly recommend you get used to using this. It will make your Photoshop life so much easier (and quicker).
If you have the New Selection button selected, you can also click outside the image. This also works with other selection tools.
Move a Selection
After creating a selection, just move the cursor over the selection, watch for the move icon, then click and drag to move. You don't have to select the Move tool for this. The cursor automatically changes into the Move tool, when placed over the selection.
Multiple Selections
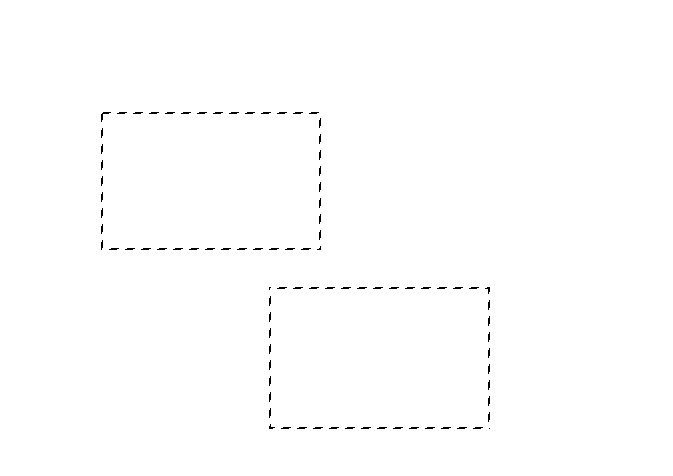
To create multiple rectangles, select Add to Selection (2nd button). If you create your next rectangle without overlapping, you will have two rectangles.
Add to Selection


If you overlap, they will be added together.
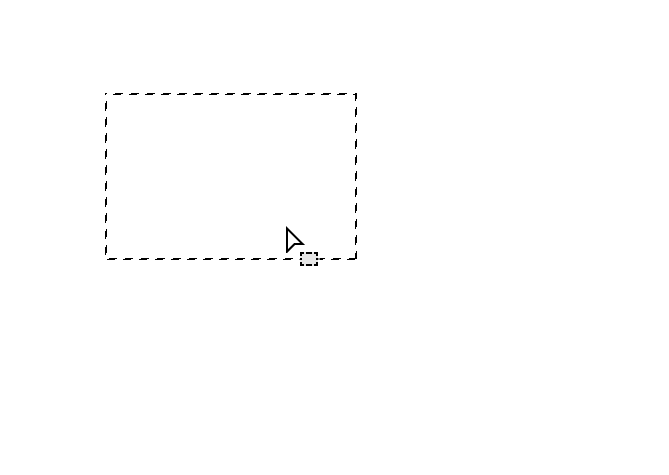
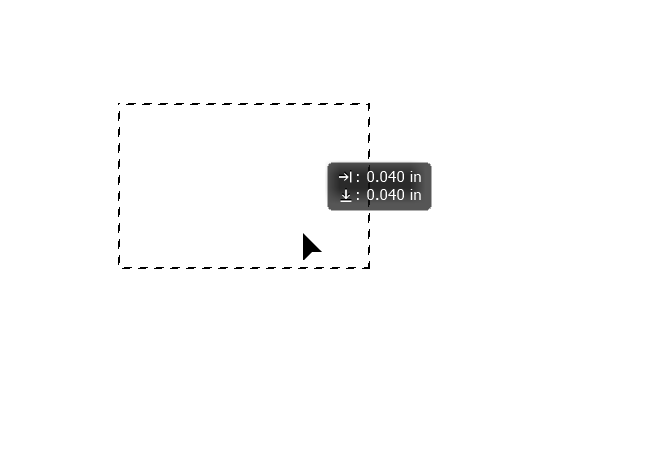
Note that in this and similar screenshots, to capture the cursor, to show clearly what is happening, the small info box is also included in the screenshot. This shows the size of the selection, but is often not that useful.
Subtract from Selection
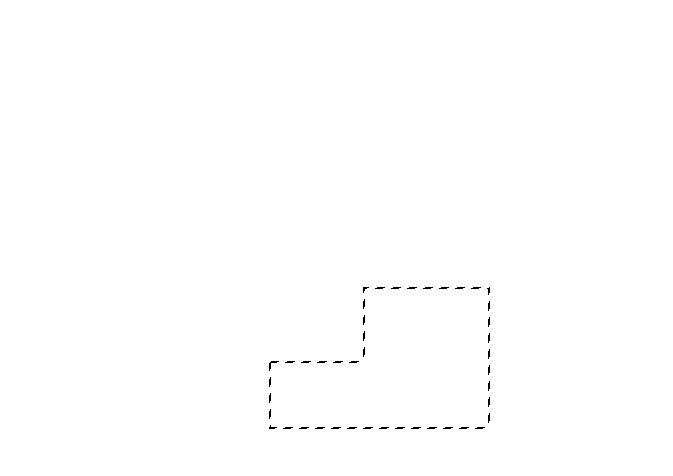
If you overlap, the new selection will subtract the overlapping area from the existing selection.
Square Selection
Start making the selection, then press and hold the Shift key. Your selection will now be square.
Or, from the Options Bar you can select Fixed Ratio from the Style box, then select Fixed Ratio and enter 1 in each box.
Or, if you need a square, or other shape, but at specific dimensions, then select Fixed Size from the Style box, then enter the dimensions.
Regardless of which unit of measurement you have set in preferences (Edit > Preferences > Units & Rulers, you can type your preferred until after the number. For example 5cm, 50mm, 2in, 100px.
If you don't type the unit type, it will be entered as the unit specified in preferences.
Draw from the Centre
Normally, when you click and drag a selection is made from corner to corner, depending on the direction you drag.
You can create a selection from the center, by pressing and holding the Alt key.
If you also press and hold the Shift key, you will draw a square, from the center.
Using the Elliptical Marquee
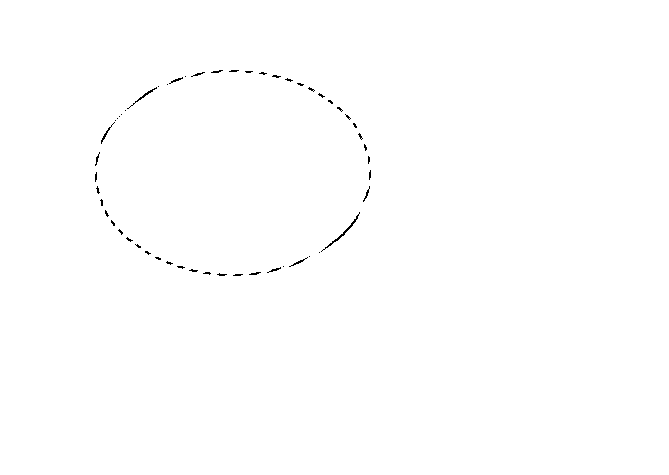
The Elliptical Marquee draws elliptical (oval) and round selections. It works just the same as the Rectangular Marquee.
Click and drag to create an ellipse, or hold down the Shift key to create a circle.
Hold down the Alt key while you click and drag to create an ellipse from the center. This can be useful in making a selection of a wheel, although it's not necessary, as it's easier to simply make an approximate selection, then edit it using Transform. I use this method a lot and I have a tutorial on transforming a rough selection of a wheel, here.
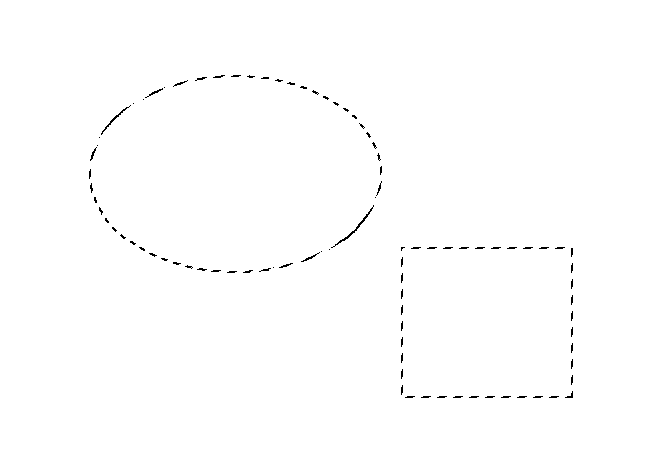
New Selection

Select the first Selection button, New Selection. When you create a second selection, any existing selections are replaced.
Multiple Selections
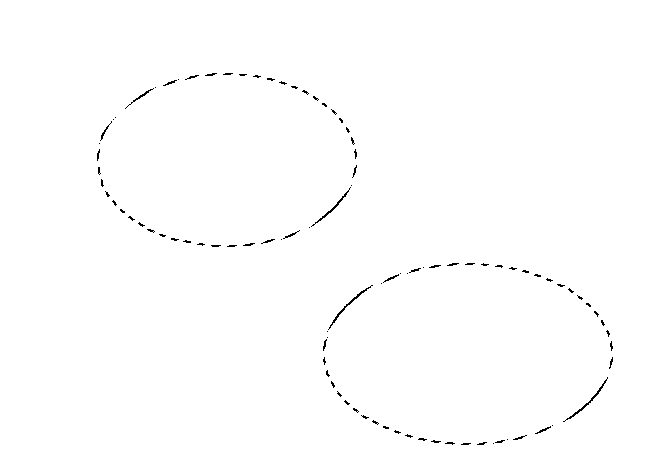
Select the 2nd Selection button, Add to Selection. When you create a second selection, it is added to the existing selections.
Add to Selection

If you add to selection and overlap, the new selection will be added to the existing selection.
Subtract from Selection
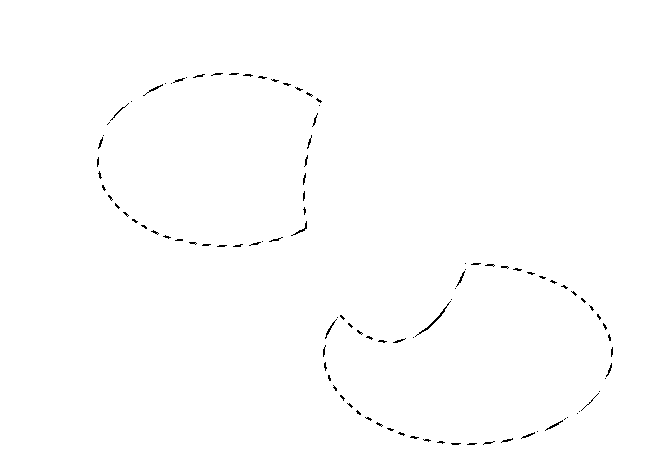
If you overlap, the new selection will subtract the overlapping area from the existing selection.
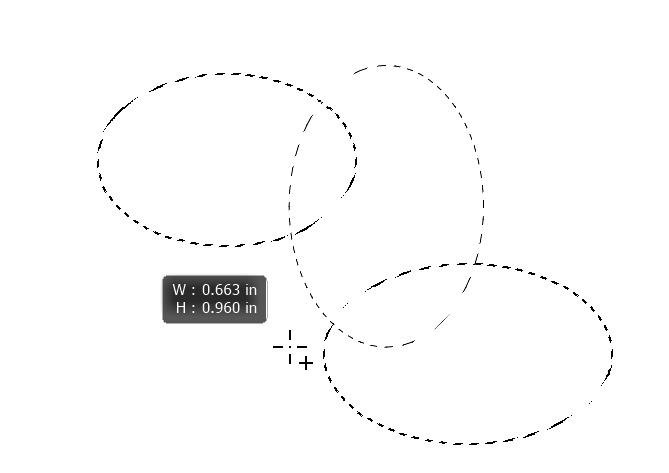
Intersect with Selection

If you intersect, the new selection will intersect with the overlapping area from the existing selection.
Using multiple Marquee Tools

So far I've just looked at using the Rectangular or Elliptical Marquee tool on their own. But of course, you can use both in an unlimited number of ways. You can create separate selections, or combine them, or use them on any selection made by any tool, using the methods described above.
Single Row & Single Column Marquee Tools

These tools select a single row or column, wherever you click in your image. The row or column spans the entire width or height of the image, just one pixel wide. You could fill them to create a line, but you are probably better off using the Line tool, or Brush. There's not much use in editing images, but they can also be used creatively to create custom patterns.
Marquee Tools Summary
We have looked at different possibilities with these tools. However, in editing photos, the only one I've consistently used is Elliptical Marquee, to select a wheel. And whenever I've done that I've also used various Transform tools, such as Transform Selection, Distort, Skew, or Warp, as described in the Transform a Selection of a Wheel.
