Page updated: 18 July 2026
Interactive Photoshop Toolbar PDF (2026)
Preview and download available on the Tools page.
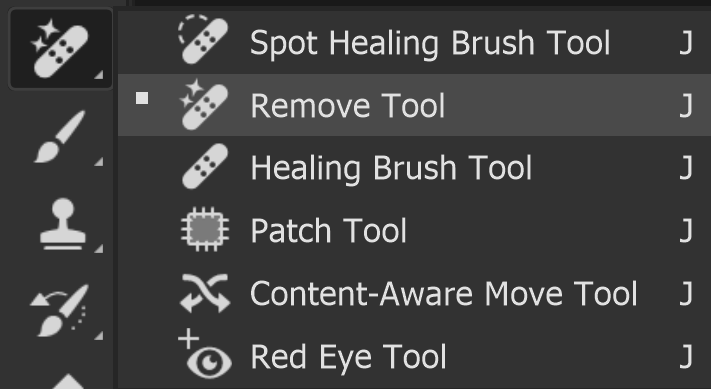
Remove Tool
The Remove tool received a major update in October 2024 (Photoshop v26). A new feature, called Remove Distractions was added, with will automatically attempt to remove one of two options; Cables and Wires, or People, from an image. In many cases, it does a very impressive job, although as with other automatice removal and AI Generated tools, it's not always perfect. It will often do a good job that may just require some small additional work, but be much faster than if you had attempted the whole job manually.
It also automatically removes any other object you highlight.
This page has been updated to include the new October 2024 update.
Remove Tool Options

Tap to view full size
Rotate your phone for easier reading
ON THIS PAGE
Tool Presets

You can create and save a Tool Preset for any tool, which will remember settings that you choose for that tool, so you can quickly and easily select different presets and settings for a particular tool. The degree of usefulness of presets varies, depending on the tool.
You can reset any tool back to its default settings by right clicking on the Tool Presets button and select Reset Tool. Take care not to Reset All Tools, unless that is intended.
Add or Remove
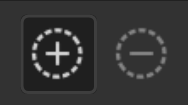
While you are brushing over an object, select whether you are adding to the brushed area, or removing from it.
If you have Remove after each stroke turned on, the change will be applied immediately to the brushed area.
If you have Remove after each stroke turned off, you can select either option for each brush stroke. However I recommend not using this at all. A quicker way to switch between Add and Remove is simply to use the Alt key to Remove. When the Alt key is not pressed, you will Add. This keyboard shortcut also applies to other selection tools, for example the Quick Selection tool.
Size
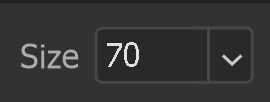
Adjust brush size. Click the dropdown and drag the slider. But I recommend you don't use this.
A much better and quicker way to adjust brush size with any brush based tools is to use the square bracket keys [ ].
Left square bracket [ to reduce size.
Right square bracket ] to increase size.
Pressure Sensitive Size

If you have a pressure sensitive graphics tablet and pen, use this to control brush size with pressure.
This is not particularly useful and even though I have a pressure sensitive pen and tablet, I use a regular mouse and control brush size with the square bracket keys [ ].
overlay Options

Select your preferred color for the overlay to highlight the brushed area and it's opacity.
Find Distractions

There are two options; Wires and Cables, and People.
The tool will automatically detect each option and then remove it from the image.
Find Distractions Mode
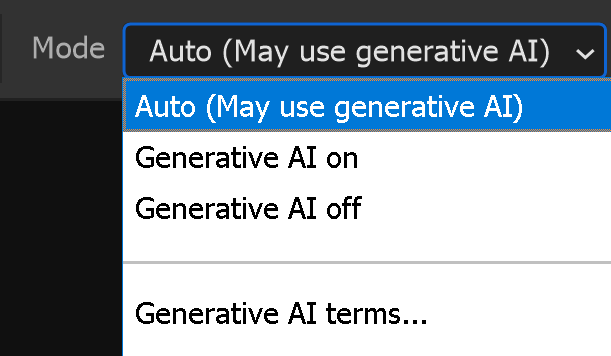
There are three options;
Auto. This may or may not use Generative AI in removing the distractions. Generative AI On. This will use Generative AI. Generative AI Off. This will not use Generative AI.
The tool will automatically detect each option and then remove it from the image.
Sample All Layers

Select whether the remove brush will sample from all layers, or just the selected layer.
To work non destructively I recommend working on a new empty layer, so you would need Sample All Layers turned on. In the future, if you wished to make changes, it would be easy to do so.
Remove After Each Stroke

You can either brush with multiple strokes and then apply that to remove an object. Or you can have the tool remove each time to finish a stroke.
My preference, when selecting a single object, is not to remove after each stroke. I like to complete my brush area, adding and removing by using the Alt key, then Apply, either by clicking the tick on the Options bar, or by pressing the Enter key (which is what I do).
However, if I'm removing a number of small objects, I will turn on the option to remove after each stroke.
Good Result

Give feedback to Adobe if this was a good result.
Poor Result

Give feedback to Adobe if this was a poor result.
Report Result

Give feedback to Adobe if you wish to report the result.
Reset All Strokes

Reset all strokes. This is a cancel button.
A quicker method is to press the Esc key on a keyboard, if you're using a keyboard.
Apply Strokes

Apply the strokes and remove the object.
A quicker method is to press the Enter key on a keyboard, if you're using a keyboard.
1. How to Use the Remove Tool
Select the Remove tool from the toolbar. Like most tools, it shares the button with other tools and the one that is visible will be the last tool used.
2. Adjust Brush Size
There are different methods to using this tool, but for each of them, adjust the brush size, either from the Options bar, or by using the square brackets keys [ ].
If you Remove after each stroke, then you must ensure you brush over or around the whole of the object before releasing the mouse button. You don't have to brush over every part of the object. If you brush around it, it will automatically be selected. The object will then be removed.
3. Add or Remove
With Remove after each stroke turned off, you can now use as many strokes as you wish to cover the object. Remember to use Add or Remove (or the keyboard shortcut of Alt to switch to Remove), to end up with your brushed area. Then press Enter, or click the tick on the Options bar to apply your removal. You can also brush right around the perimeter of the object, and the whole area will be automatically selected.
Note that each method relies on you brushing around the whole object. if you didn't quite brush around every part of the object, the result may not be perfect. See steps 5-8 below for examples of this.
4. Multiple Remove Strokes
With Remove after each stroke turned off, you can now use as many strokes as you wish to cover the object. Remember to use Add or Remove (or the keyboard shortcut of Alt to switch to Remove), to end up with your brushed area. Then press Enter, or click the tick on the Options bar to apply your removal. You can also brush right around the perimeter of the object, and the whole area will be automatically selected.
Note that each method relies on you brushing around the whole object. if you didn't quite brush around every part of the object, the result may not be perfect. See below for examples of this.
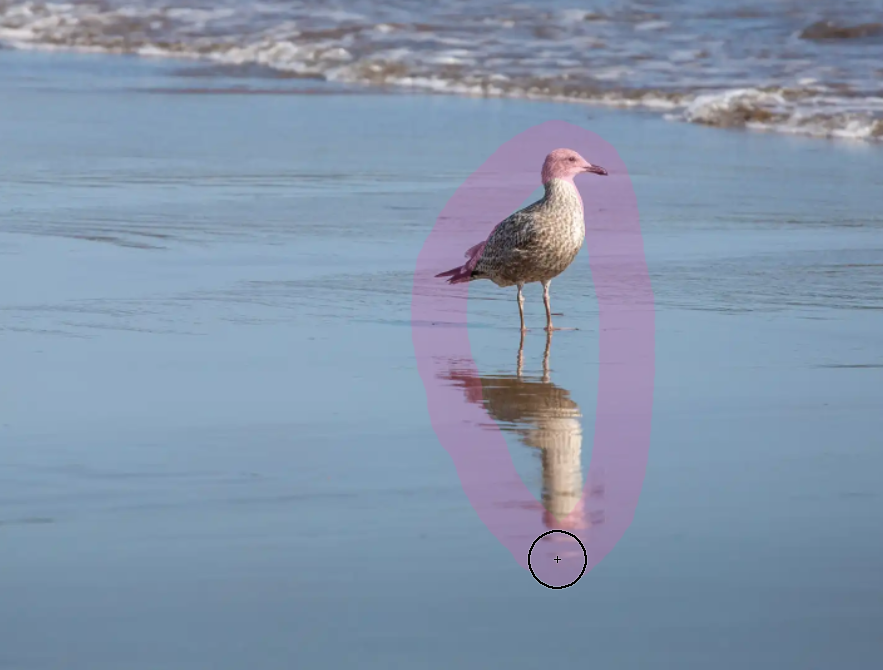
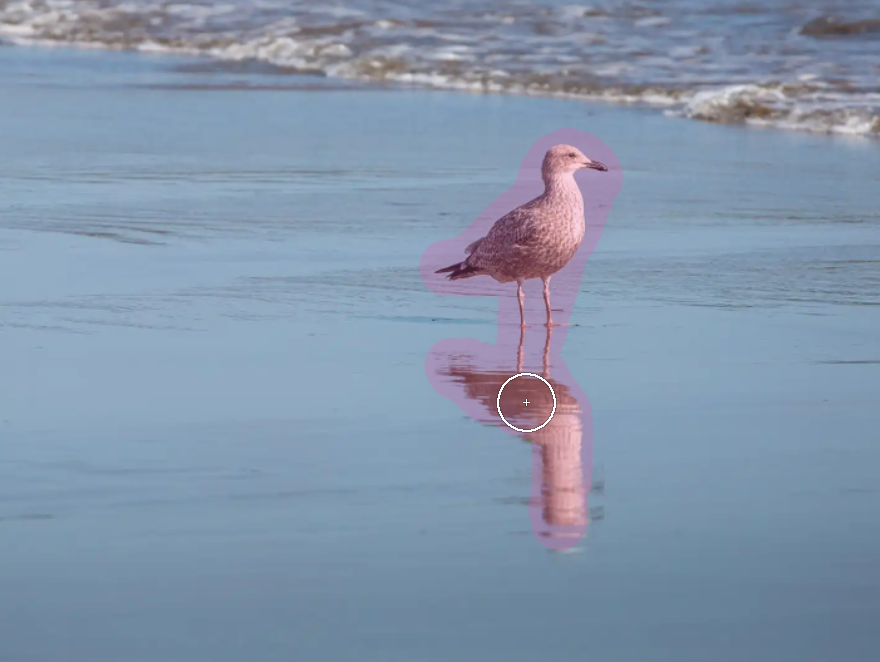
5. Selected Area

This is the selection, or brushed area, shown in the default magenta color. Notice that I've deliberately just missed off the very bottom of the reflection.
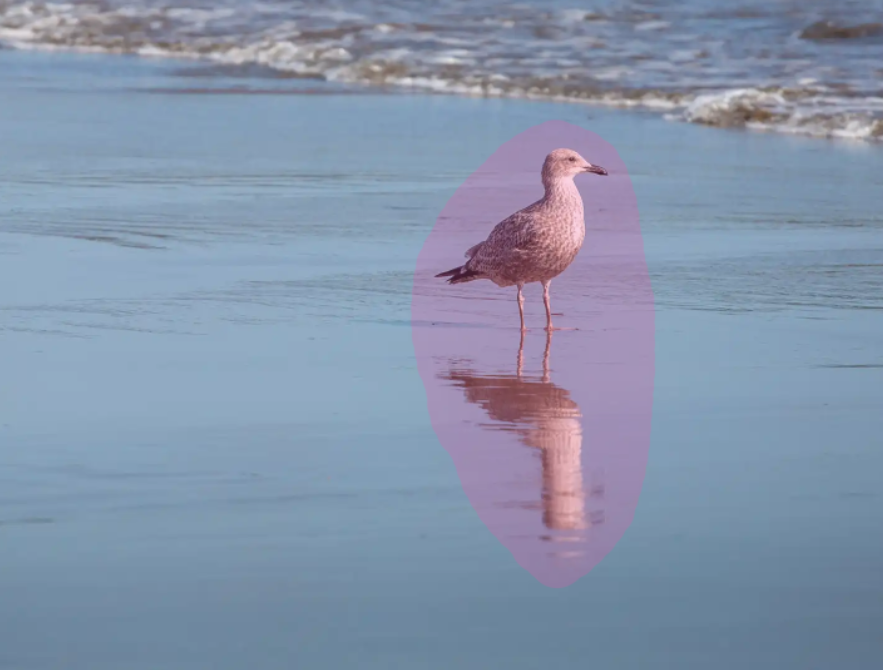
6. Result of step 5.
This is the result of step 5.
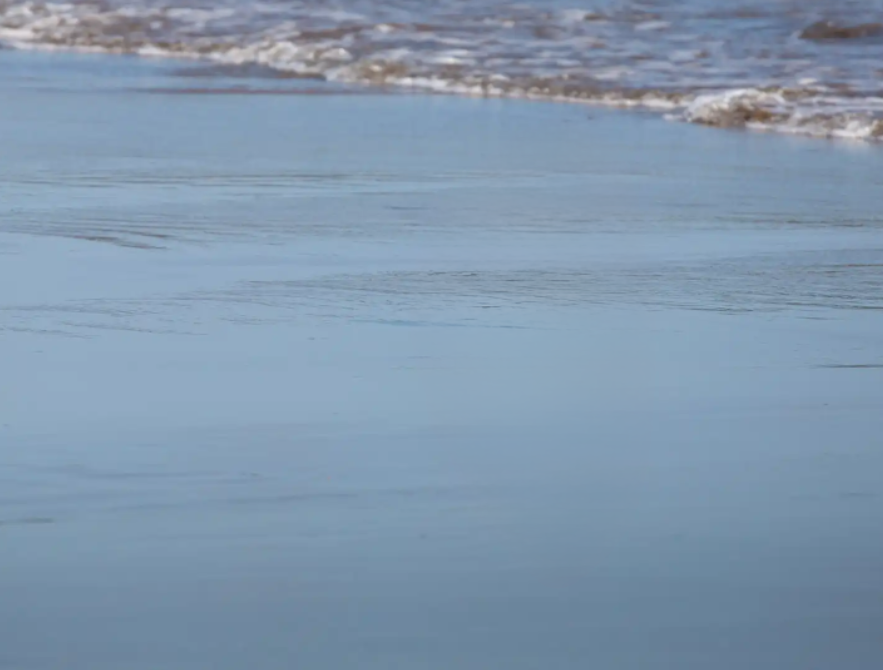
7. Selected Area
This time I've missed off a tiny area at the bottom of the reflection and small areas to the right of it.
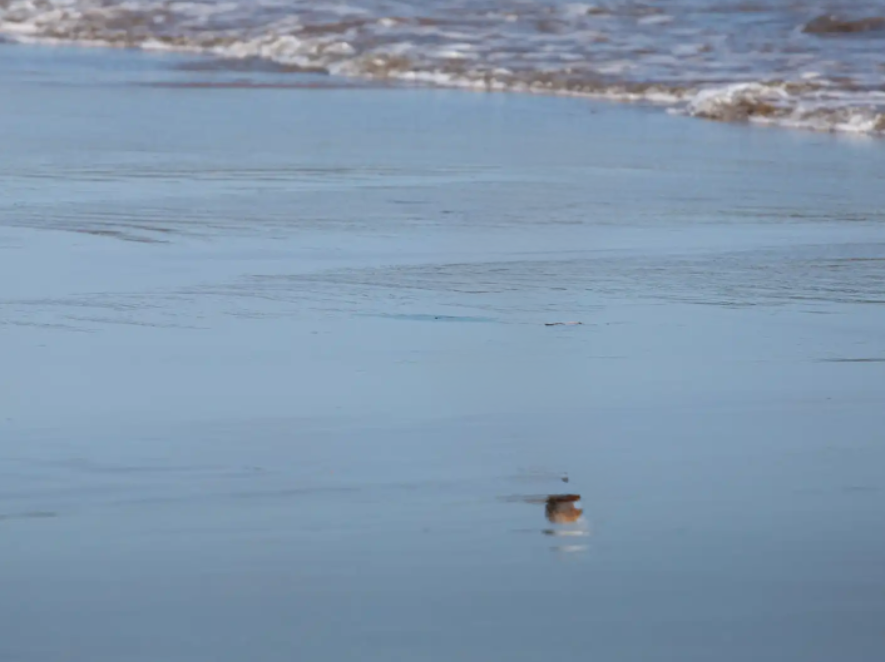
8. Result of step 7.

This is the result of step 7.
Summary of the remove Tool
The Remove tool is an excellent tool for removing objects.
Just make sure that you completely select, or brush over the object, before Applying.
If you miss even small areas, it can result in an imperfect result. If it doesn't go perfectly, undo and try again, or repeat the steps on whatever part of the object remains.
