Page updated: 10 April 2026
Burn Tool
The Burn Tool is used to selectively darken parts of an image. Along with the Dodge tool, it replicates techniques that used to be used in darkrooms when printing, to darken parts of an image. The icon even represents what a printer did with their hands.
Both tools are fairly simple tools to use, but to achieve results that blend into your image and are unnoticed by viewers, they need to be used with care, as detailed below in the How to Use section.

ON THIS PAGE
Burn Tool Options
Tool Presets

You can create and save a Tool Preset for any tool, which will remember settings that you choose for that tool, so you can quickly and easily select different presets and settings for a particular tool. The degree of usefulness of presets varies, depending on the tool.
You can reset any tool back to its default settings by right clicking on the Tool Presets button and select Reset Tool. Take care not to Reset All Tools, unless that is intended.
Brush Presets

Change size and hardness and select from a range of brush presets. There are many brushes available and you can also create your own.
Brushes Panel

You can select from a vast number of brushes and change settings.
Range

Select which tones to dodge (darken).
Exposure

Control the amount, or strength of the dodging. I suggest using a lower Exposure amount. It will take a little longer, but it gives you more control over the result. With care (and a little experience), you should achieve better results.
Airbrush Effect

Build up paint in the same way as a real world airbrush.
Brush Angle

If you have a non round brush, you can change the angle of the brush.
It won't make any difference on a round brush.
Protect Tones


This helps to preserve colors, saturation and contrast, when darkening areas. I recommend you leave it on.
Pressure Sensitive Size

If you have a pressure sensitive pen and tablet, you can turn on this option, so brush size is controlled by the pen pressure. If this is off, size will be controlled by brush settings.
For non pressure sensitive users, the best way to change brush size is with the square brackets keys [ ].
How to use the Burn Tool
The Burn Tool is used to selectively darken areas in an image. It will do this destructively, changing the pixels on the layer. I therefore recommend you work on a duplicate layer.
1. Burn Tool

Select the Burn Tool from the toolbar. Like most tools, it shares the button with other tools and the one that is visible will be the last tool used.
2. Duplicate Layer

Create a duplicate layer. You can right click on the background layer, or from the Layers menu, select Duplicate Layer.
It's always a good idea to preserve your original unedited image.
3. Brush Hardness

I recommend using the Burn Tool at the softest brush setting of 0% Hardness. The brush softness will help your editing blend in, ideally to be unnoticeable.
Select the Brush Presets on the Options Bar (highlighted in red).
The default Hardness is 0% (highlighted in green). I recommend you don't change it.
4. Low Exposure

When you require subtle Dodging, I recommend using the Burn Tool at a lower Exposure than the default value of 50%. It will darken more slowly, which gives you more time to move the brush around, to make your editing unnoticeable.
5. Multiple Strokes

Select which tones you want to darken. You can apply multiple strokes, with different settings. See the next steps for examples.
6. Original image

This is the original image, before using the Burn Tool.
7. Darken Shadows

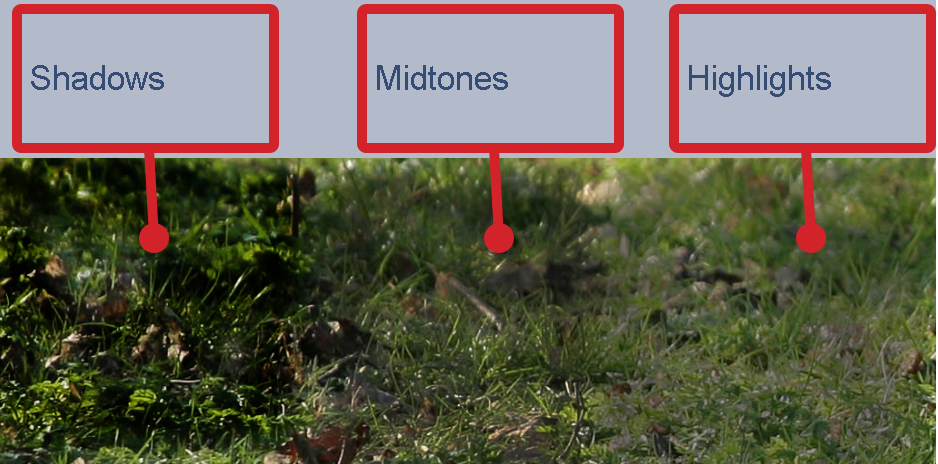
In this image I've used the Burn Tool, using each of the Range options of Shadows, Midtones and Highlights, on separate areas.
Using the Shadows option, shadows have been darkened, but not the midtones or highlights. Compare this to the Highlights option, where the highlights have been darkened, but not the shadows.
Summary of the Burn Tool
The Burn Tool is a simple to use tool that darkens areas where you paint. I recommend leaving the Protect Tones option turned on and using this tool at a low Exposure, such as 20%, although this will depend on the area in your image and the desired result. A lower Exposure will take longer, but it will allow you more time to control the darkening.
Because it darkens pixels directly on the layer, I recommend using on a duplicate layer.

