Page updated: 24 March 2026
Mixer Brush Tool
The Mixer Brush Tool is one of several painting tools in Photoshop. It simulates realistic painting techniques, such as mixing colors and varying paint wetness across a stroke. It is an excellent tool for an original painting, or for painting on a photo, to give it a painterly look. Either from scratch, or on an existing photo, you can create very realistic painting effects and mix colour in your image, similar to mixing real paint.
However, using the Mixer Brush effectively will require practice to become familiar with its options, because there are so many combinations of settings. In addition there are many different brushes to use and the settings can work slightly differently with different brushes, depending on various brush settings and behaviors.
To begin, pick a simple brush and stick with just one or two brushes, so you get used to the Mixer Brush controls before adapting to different brushes. Practice on new empty documents and on simple images, to build up a feel for what the brush does and what settings to use.
When doing any painting, a pressure sensitive tablet and pen are a big advantage. They allow more control and more flexibility in applying different brush strokes. Holding a pen feels more natural than a mouse, or trackpad and helps to achieve better quality. In addition the pressure sensitivity allows you to press harder for a thicker line and a darker colour.
One look at the Tool Options Bar and how many options there are, should immediately tell you that this isn't a simple tool. As you can see from the screenshot of the Tool Options below, with all the buttons labeled, there are a lot of options.
As mentioned, this is not the easiest tool to master, but if you like digital painting, it's worth getting to know. To achieve quality, it will take time to become familiar with each option, and also how different options interact with other options.
I can speak from experience that if you enjoy digital painting, or hand painting effects in your images, it's easy to spend hours with this tool and you wonder where they went!
If you want a fast method (that doesn't offer as much control) to give your photos a painterly look see my tutorial on the Art History Brush Tool.

Edited entirely by hand painting with the Mixer Brush and a white vignette added to lighten the edges.
Mixer Brush Tool Options
ON THIS PAGE
Tool Presets
You can create and save a Tool Preset for any tool. This will remember settings that you choose. Presets for brushes are much more useful than for some tools. If you wish to use presets, you have the option of either creating a tool preset or a brush preset. Right click on the Tool Presets button to reset the tool to default settings.
Brush Presets
Brush Presets is similar to the following 2 panels; Brush Settings and Brushes.

You can change size and hardness and select from a range of brush presets. There are many brushes available and you can also create your own.
In the second How To Guide, below, we will create a Preset for a Mixer Brush, after changing some settings. If you don't create a Preset, the next time you select a brush, it will automatically apply its default settings.
Brush Settings Panel

The Panel contains 2 tabs; Brush Settings and Brushes.
Brush Settings.
This panel allows you to customize any brush with a wide range of options and settings, which will change the characteristics of the brush. You can then save these brushes.
Brushes you can access a vast number of brushes, search for particular brushes and more.
Brushes are a very large subject, too large to fully go into here.
Current Brush Load Button
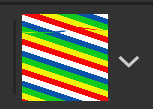
This shows the current brush load, the paint your brush is loaded with.
The image gives a live preview of the current brush load. I took this screenshot while working on the example below, hence the colors.
Current Brush Load Options
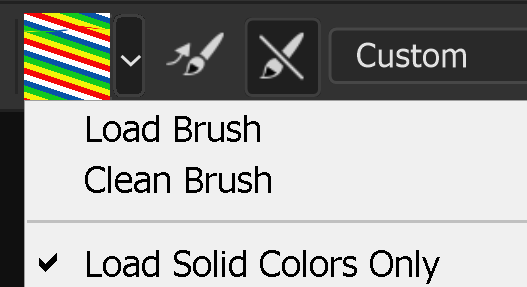
When you click on the drop down arrow, you will see options for the current brush load: Load Brush, Clean Brush, or Load Solid Colors Only.
Load Brush

This an on/off option to load your brush after each stroke. It will load it with the Foreground Color, but this will be affected by whether you choose the next option, to clean your brush after each stroke.
Clean Brush

This is an on/off option to clean your brush after each stroke. When you begin a new stroke the color will be affected by the previous option of whether or not you load your brush for each stroke.
Useful Brush Combinations
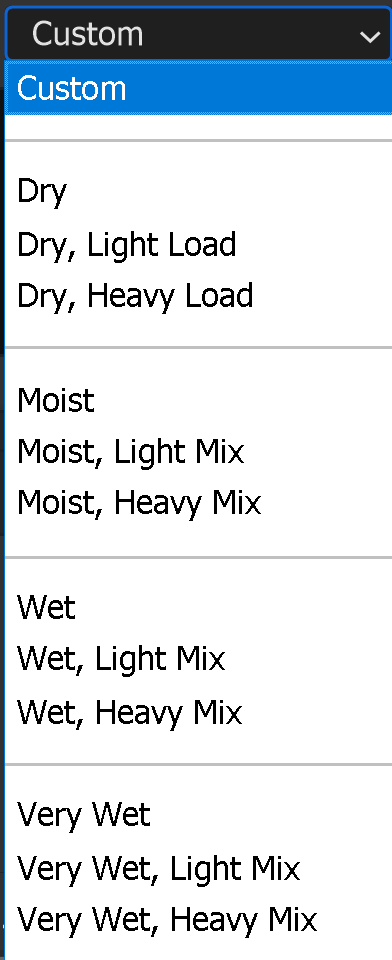
This drop down list contains different brush combinations, that automatically change Mixer Brush settings, including the following options; Wet, Load, Mix, Flow.
Wet
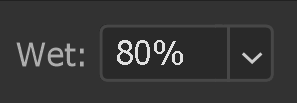
Control how much paint is picked up from the canvas during a stroke. How much color you take into another area.
Load

Set the amount of paint on the brush.
Mix
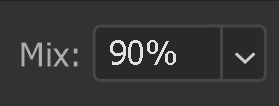
Set the color mixing ratio for the stroke.
Flow
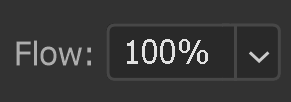
Set the Flow rate for the stroke.
Airbrush Style Build-up Effect

Build up paint in the same way as a real world airbrush paint effect.
Smoothing

As you paint with freehand brush strokes, choose how much Photoshop will automatically smooth out those strokes, so they are not jerky.
Higher settings will smooth out the stroke more, although, you may experience lag, depending on your computer, processor, memory and graphics card.
Smoothing Additional Options

Pulled String Mode is a brush smoothing mode for creating smooth lines with sharp corners. The brush only paints when the string is taut, so any movement within the smoothing radius leaves no brush paint.
Stroke Catch-up is a brush smoothing mode that allows the paint to continue to catch up to the cursor when the stroke is paused.
Catch-up on Stroke End completes a brush stroke by drawing a straight line from the last paint position to where the cursor was released.
Adjust for Zoom prevents jerky strokes by adjusting smoothing. Decreases smoothing when you zoom in the document; increases smoothing when you zoom out.
Brush Angle

If you have a non round brush, you can change the angle of the brush.
It won't make any difference on a round brush.
Sample All Layers

Choose whether to sample from all the layers, or just the currently selected layer.
Painting on a new empty layer gives you the ability to edit just the brush strokes, separately to the image. However, working on a separate layer may cause a lag in the brush strokes, which makes it impossible to paint accurately. If you are affected by a lag in the brush strokes, then paint directly onto the layer, but in this case, to protect the original, it's good practice to paint on a duplicate layer.
Pressure Sensitive Size

If you have a pressure sensitive pen and tablet, you can turn on this option, so brush size is controlled by the pen pressure. If this is off, size will be controlled by brush settings.
For non pressure sensitive users, the best way to change brush size is with the square brackets keys [ ].
A pressure sensitive pen and tablet are a great advantage for digital painting.
How to use the Mixer Brush Tool
There are so many combinations of different brushes and options, so to learn to use the Mixer Brush for painting will take practice. This tutorial will get you started with the basics.
1. Select Mixer Brush

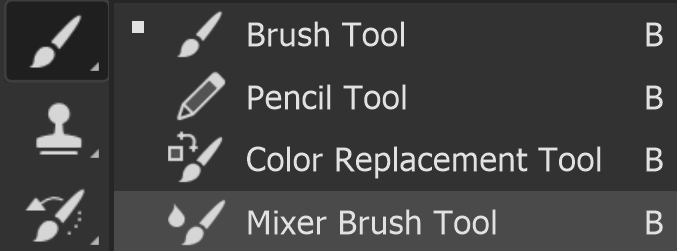
Select the Mixer Brush Tool from the toolbar. Like most tools, it shares the button with other tools and the one that is visible will be the last tool used.
2. Keyboard Shortcuts

While practicing, it’s useful to clean the canvas regularly by filling with white (or your preferred colour). Keyboard shortcuts will make life much easier. These are also useful to use in editing.
Alt+Backspace fills the layer with the Foreground Colour.
Ctrl+Backspace fills the layer with the Background Colour.
You can also use the History panel to jump back many steps. After several strokes, just click on the Open state.
3. Brush Settings Panel

Click on this button on the Options Bar to open the Brushes / Brush Settings Panel.
4. Select a Brush
Getting Started - keep things simple
We'll start with some simple examples, to get a feel for how the brush works. I recommend you do the same.
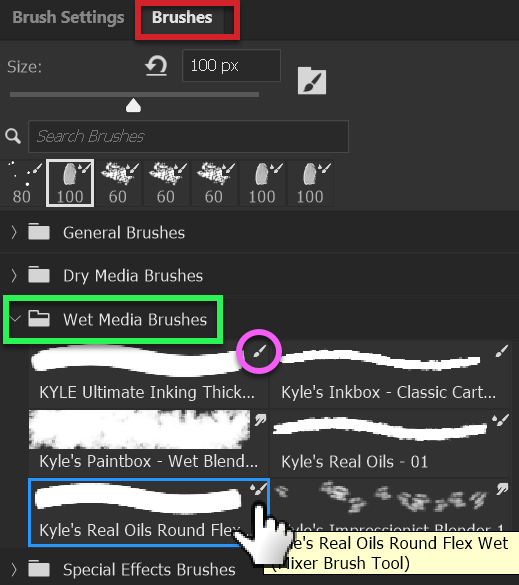
There are two tabs. Select the Brushes tab (red box).
Open the Wet Media Brushes section (click on the chevron at the left).
Select Kyle's Real Oils Rounded Flex Wet.
Even when you select the Mixer Brush Tool, when you select a brush, many of the brushes are not Mixer Brush tools. They could be regular brushes, or other tools. Look for the Tooltip or small icon.
The small icon (pink circle) tells you what type of tool each brush is. The example inside the pink circle is a regular brush, not a Mixer Brush Tool.
The tooltip (yellow background), that it tells you what tool the brush is. In this case it's a Mixer Brush Tool. The small icon (just above the finger) is the Mixer Brush Tool.
5. Example Strokes

To demonstrate some different brush behaviors, I'll use this image of colors and simply make one stroke from left to right, with each of the settings detailed in the next step.
All strokes are made with Kyle's Real Oils Round Flex, as detailed in Step 4.
Foreground Color was Yellow.
6. Brush Settings
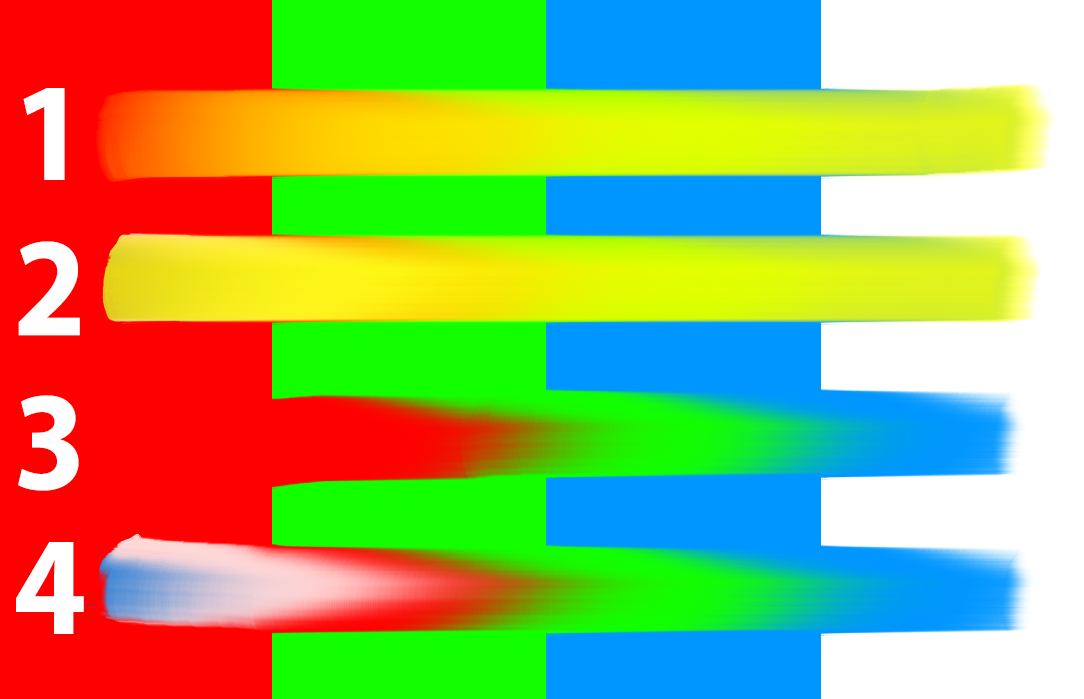
1. Default brush stroke + Load Brush ON + Clean Brush ON.
2. Exactly the same, with no settings changed from No. 1.
Notice how, because the brush was cleaned after the stroke, that the next began with the Foreground Color of yellow.
3. Load Brush after Each Stroke turned OFF. The Mixer Brush then picks up the color from red.
4. Clean Brush After Each Stroke turned OFF. The Mixer Brush then starts with the white color, loaded on the brush from the previous stroke.
The first 2 strokes had Load Brush and Clean Brush both turned on.
Stroke 3 had Load Brush OFF, but Clean Brush ON.
Stroke 4 had Load Brush OFF and Clean Brush OFF.
Summary of above steps.
The above 4 brush strokes illustrate, just with one brush, how the different options affect the stroke. These options work differently with different brushes and there are also many more options that we've not looked at yet.
How to use the Mixer Brush Tool to hand paint an existing photo.
There are so many combinations of different brushes and options, so to learn to use the Mixer Brush for painting will take practice. This tutorial will get you started with the basics.
We'll use the same brush as in the guide above, but please note that this isn't my favorite brush for this kind of work. I'm choosing it to keep things simple. It will give you a feel for what you can do, if you've not done this before. As soon as I can, I will have a guide detailing how you can get additional brushes for free and I'll share one of my favorite brushes for this kind of work.
7. Select Mixer Brush

Select the Mixer Brush Tool from the toolbar. Like most tools, it shares the button with other tools and the one that is visible will be the last tool used.
8. Open Brushes Panel

This step is the same as step 4 in the above guide.
Open the Brushes Panel.
There are two tabs. Select the Brushes tab (red box).
Open the Wet Media Brushes section (click on the chevron at the left).
Select Kyle's Real Oils Rounded Flex Wet.
Even when you select the Mixer Brush Tool, when you select a brush, many of the brushes are not Mixer Brush tools. They could be regular brushes, or other tools. Look for the Tooltip or small icon.
The small icon (pink circle) tells you what type of tool each brush is. The example inside the pink circle is a regular brush, not a Mixer Brush Tool.
The tooltip (yellow background), that it tells you what tool the brush is. In this case it's a Mixer Brush Tool. The small icon (just above the finger) is the Mixer Brush Tool.
9. Change Settings

Change the following settings for this brush.
Wet 1%
Load 10%
Mix 5%
Flow 10%
When you select the brush the next time, it automatically loads the default settings, so you would have to set these settings again. To avoid this, we will create a Brush Preset.
10. Create Brush Preset

We will create a Brush Preset, to save the changes we made to the brush settings
Open the Brush Presets.
11. Open Brush Presets
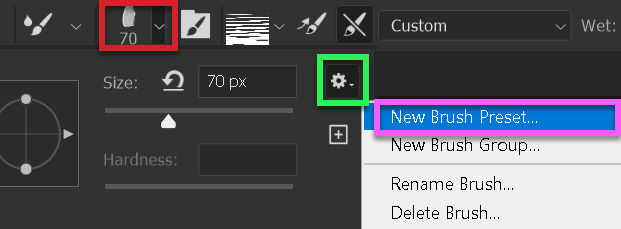
Open the Brush Presets on the Options bar (red box).
Click on the cog menu icon (green box).
Select New Brush Preset... (pink box).
12. Name the Brush

Give your brush a name.
Tick the boxes for Capture Brush Size in Preset and Include Tool settings. Leave the include Color box empty.
13. Select Brush Preset
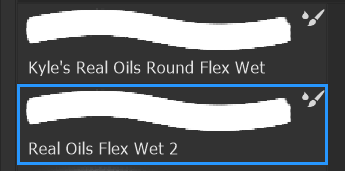
As you have just created a brush preset, your brush will be selected. But in future, you will need to select it from the Brush Presets.
I have named my brush similar to the original, so I know where it came from.
14. Duplicate Layer
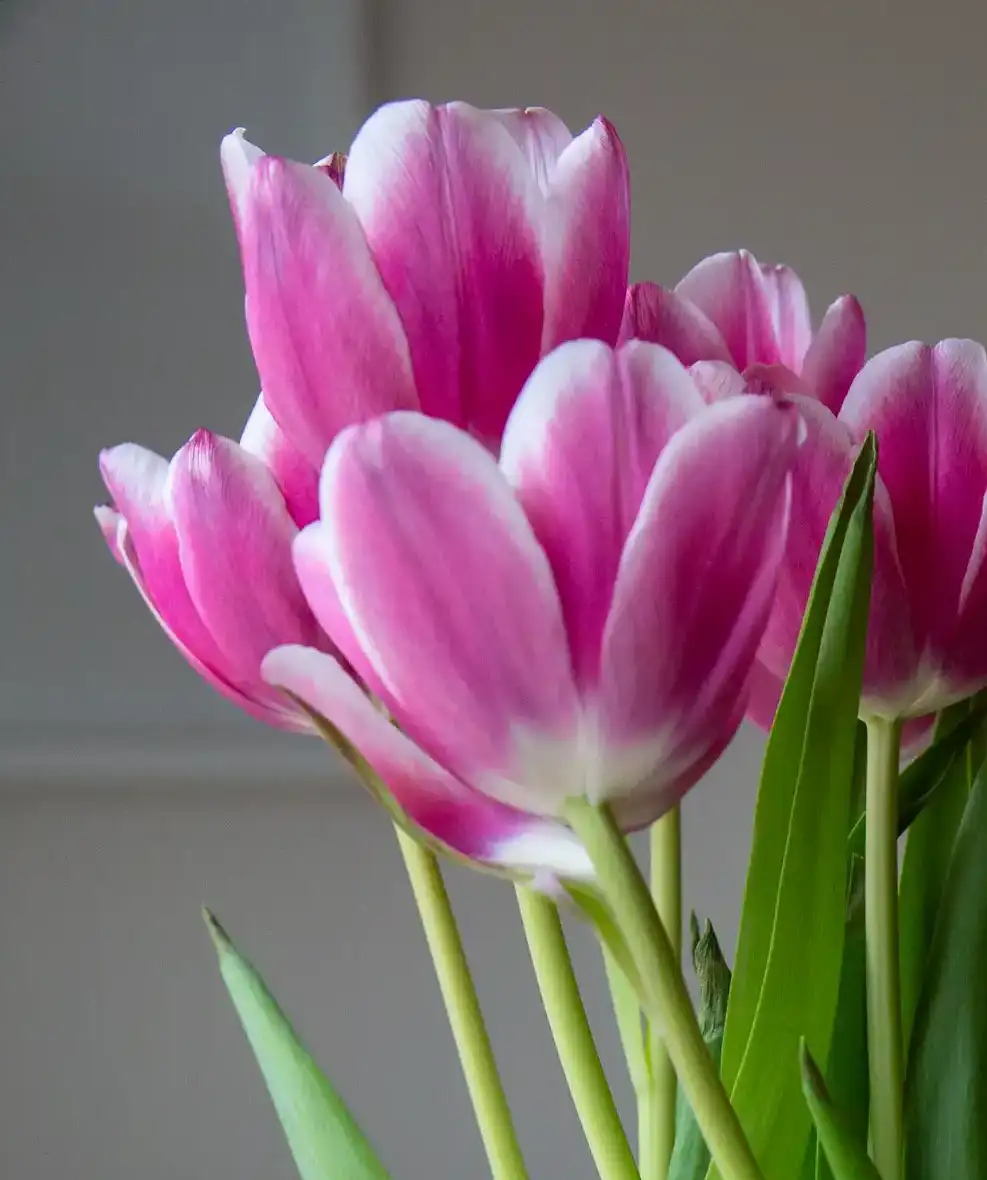
This is the image I'm going to paint on.
It's good practice to preserve your original image, unedited. To do that we can either duplicate the background layer, or add a new empty layer.
Duplicate Layer Right click on the layer and select Duplicate Layer. This will double the filesize, but unlike the New Empty Layer option, you won't be able to access and delete the brush strokes.
New Empty Layer. This is the ideal option, if possible. It doesn't add much to the filesize, but it also allows you to view the layer on its own and erase parts of it, if desired. You must then select Sample All Layers from the Options Bar.
However, selecting Sample All Layers could slow down the painting and cause lag, which is not helpful when you're trying to paint accurately.
If you suffer lag, then duplicate the layer and work on the duplicate layer.
15. Rotate Image

Most of the brush strokes in this image will be vertical, if you're aiming at a reasonably realistic painted version. Painting vertically is not a natural movement.
Press the R key on your keyboard, to access the Rotate tool (green box).
This is such a useful / necessary tool when painting, so you can rotate the canvas, much like you would if you were drawing or painting on real paper.
16. Rotate Keyboard Shortcut

I have rotated the image approximately 90 degrees clockwise, as I'm right handed and it will now be a lot more comfortable to make the strokes along the stems and petals of the flowers.
You can rotate an image via the menu; Image > Image Rotation, but I recommend you don't do that. It's a lot more cumbersome than just pressing the R key and clicking and dragging to rotate.
If you don't have a keyboard, then using Image > Image Rotation will allow you to rotate the image, although of course, it will be a lot easier to rotate the tablet.
To return to the brush you were using press B.
17. Drag to paint and mix
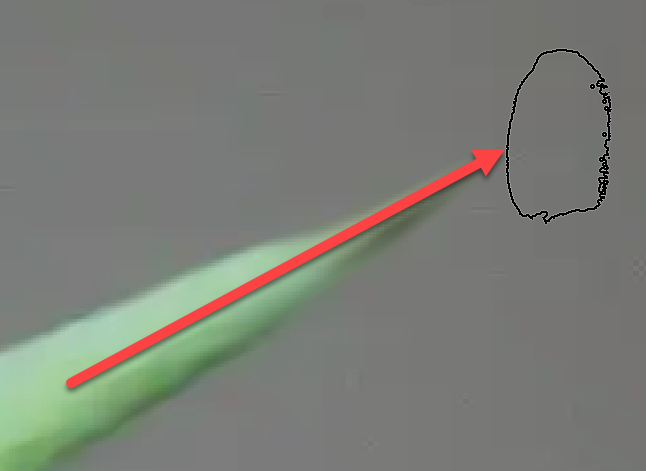
I have clicked and dragged, with the arrow indicating my start and finish point. You can see the brush cursor in the top right corner.
18. Moving Pixels
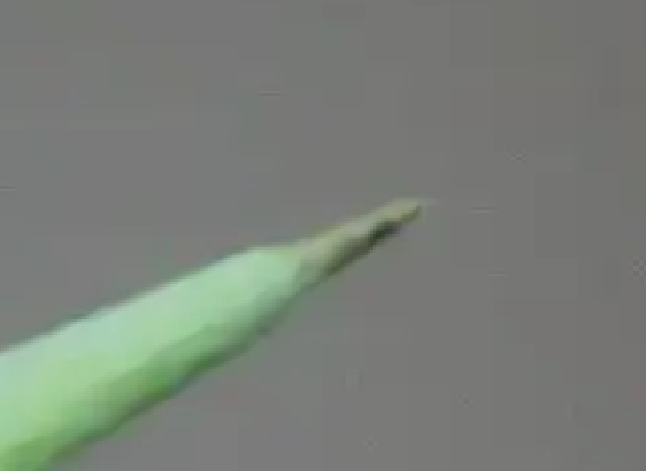
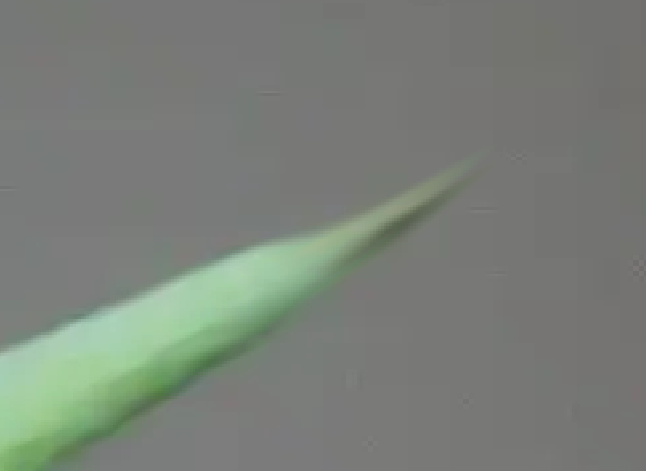
Notice how the leaf has changed.
The next steps will make this clearer.
19. Original Image

The original image, unedited.
20. Painted Image
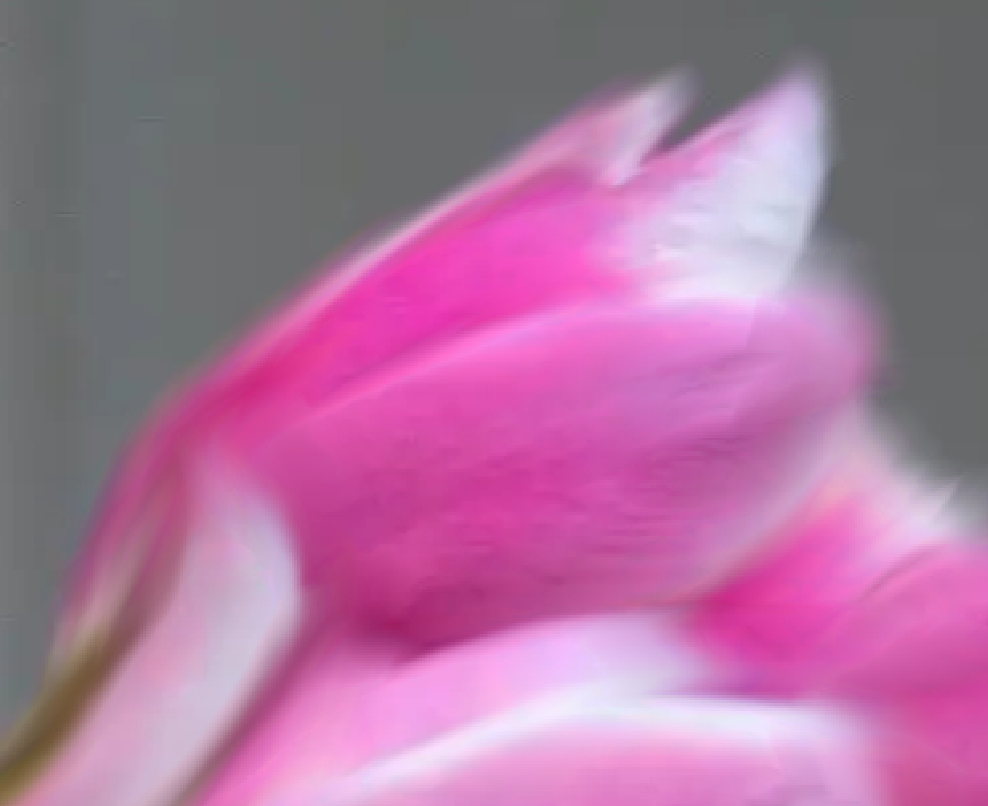
I've made several brush strokes, in the direction of the petals.
Note that you can change the direction of details by brushing in different directions. Here I've gone for a reasonably realistic result.
21. Work on Empty Layer
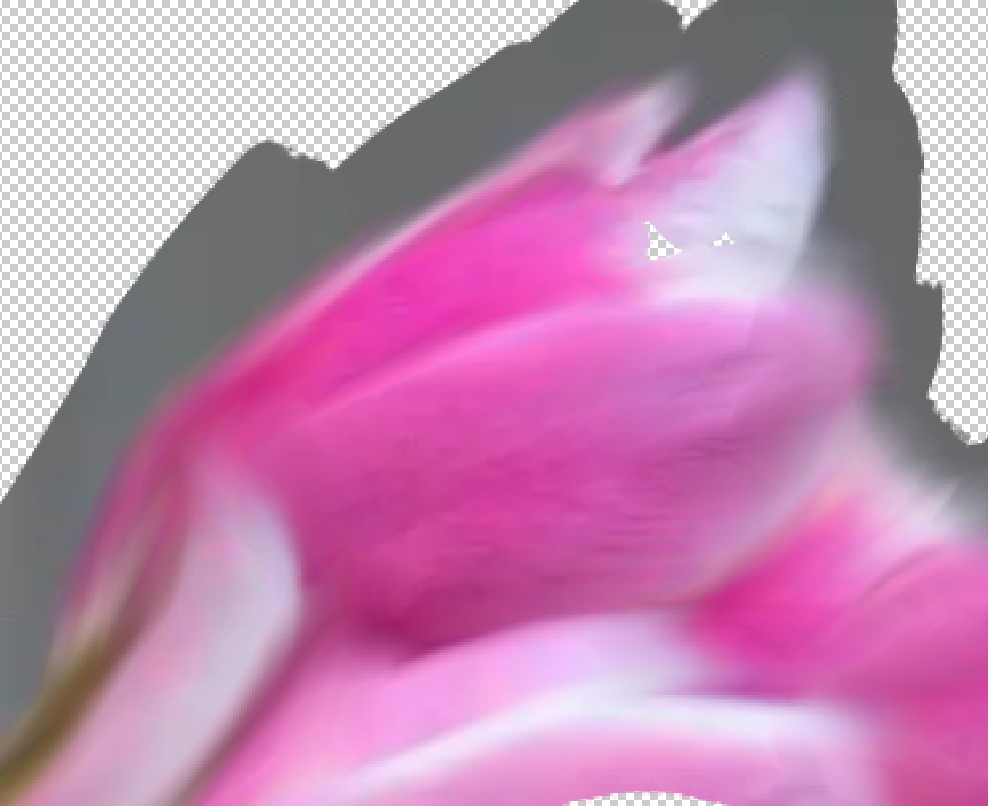
This is an example of the extra flexibility of working on a New Empty Layer. I have hidden the background layer, so only this layer is visible. If there is anything I want to change, I can erase it with the Eraser tool and try again. If you paint on a duplicate layer you can't do this.
Summary of the Mixer Brush Tool
The Mixer Brush Tool is a brilliant tool for digital painting, but it does take practice. There are a limitless number of permutations for brush settings. There are thousands of brushes available and you can create your own and each brush will behave differently to the same set of options.
To begin with, I suggest working with a limited number of brushes - even just one brush. Play around with options and spend time working on different images, or painting on a blank canvas.
I'm certainly no artist and I also can't claim that any of my creations are of any merit, but one thing I can say is that I've had great fun doing it. It can be very immersive and hours can disappear.
Have fun and feel free to email me your masterpiece!


