Page updated: 24 March 2026
Healing Brush
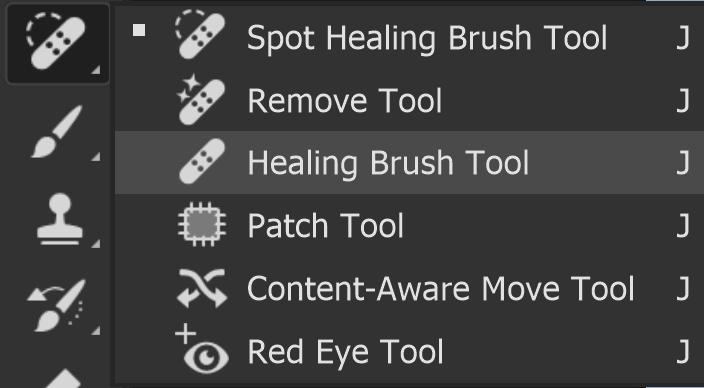
The Healing Brush is one of several tools for removing unwanted objects. Don't confuse it with the Spot Healing Brush. Their icons look similar and they work in similar ways, but there is a difference. The Healing Brush tool allows you to select.
There are times when you can't use the Spot Healing Brush, as you can't control the area it samples from. The Healing Brush is a mixture of the Clone Stamp and the Spot Healing Brush, in that you select the pixels it clones from, but then it will attempt to blend the cloned pixels into the new area, taking into account the pixels in the new area.

Healing Brush Options
Tool Presets

You can create and save a Tool Preset for any tool, which will remember settings that you choose for that tool, so you can quickly and easily select different presets and settings for a particular tool. The degree of usefulness of presets varies, depending on the tool.
You can reset any tool back to its default settings by right clicking on the Tool Presets button and select Reset Tool. Take care not to Reset All Tools, unless that is intended.
ON THIS PAGE
Tool Presets

Change various brush options;
Size - Change the brush size to be slightly larger than the area to be removed. My recommended method to change brush size is with the square brackets keys [ ]. The left square bracket [ will decrease the size, the right square bracket ] will increase the size. See keyboard shortcuts for more recommended shortcuts.Hardness - Change the brush hardness. I suggest 100%.
Spacing - When you click and drag, multiple brush strokes are applied. Spacing is the space between them. I suggest leaving this at the default 25%.
Shape - You can change the shape of the brush, but I recommend leaving it round.
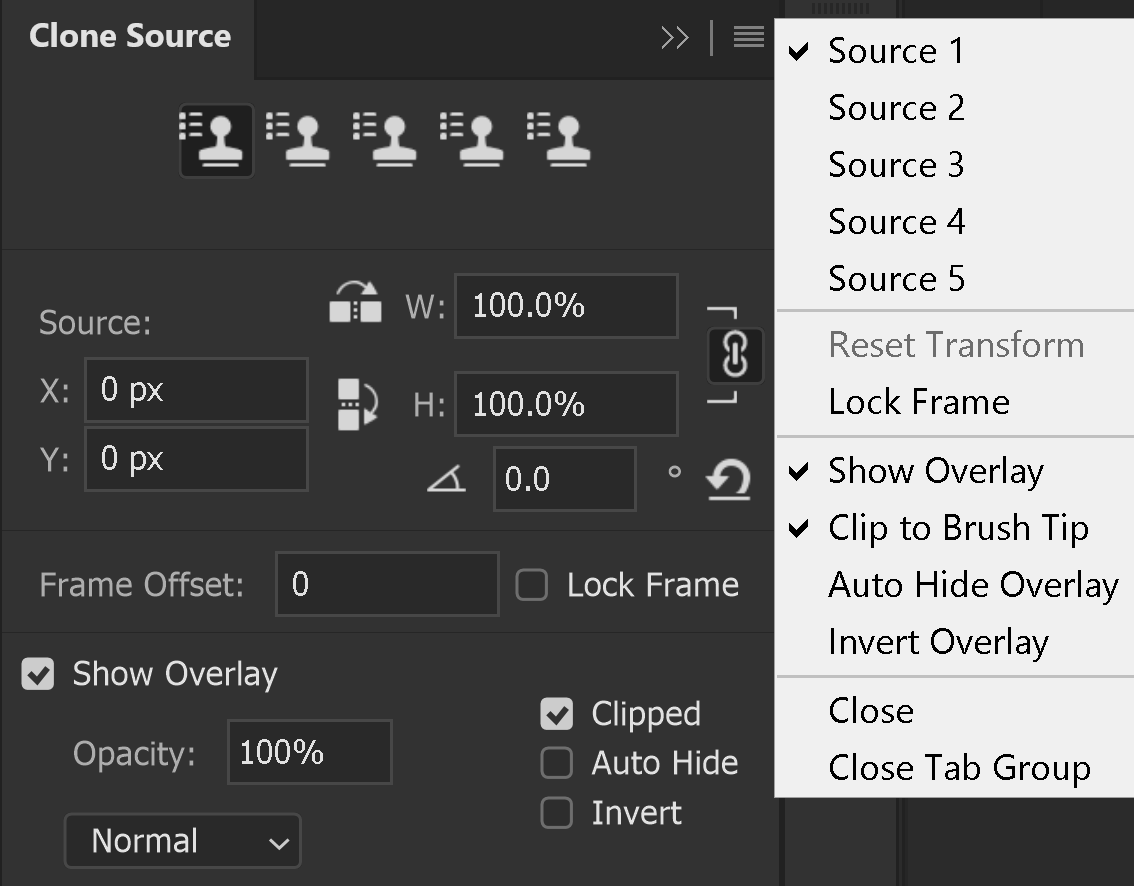
Clone Source


Clicking this button opens the Clone Source panel.
This panel will give you 5 clone source points to choose from.
To be honest, this isn't something I would normally do. You can use this tool very effectively without opening this panel.
Mode

Mode offers a choice of Blend Modes, several of which will have different effects on your removal.
However, I recommend you leave the Mode set to Normal. If you are just removing small areas, such as spots, this is an ideal mode.
Source

Select either Sampled or Pattern.
Most (if not all) of the time the Healing Brush is used to remove objects and areas from an image. For this, select Sampled. This is described more fully in the How to Use section.
If you select Pattern, see the next section.
Pattern

This is a much less used option for this tool. It allows you to sample a pattern and blend it into your image.
Aligned

Like the Clone Stamp, the Healing Brush works by cloning from a sampled area. The Healing Brush then blends this into the new area, whereas the Clone Stamp, just does a straight clone. There are are times when you will need both tools.
The Aligned setting determines how each tool deals with the sampled area. If Aligned is selected, then once you establish a source point and you begin painting, the relationship will remain between the position of the source point and the point you are healing. This remains until you select a new source point.
If Aligned is not selected, every time you release the mouse button and begin a new stroke, it will clone from the same source point (until you select a new source point)
Depending on the image and what you are doing, there are times when you will need both settings. However, the most used setting is Aligned, and I suggest you work with that most of the time. This is illustrated below in the How to Use section.
Use Legacy

Legacy is an older version of this tool and doesn't include the Diffusion option.
Sample Layer

Choose whether to select just the current layer to heal, or Current and Below, or All Layers.
The best technique will allow you edit images non destructively, i.e. the image itself isn't changed and can always be edited later. Non destructively means that the image will be changed and these changes can't be reversed later.
My recommendation is to add a new empty layer directly above the layer to be healed, name this layer "healing" and then set this to Current and Below.
Adjustment Layers On/Off

If you have added any Adjustment Layers to the image, they can affect the healing. This option allows to heal with or without the effect of the Adjustment Layers.
Angle

If you have a brush that isn't round, you can change the angle of the brush. I recommend using a round brush and if so, you can ignore this setting.
Pressure Sensitive Size

If you a pressure sensitive tablet and pen, this option allows you to change the size of the brush by pressure.
Diffusion

The Diffusion slider affects how quickly the pasted area adapts to the surrounding image. Lower values are probably better for images with fine details and higher values being better for smooth images. In practice, I don't see much difference. Other factors will have more of an impact, such as the mode used and the area of the image.
This is the same option as on the Spot Healing Brush, except that with this tool you have the option of using the Legacy version, which doesn't have Diffusion.
How to use the Healing Brush
1. Select Remove Tool

Select the Remove tool from the toolbar. Like most tools, it shares the button with other tools and the one that is visible will be the last tool used.
2. Select Sampled

Select Sampled. This is the default setting, but the selected setting will be the last used.
Sampled is the setting to remove unwanted areas, which is the most popular use of this tool.
3. Aligned Option


To begin using the Healing Brush I recommend using the default settings, except I suggest that you turn on Aligned (tick the box).
You can reset a tool back to default settings by right clicking on the Tool Preset button and select .
4. Select Sample Area

Select an area of your image to sample from. This should be similar to the area you wish to heal. To sample the area, press and hold the Alt key. The cursor will change into a target. Click on an area to select it.
In this image I've clicked on the shoreline to the left of the man. When lines are present, you must maintain them, or the image won't look right and your work will easily be noticed.
5. Begin Healing Accurately

Important - you must do this step accurately for good results.
Release the Alt key and click to heal in the first part of the image. In this image, because I've sampled on the line where the sand meets the water, I must make my first healing stroke on the same line - to maintain it.
Recent versions of Photoshop make this easy, as you have a preview in the brush. Align this carefully and click. This establishes a relationship between the source (where you are sampling, or cloning, from) and where you are healing. This is Aligned. If you have Aligned turned off, each time you release the mouse button to begin a new stroke, the original source point will be selected (see Step 8). Make sure you turned Aligned on.
6. Using the Healing Brush

Continue brushing around your area to be removed. Note that with the Healing Brush, while you are painting to heal, you will often see what looks like an undesirable result. In this image you can see of the left side of the man, it's not looking perfect. But as you keep going and remove more of the man, there is less of him to blend in to the sea and the tool will blend more from the sea.
This image is a simple one that is easy to heal to a good standard. If your subject is large and close to other areas that you don't want to clone from, it will be harder and different techniques will be required.
In due course, when I can, I will write additional tutorials to deal with more difficult and complicated tasks of removing objects.
7. Finished Result

The finished result. Notice the line of the sand meeting the water has been perfect retained, giving no visual clue that it was edited.
8. Aligned OFF Example

This is an example of Aligned being turned off. After the initial stroke, when releasing the mouse button and beginning a new stroke, the original source point is selected. In this image it was the line where the sand meets the water and you can clearly see that in the screenshot showing the preview of this line in the brush cursor.
There are times when having Aligned turned off is useful, such as cloning or healing within the braces of a tree, when the areas within the branches are too small to sample from. In that cast non-Aligned would be the setting to use.
But in most images turn Align on.
How to Create a Pattern with the Healing Brush
9. Select Pattern

Select Pattern in the Options bar
Click on the dropdown arrow (highlighted in red).
That results in the panel shown in the screenshot. In this example, I have selected Trees.
How to Create a Pattern with the Healing Brush
10. Trees Pattern

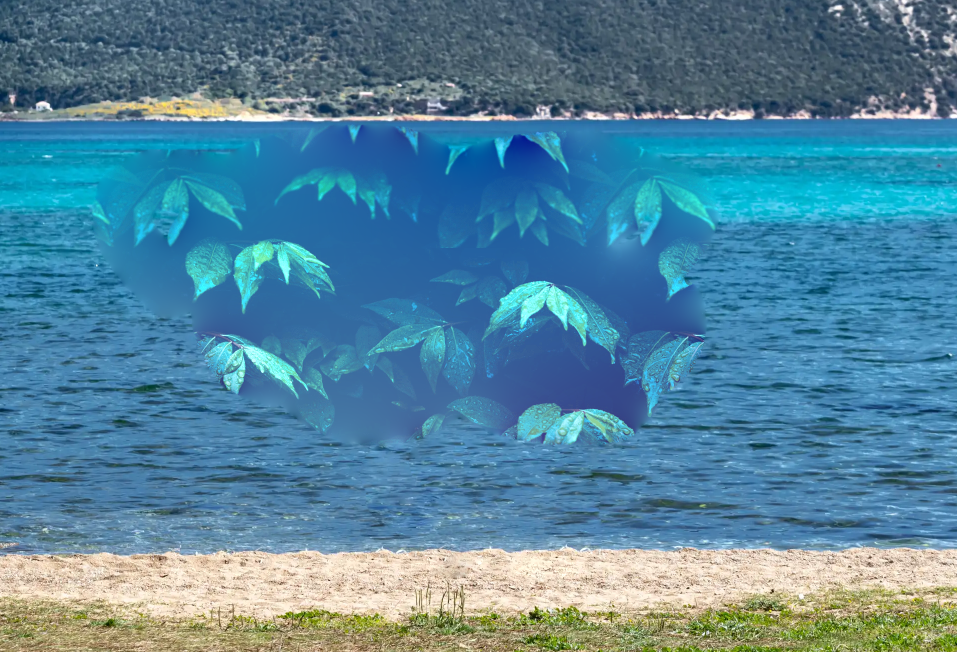
This is the result of painting with the Healing Brush, with Trees selected as a pattern, in the previous step.
The brush paints the chosen pattern and blends it into the image.
Of course, in the example, it doesn't look good, but I've used the same image of the sea, so you can easily compare the Source options of Sampled and Pattern.
Summary of the Healing Brush
The Healing Brush is a very effective tool to removing unwanted areas and, importantly, to blend the new content with the existing image.
The degree of difficulty and quality of the end result will always depend on the image content, so it's always good to be aware of different tools and techniques.
With recent developments in AI Generative remove and fill, some of the older tools that were once essential, are now needed less and less. But they are still useful tool and there are (currently) still times when AI tools don't work perfectly, or they replace content with lower resolution. Don't get me wrong, AI can do amazing things, but there are still times when skill with tools like the Healing Brush, will produce a better quality result.

