Page updated: 18 July 2026
Interactive Photoshop Toolbar PDF (2026)
Preview and download available on the Tools page.
Note Tool
Make Notes in your image to keep track of your editing
The Note tool can actually be very useful. You can record notes about your image, perhaps steps that you've taken to achieve a particular effect.

Note Tool Options

Tap to view full size
Rotate your phone for easier reading
ON THIS PAGE
Tool Presets

You can create and save a Tool Preset for any tool, which will remember settings that you choose for that tool, so you can quickly and easily select different presets and settings for a particular tool. The degree of usefulness of presets varies, depending on the tool.
You can reset any tool back to its default settings by right clicking on the Tool Presets button and select Reset Tool. Take care not to Reset All Tools, unless that is intended.
Author

Enter the name of the person making the note. This could be useful in a large organisations, where several people are involved with the same files.
Color

Colour of the Note.
Clear All

Clear all Notes
Show or Hide the Note

Show or hide the note.
1. How to use the Note Tool
Select the Note tool from the Toolbar. Like most of Photoshop's tools the Note tool shares the button with other tools, so it may not be the Note tool that is visible on the button. The default tool is the Eyedropper, but the tool shown will be the last tool used.
2. Click to add Note
Click anywhere in your image to add a note.
3. Place Note Outside Image

You can also place your note outside the image.
4. Author Name

Move the cursor over the Note icon and the cursor will change shape. You will also see the Author name, if one was entered.
5. Show or Hide a Note
To show or hide a note, you can either click on the Show/Hide button on the Options bar, or double click the Note icon.
Be aware that if you just click once, you will add another note.
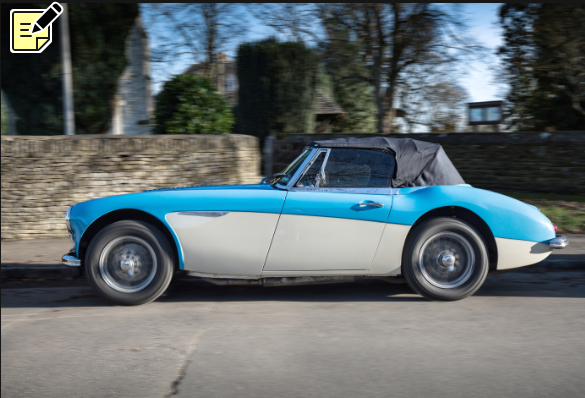
6. Note Example

Here is a Note, with quite detailed information about this car image, where I've blurred the background and wheels to make the stationary car look like it is moving.
7. Note Color

Here I've added a second note and changed its colour.
Summary of the Note Tool
The Note tool is overlooked by many people, but can actually be really useful. Sometimes you may experiment on an image, in search of a particular effect and go through many steps. When you return to the image weeks or months later, you may not remember all the steps that you took. The Note tool would be a great way to record those steps!
