Page updated: 18 July 2026
Interactive Photoshop Toolbar PDF (2026)
Preview and download available on the Tools page.
Count Tool
The Count tool allows you to count objects in your image.

Note Tool Options

ON THIS PAGE
Tool Presets

You can create and save a Tool Preset for any tool, which will remember settings that you choose for that tool, so you can quickly and easily select different presets and settings for a particular tool. The degree of usefulness of presets varies, depending on the tool.
You can reset any tool back to its default settings by right clicking on the Tool Presets button and select Reset Tool. Take care not to Reset All Tools, unless that is intended.
Count

This shows the result of the count.
Count Group

You can create different Count Groups, each counting different objects. The currently selected Count Group is shown here, so you can show or hide it, or delete it.
Other Count Groups won't be affected, regarding being hidden or visible.
Group Visibility

Show or hide each Count Group. This will affect the currently selected Count Group, as shown in the Count Group box.
New Group

Create a new Count Group.
Delete Group

Delete the currently selected Count Group. This will affect the currently selected Count Group, as shown in the Count Group box.
Clear

Clear the currently select Count Groups of the count markers. This does not delete the Count Group. It remains available in the Count Group box.
Group Color

This sets the color for the Markers and Labels of the currently selected Count Group.
Marker Size

Change the size of the Markers for the currently selected Count Group.
Label Size

Change the size of the Labels for the currently selected Count Group.
How to use the Count Tool
1. Select Count Tool
Select the Count tool from the Toolbar. Like most of Photoshop's tools the Count tool shares the button with other tools, so it may not be the Count tool that is visible on the button. The default tool is the Eyedropper, but the tool shown will be the last tool used.
2. Click to Count

Click each time you want to count something. A marker and number are added.
3. Marker Size

To change the size of the Markers, either click and drag the "scrubby-slider" as shown in the screenshot. Move the cursor over the Marker size, look for the two-way arrow and click and drag. Or enter numbers in the box.
4. Change Label Size
To change the size of the Labels (numbers), either click and drag the "scrubby-slider" as shown in the screenshot. Move the cursor over the Label size, look for the two-way arrow and click and drag. Or enter numbers in the box.
5. Marker and Label Color
You can change the color of the Markers and Labels. If you have multiple groups, this is useful to distinguish between them.
This will change the color of the currently selected Count Group, so select this first.
Click in the colored box to open the Color Picker.
6. Color Picker

In the Color Picker, first click on the vertical bar (highlighted in yellow) to select the desired color. The small white triangle near the top indicates where I clicked to select red.
Then click in the large square area to the left of the vertical bar, to select the shade of that color. The green box highlights where I clicked to select that particular shade of red.
When you are happy with the color, click OK.
7. Rename Count Group

To rename a Count Group, select it from the Count Group drop-down box.
Then select Rename.
8. Count Group Name
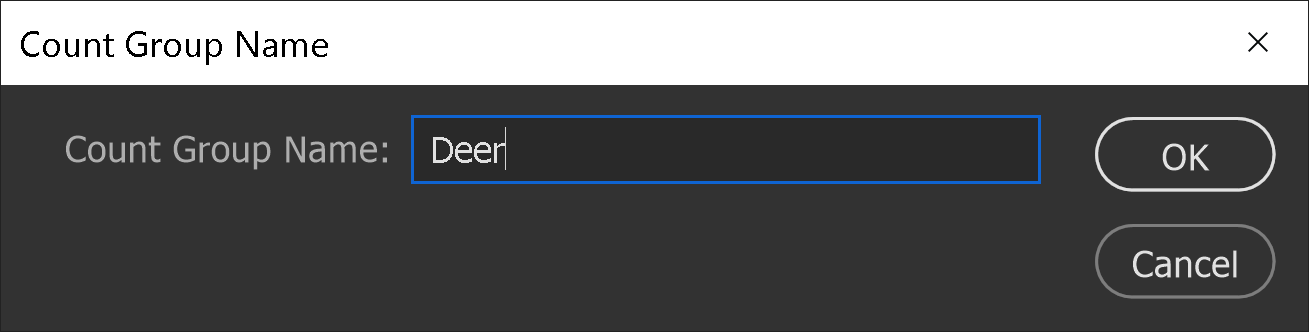
Type your name for the group and click OK.
9. Add Count Group
To add another Count Group, click the Add Count Group button.
10. Name Count Group

If desired, name the group. You can rename later as well.
11. Delete Count Group
Click on the delete button to delete the currently selected Count Group. Check this first in the Count Group box.
12. Clear Markers
To clear the markers from the currently selected Count Group, click the Clear button. Check this first in the Count Group box. This does not delete the group.
Summary of the Note Tool
The Count tool is not particular useful, in my experience, especially in image editing.
