Page updated: 25 March 2026
Spot Healing Brush
The Spot Healing Brush is ideal for removing small unwanted areas in an image. For spots and small areas, just a quick dab with the tool is usually all you need and the result is unnoticeable. Depending on the scene you can also remove larger areas than spots.
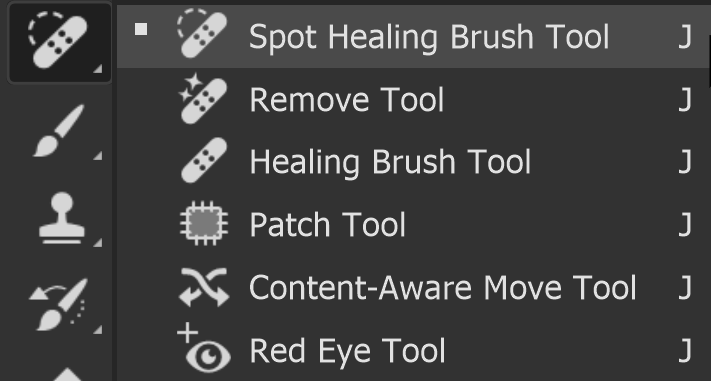
Spot Healing Brush Options
ON THIS PAGE
Tool Presets

You can create and save a Tool Preset for any tool, which will remember settings that you choose for that tool, so you can quickly and easily select different presets and settings for a particular tool. The degree of usefulness of presets varies, depending on the tool.
You can reset any tool back to its default settings by right clicking on the Tool Presets button and select Reset Tool. Take care not to Reset All Tools, unless that is intended.
Brush Settings
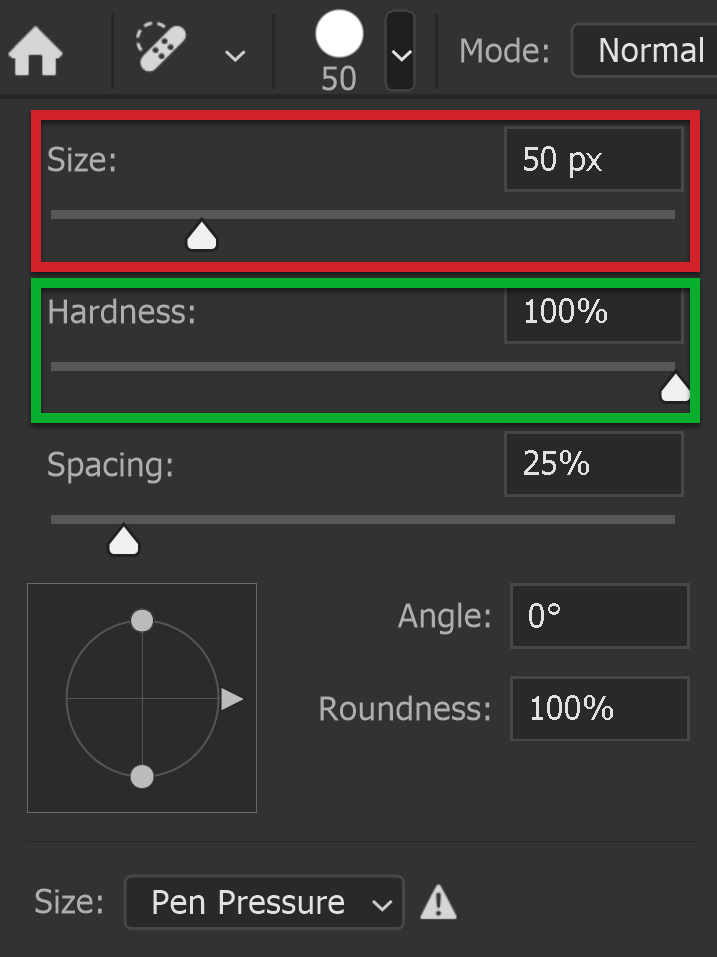
Change various brush options;
Size - Change the brush size to be slightly larger than the area to be removed. My recommended method to change brush size is with the square brackets keys [ and ]. The left square bracket [ will decrease the size, the right square bracket ] will increase the size. See keyboard shortcuts for more recommended shortcuts.Hardness - Change the brush hardness. I suggest 100%.
Spacing - When you click and drag, multiple brush strokes are applied. Spacing is the space between them. I suggest leaving this at the default 25%.
Shape - You can change the shape of the brush, but I recommend leaving it round.
Mode
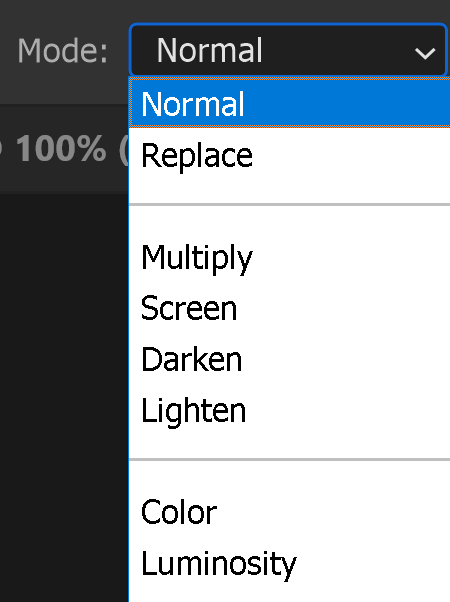
Mode offers a choice of Blend Modes, several of which will have different effects on your removal.
However, I recommend you leave the Mode set to Normal. If you are just removing small areas, such as spots, this is an ideal mode.
Type

When you use the Spot Healing Brush to remove unwanted areas, it will look to clone from other areas in the image. Type give you three options about where it will copy from;
Content-Aware - Photoshop looks at the whole image to determine what to copy from
Create Texture - This creates a texture, or pattern, using the pixels around the area you are removing
Proximity Match - This copies from pixels around the area you are removing.
For areas such as skies, this has worked well for years. The newest option, Content Aware is also going to give good results. If you are just removing small spots, you probably won't notice a difference with using either of these.
Sample All Layers

Choose whether to sample from all layers or just the selected layer.
Image editing is always best done non destructively when possible. If you click directly on a layer to remove unwanted areas, you are making direct changes to those pixels. Sure, you can Undo if something goes wrong, but once you've closed the image and opened it again, you can't undo that change.
To edit non destructively, I recommend adding a new empty layer above the layer you are removing unwanted areas from. You will need to turn on Sample All Layers, then you can work on the new layer. At any point, if you later notice something that can be improved, you can erase it from the separate layer and try again.
Angle
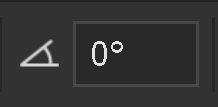
This changes the angle of the brush. However if you are using a round brush, as I would recommend for this tool, the angle won't be affected and is irrelevant.
Graphics Tablet Pressure

If you use a pressure sensitive pen and tablet (such as market leaders Wacom), the brush size will be affected by the pressure of the pen. However, although I have a Wacom tablet and pen, I always use my regular mouse for removing small spots.
Diffusion

The Diffusion slider affects how quickly the pasted area adapts to the surrounding image. Lower values are probably better for images with fine details and higher values being better for smooth images. In practice, I don't see much difference. Other factors will have more of an impact, such as the mode used and the area of the image.
How to use the Spot Healing Brush

This image may look great at first look, but the following close-ups reveal several unwanted spots in the sky. See the next image for a close-up.
1. Select Spot Healing Brush

Select the Spot Healing Brush tool from the toolbar. Like most tools, it shares the button with other tools and the one that is visible will be the last tool used.
2. Zoom in to Inspect
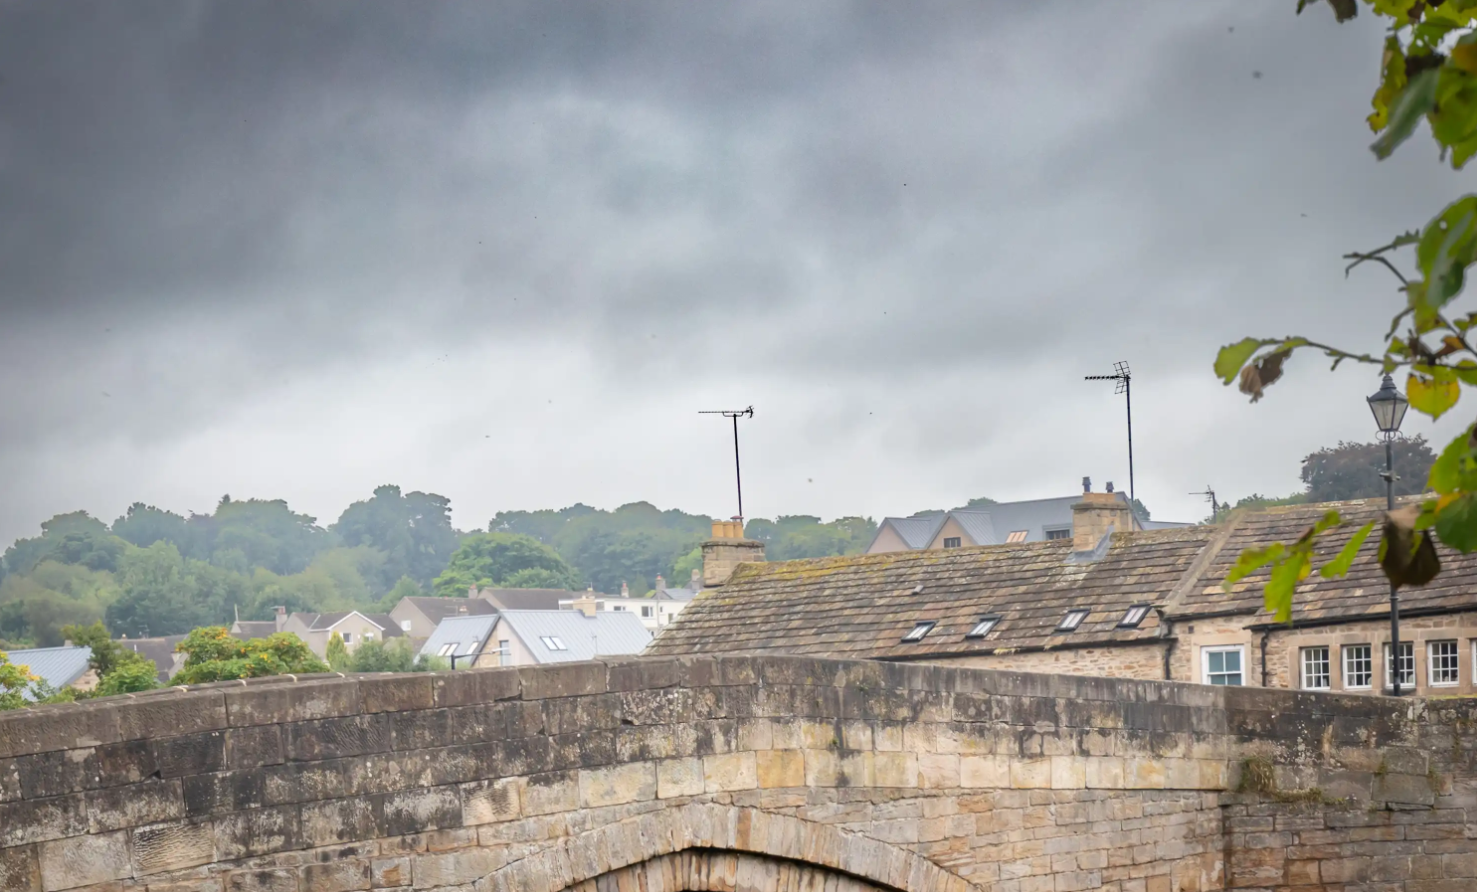
In this image there are lots of dust spots (dust on the camera sensor). In your own image, zoom in to have a closer look.
A closer look at the sky reveals several unwanted areas. The following image highlights these.
3. Highlighted dust spots
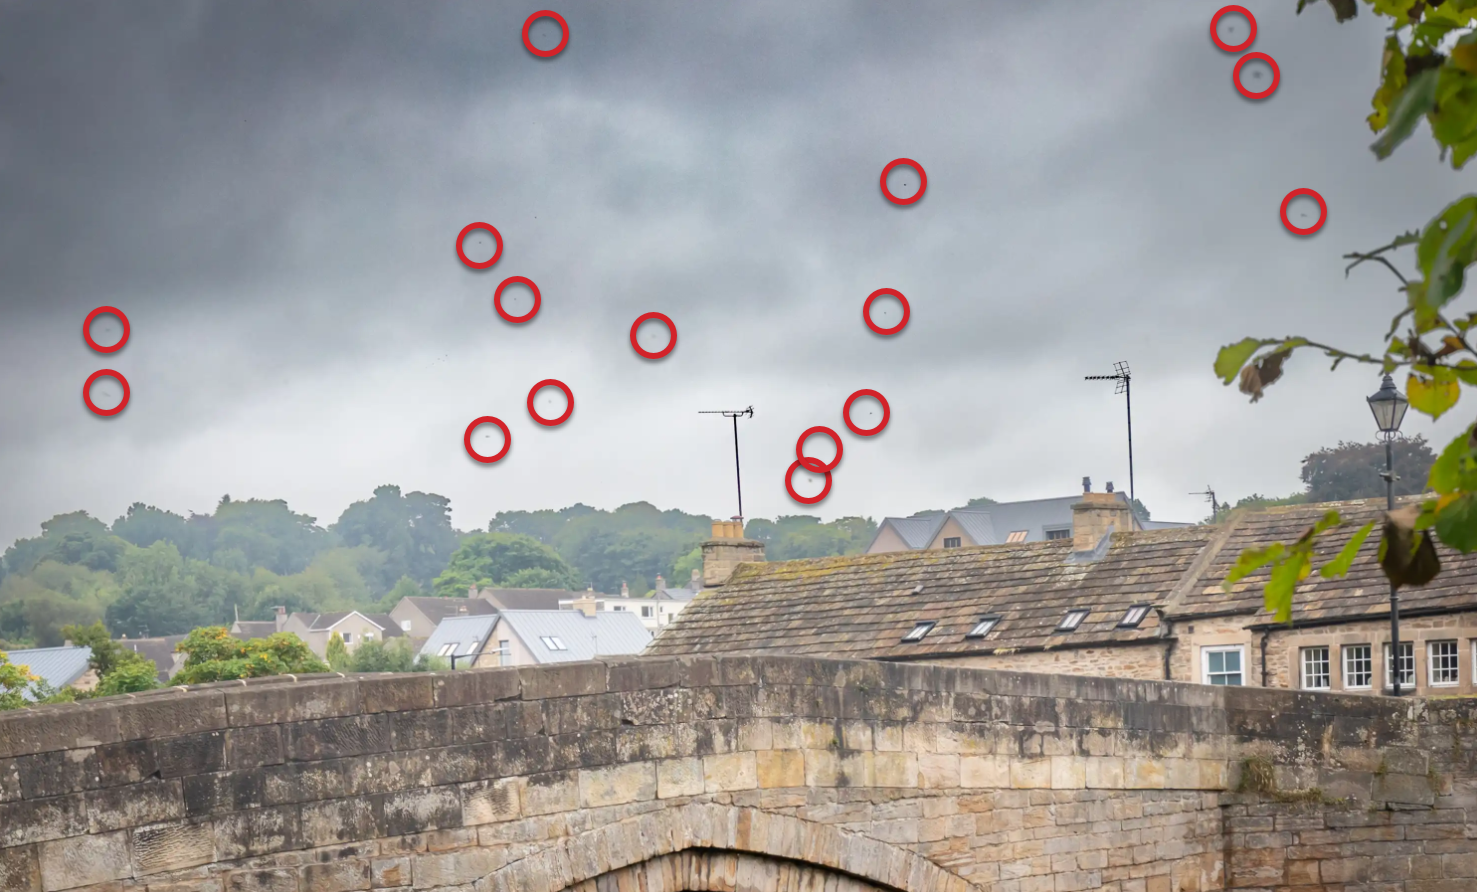
The red circles point out the areas that need dealing with. This is a perfect scenario for the Spot Healing Brush.
4. Close-up Example
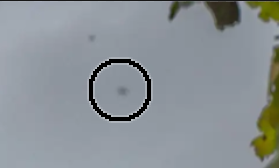
Zoom in to view small areas clearly. This area is in the top right corner.
With the default settings, size the brush to be slightly larger than the spot to be removed and just click.
5. Easy removal in sky
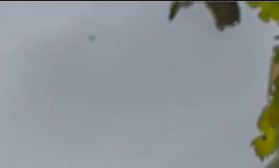
If the area around the spot is fairly consistent, such as a sky, it should remove the unwanted area perfectly.
6. Click on Dust Spots
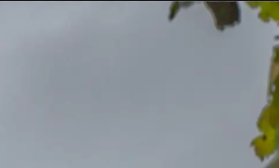
One more dab on the other spot visible in this close up and this area is done.
Continue working around the image until all areas are done
While you are zoomed in, to pan around the image you can either use the Navigator Panel, or I would recommend holding down the spacebar, which turns any current tool temporarily into the Hand Tool, which allows you to pan around the image. See recommended keyboard shortcuts for more tips.
7. How to Remove a Line
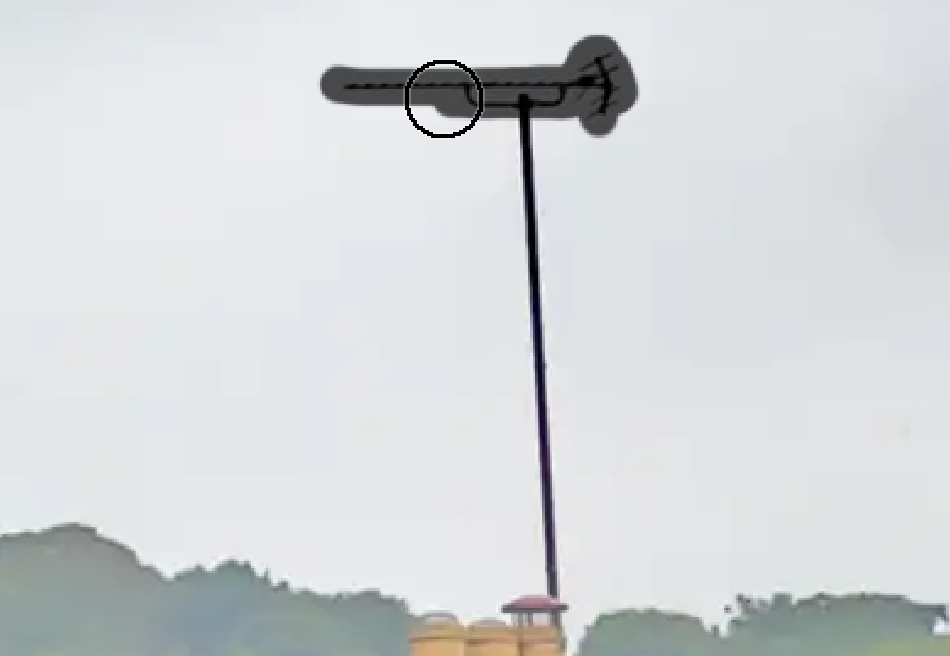
First paint around the area to remove. I've just painted around the top of the arial, which will leave a straight line or the arial mast.
8. How to Remove a Line
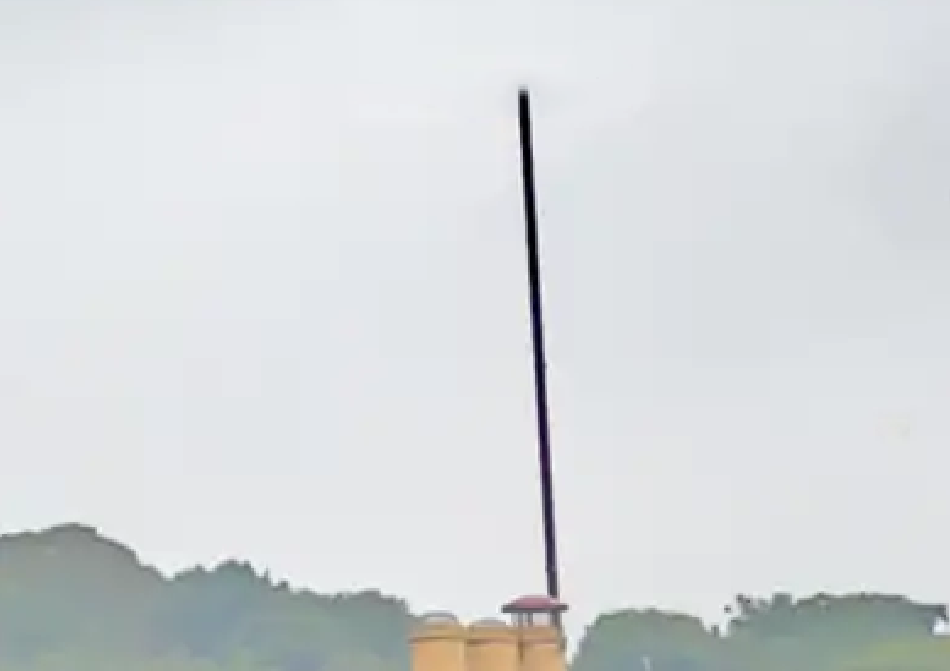
In this image removed the top part of the arial first.
With the top part of the arial removed, it will be easy to select the straight line.
9. Click beginngin of line
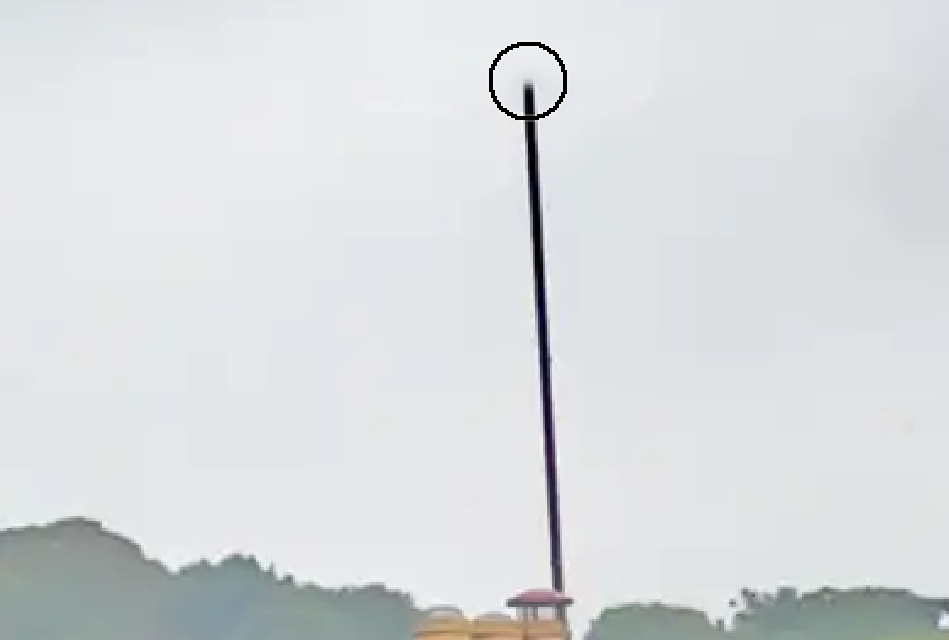
Click at the beginning of the line, with a brush sized to be a little larger than the line.
10. Shift + Click end of line
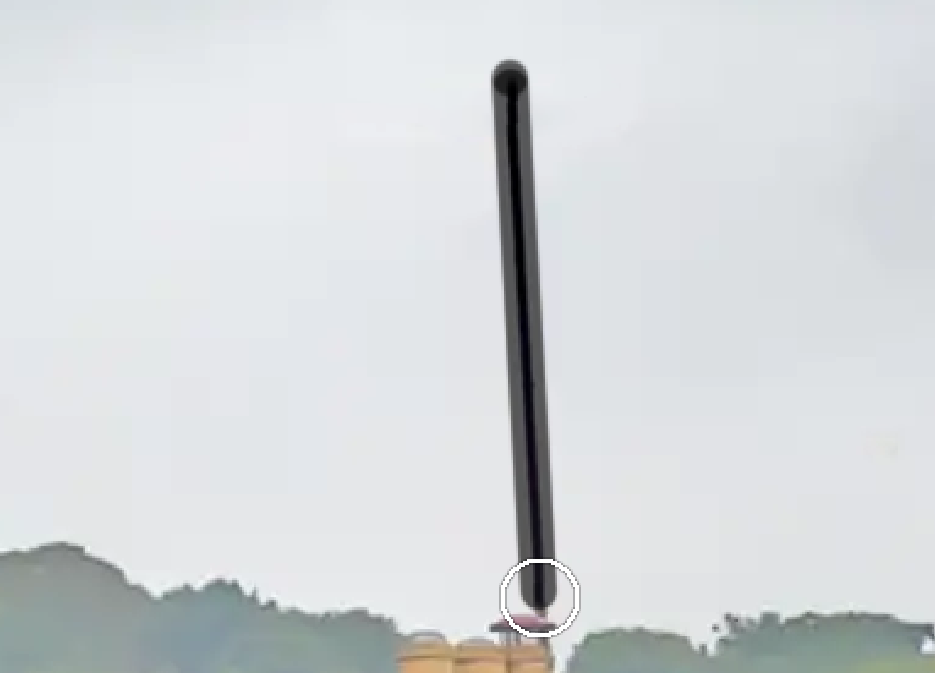
Hold the Shift key and click at the other end of the line. A straight brush stroke will be drawn automatically from the last point you clicked.
This technique works with all brush-based tools.
11. Line is removed
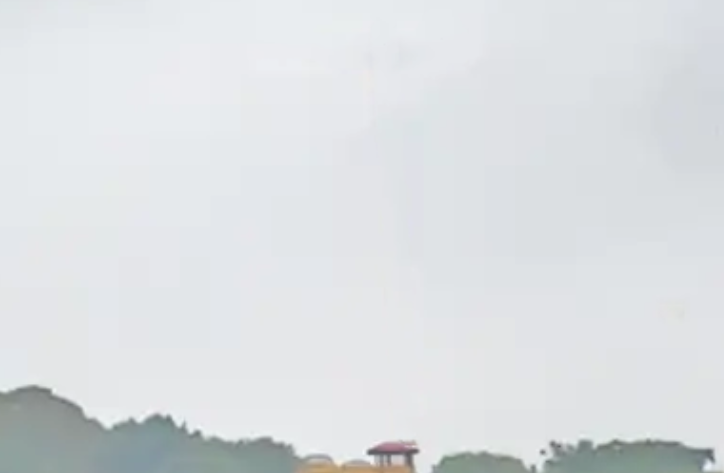
The line of the arial mast has been removed.
Comparison of Spot Healing Brush Type

We will look at comparing the three types; Object-Aware, Create Texture and Proximity Match.
If you are removing spots or small areas against a background like a sky, you wouldn't see much, if any, difference between the three types. So we will look at removing a larger and more challenging object.
The area behind the bird, of the beach, has subtle patterns in it, left by waves. When removing an object, you don't want to leave any clues behind that the object was there in the first place.
Initial Selection
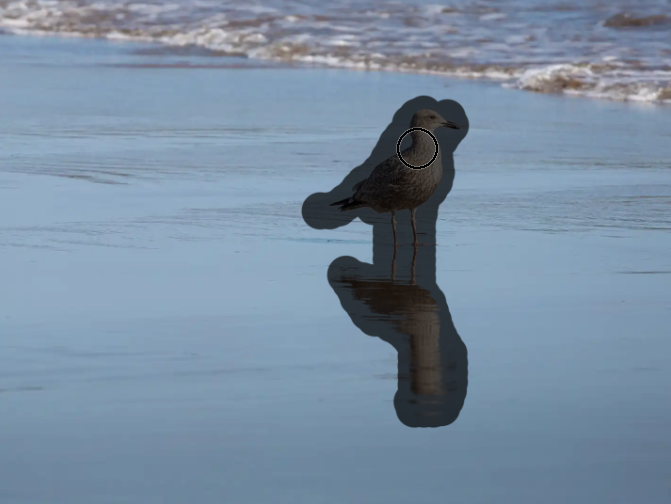
This is the area I have selected for each type, ensuring all of the bird and its reflection is selected.
Content Aware

This does a pretty good job, although it's not perfect. There's a slight mismatch in the pattern on the beach.
Create Texture

Clearly this is terrible, if your intention was to remove the bird. It could be used for a specific effect, but it's not much use when you want to remove something and leave not trace.
Proximity Match
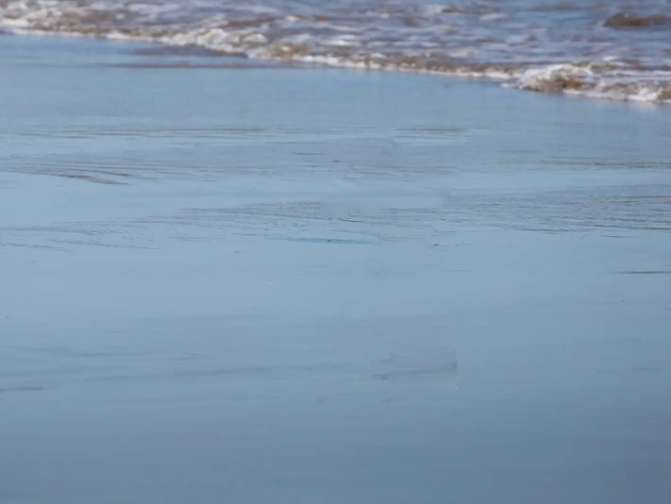
This is also pretty good and very similar to Content Aware.
Content Aware vs Proximity Match


Content Aware is the first image. Proximity Match is the second image.
Lasso and Content Aware Fill
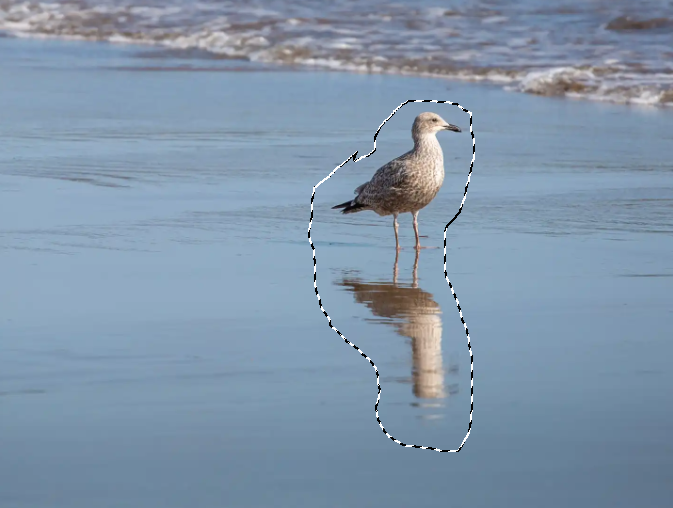
The Lasso tool is a very basic selection tool, which may well get overlooked with the new AI Generative tools. However, one disadvantage of the Generative tools, currently at least, is the low resolution the replaced areas.
Here I've made a simple, rough selection around the bird, then from the menu; Edit > Content-Aware Fill.
Lasso and Content Aware Fill
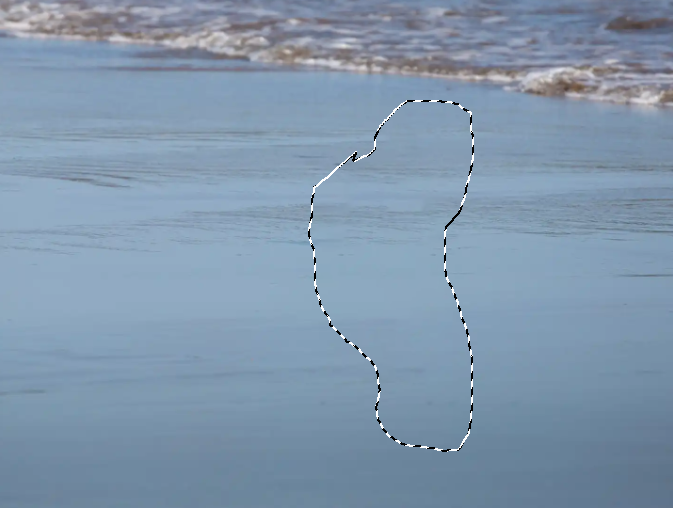
I've left the selection in place, so you can clearly see the replaced area.
I think that's done a better job than the Spot Healing Brush tool. Of course, there are other removal tools and techniques, but in this image, this has been very effective.
Lasso and Content Aware Fill
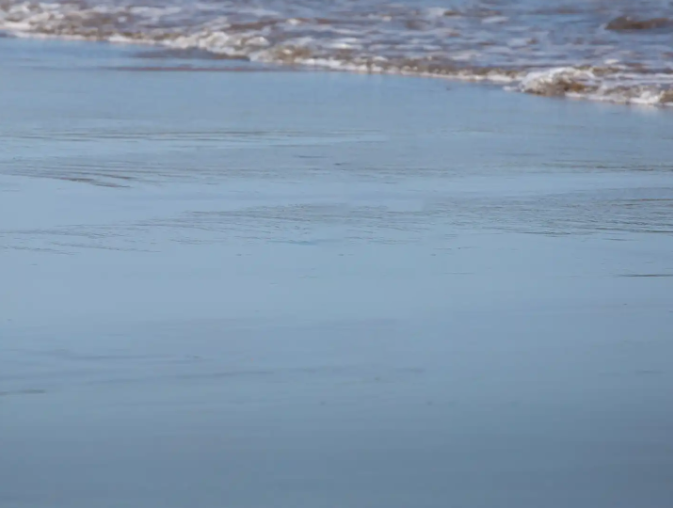
Here is the replaced area without the selection.
Summary of the Spot Healing Brush
The Spot Healing Brush is a very effective tool, especially small areas. When removing spots or small areas, this tool is probably the quickest and in most situations, it will be very effective.
The degree of difficulty and quality of the end result will depend on the image content, so it's always good to be aware of different tools and techniques. The above example of using the simple Lasso tool and Content-Aware Fill, shows how effective that can be.

