Navigator Panel
The Navigator panel is a useful tool in navigating around your image when you are zoomed in and the whole image is not visible.
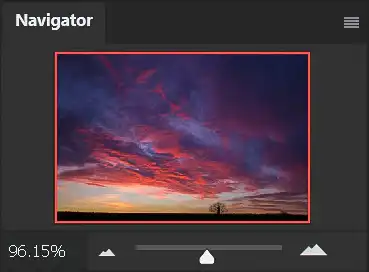
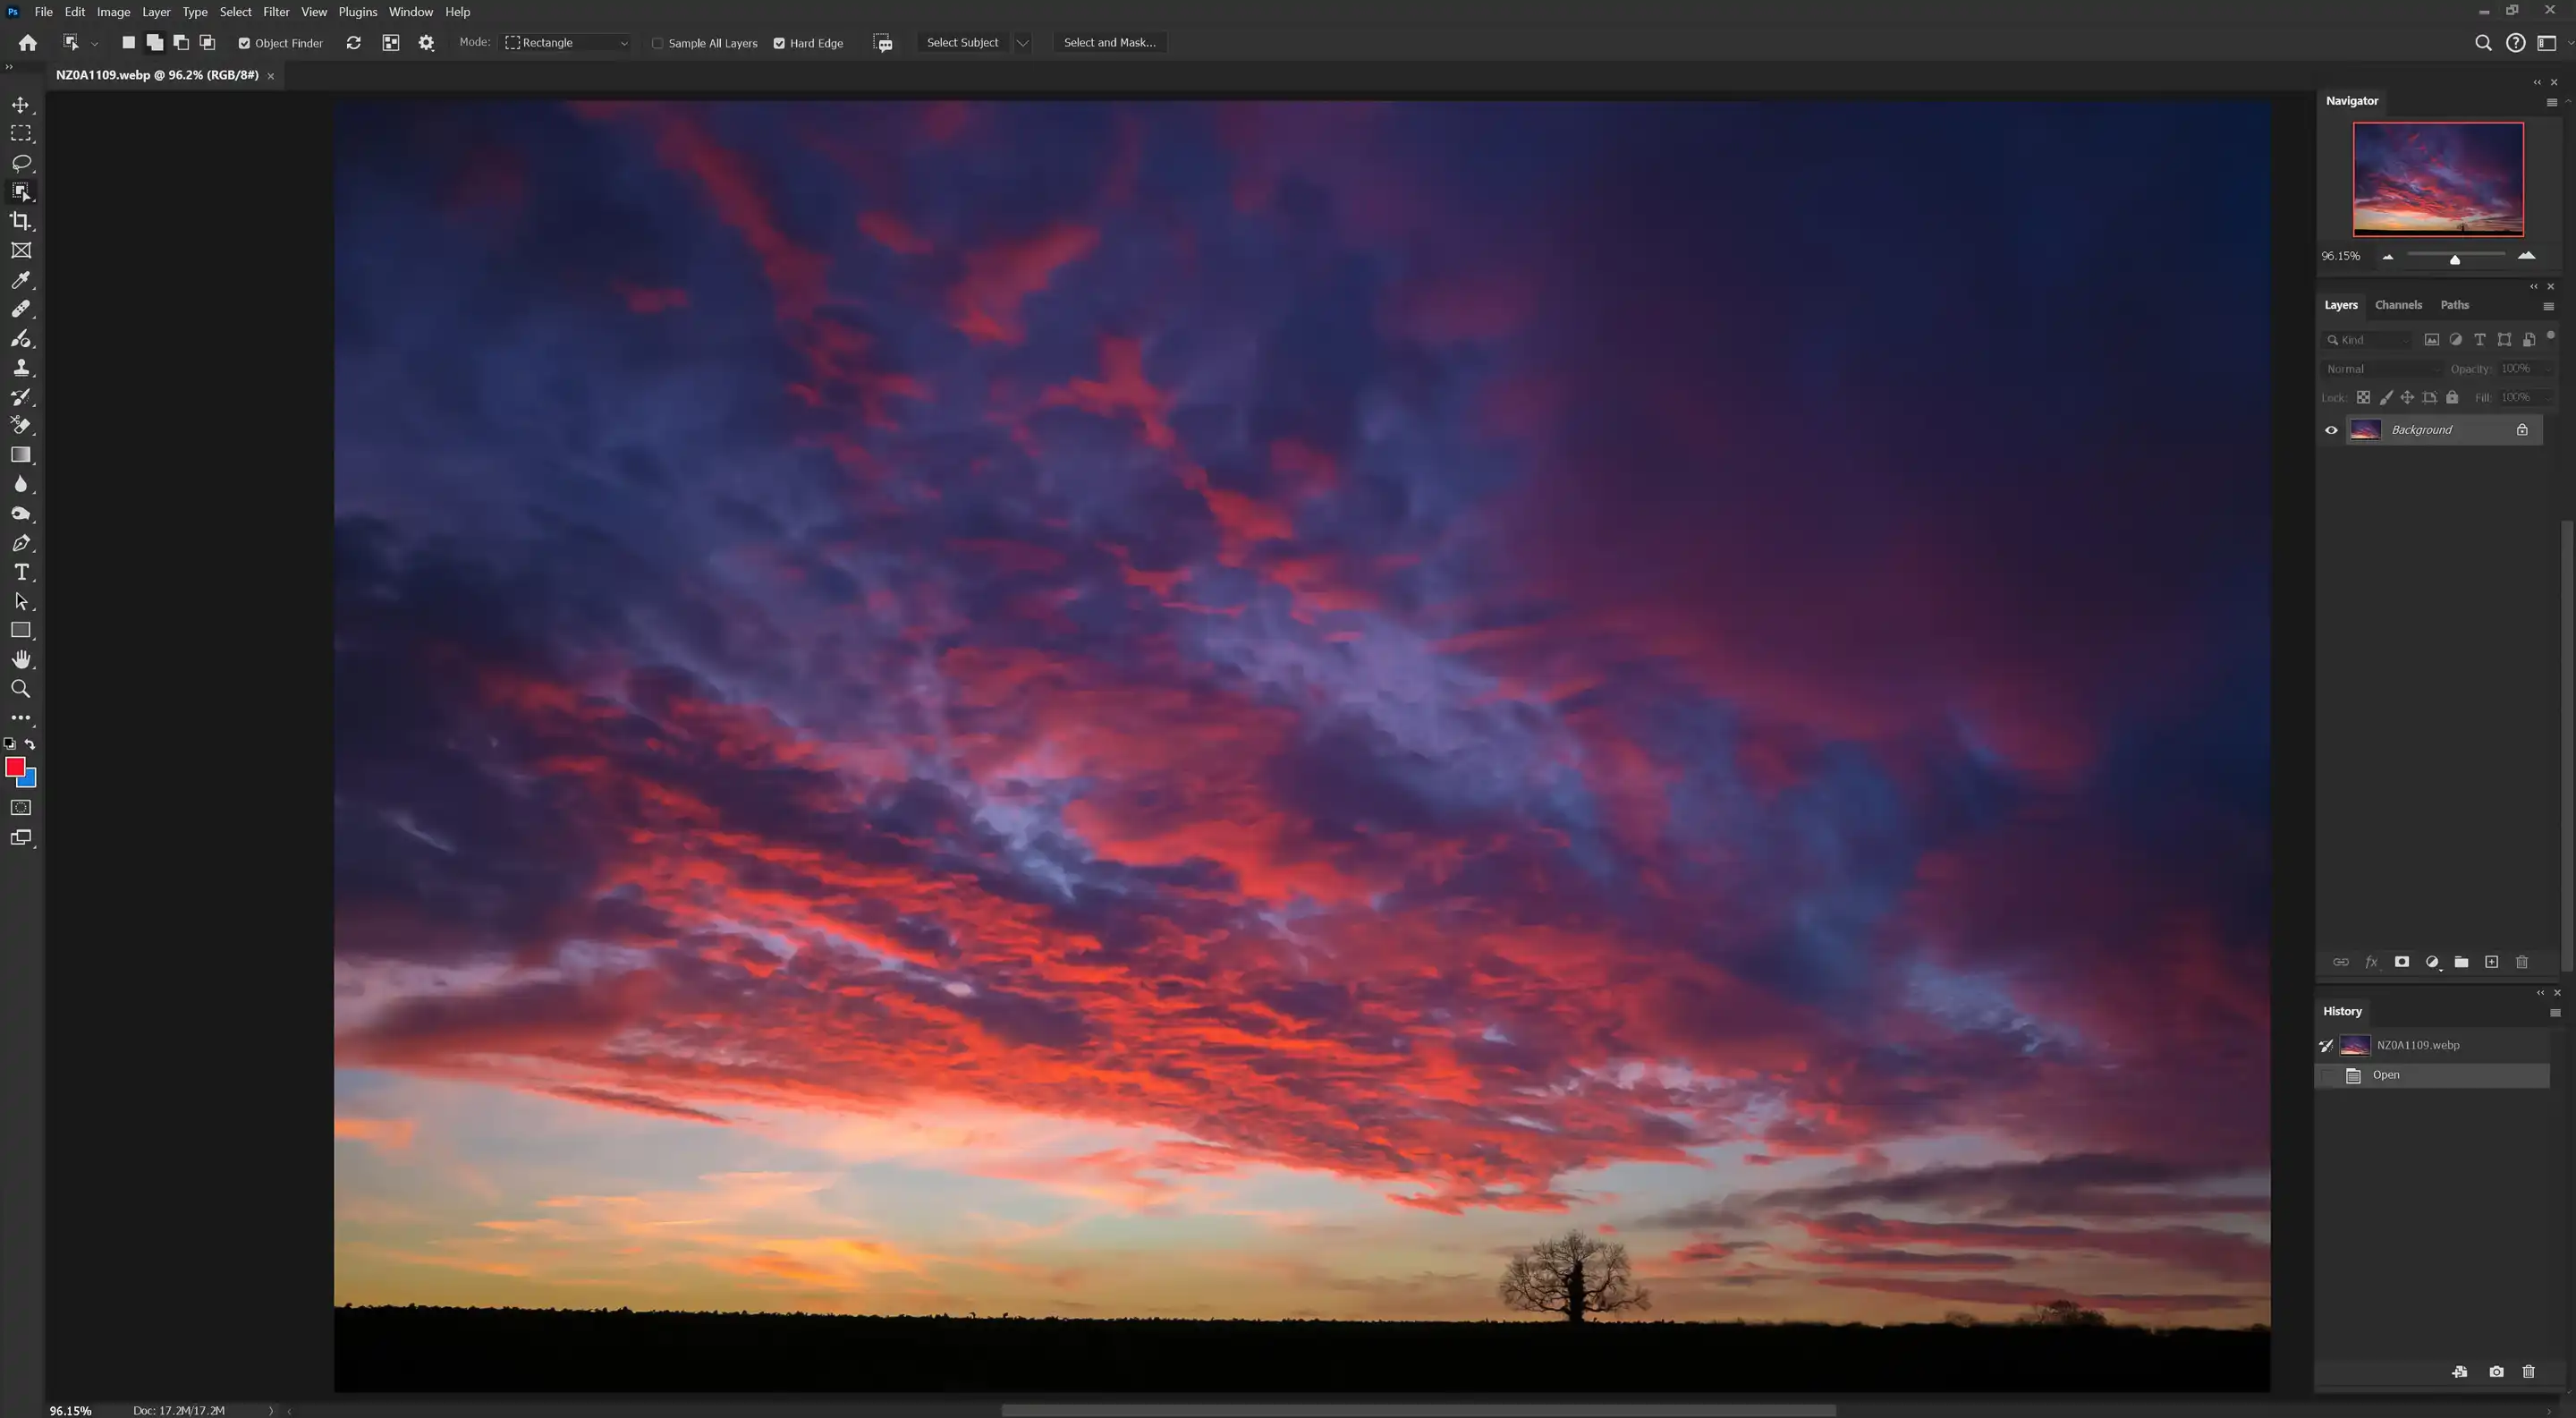
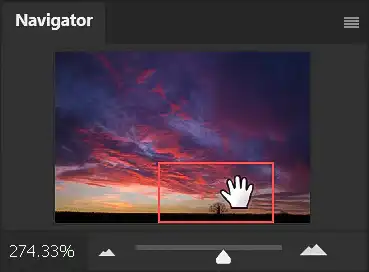
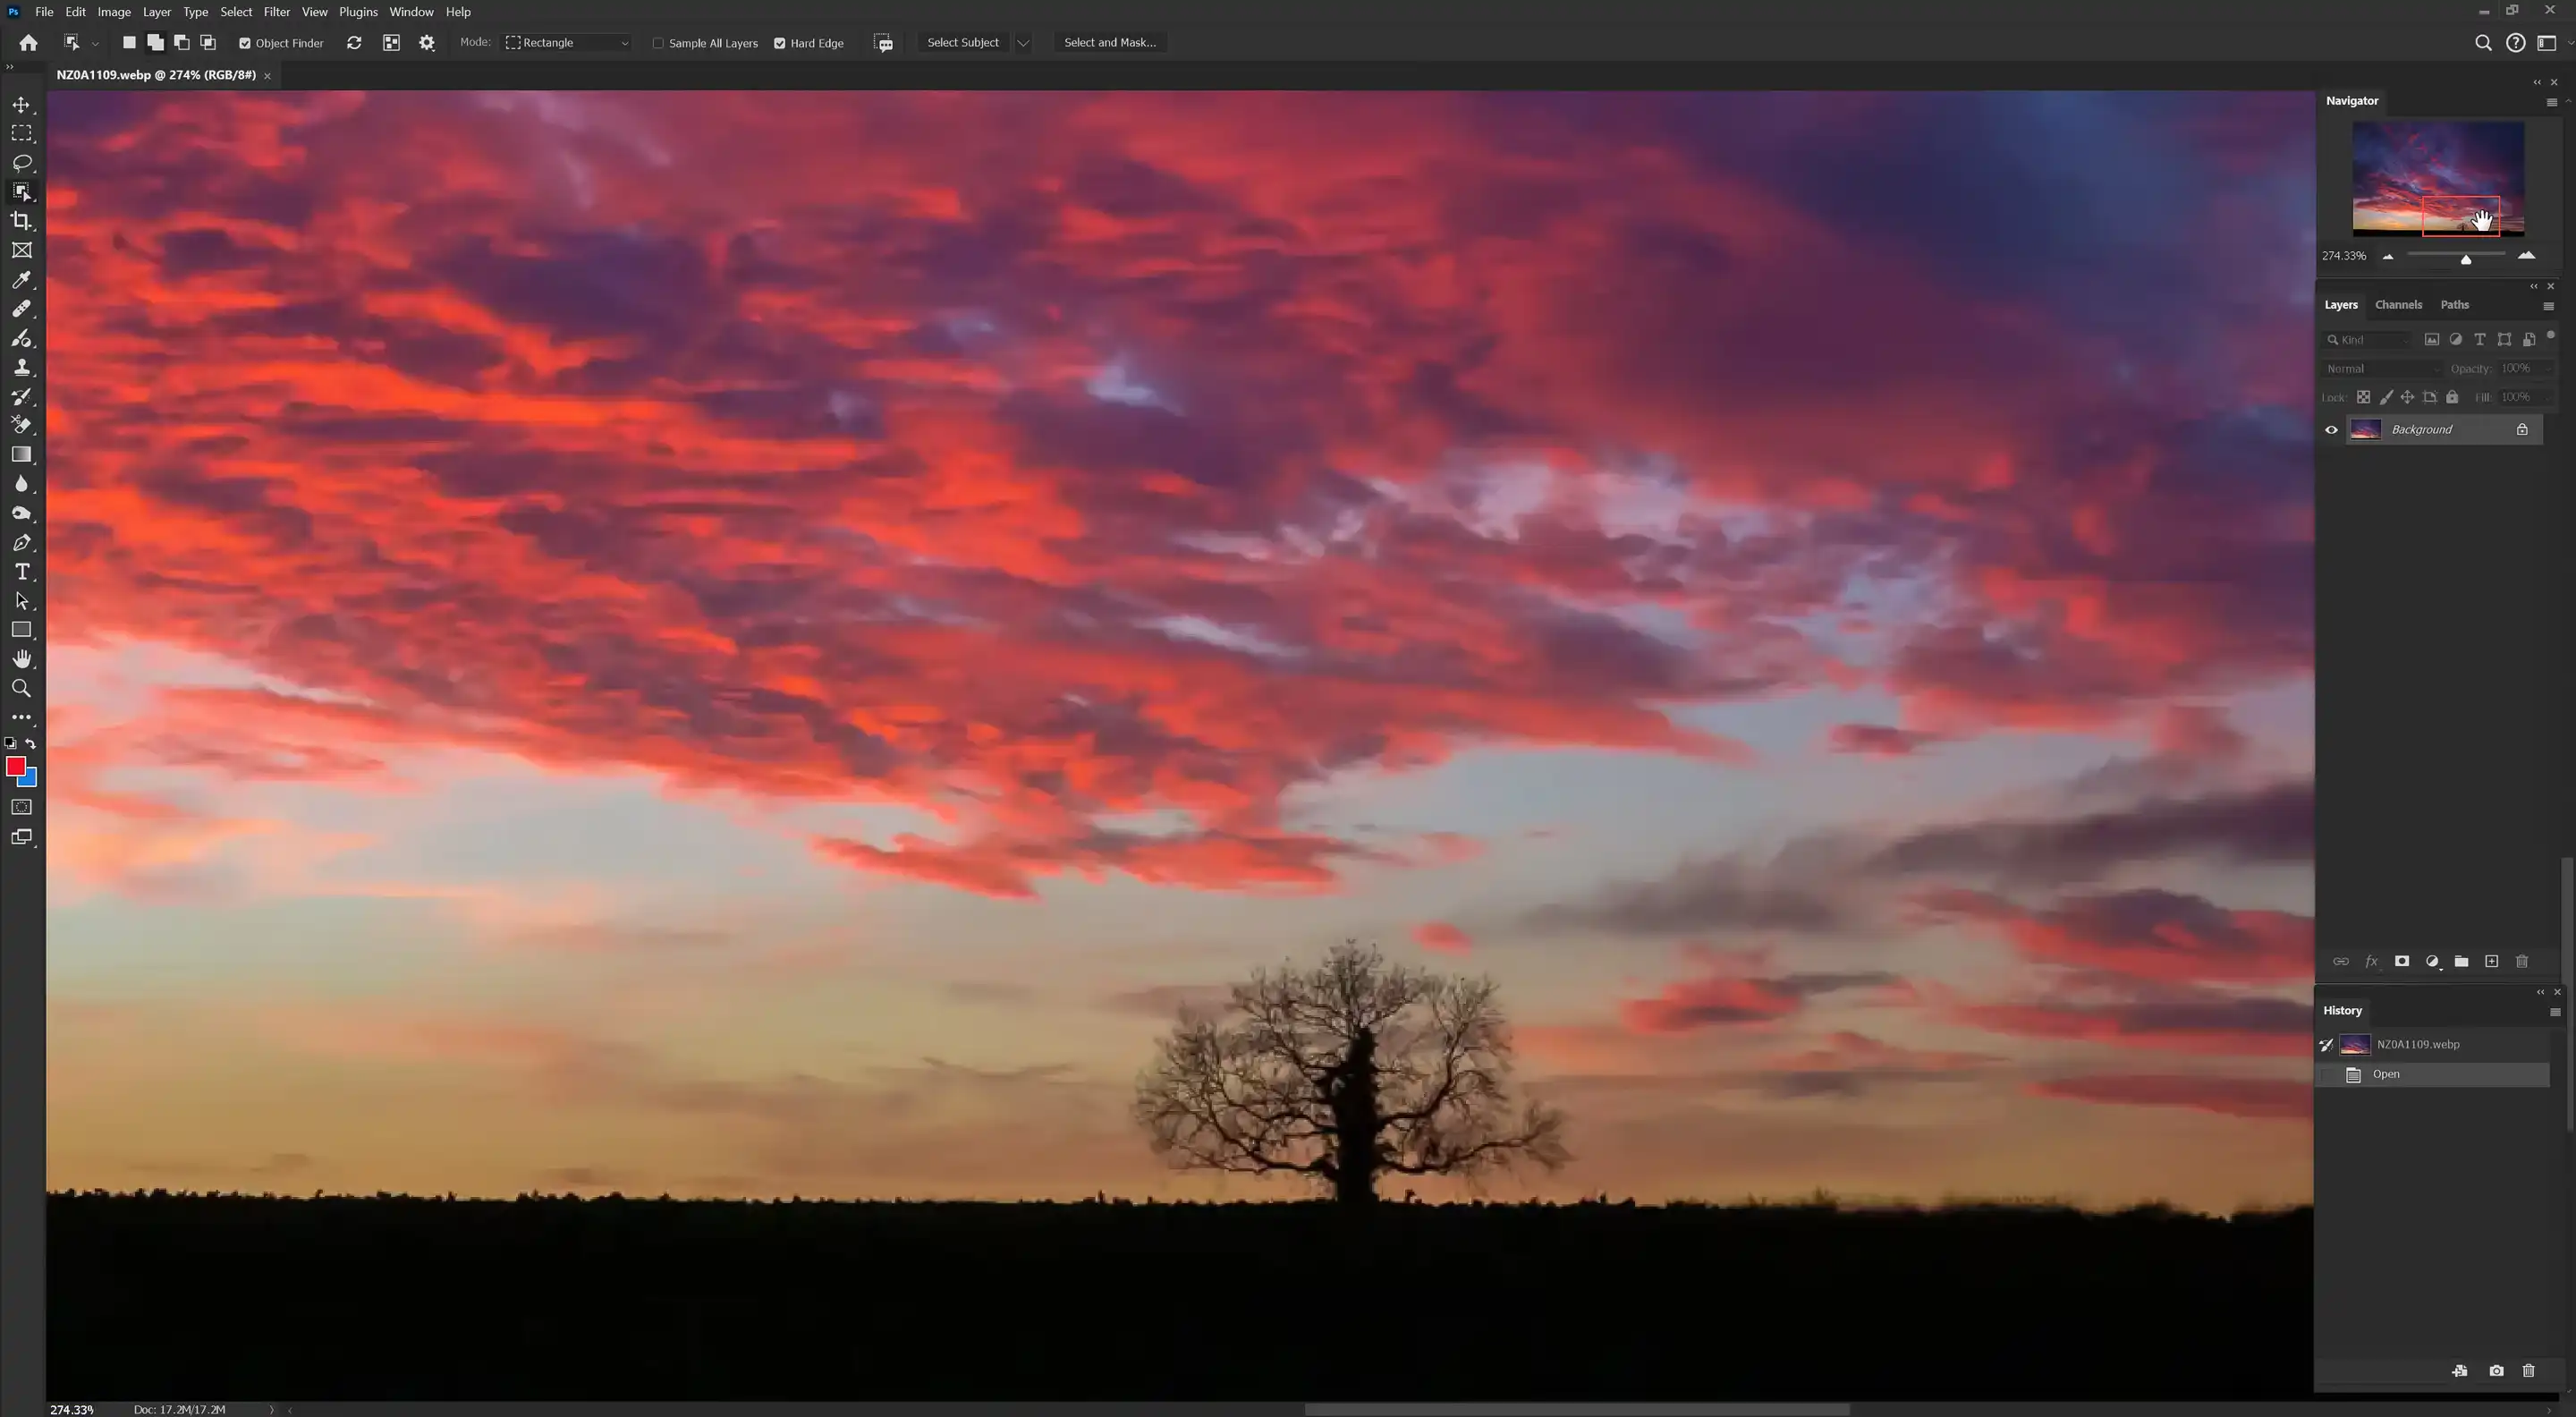
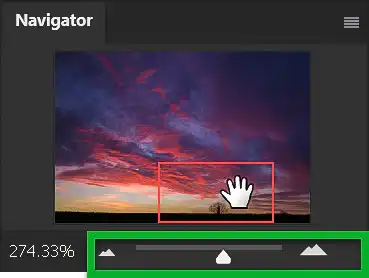
The screenshots above show the whole image is visible in the image window in Photoshop (above right) and the Navigator panel (above left) shows the red box around the whole image.
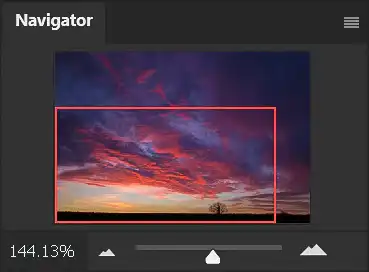
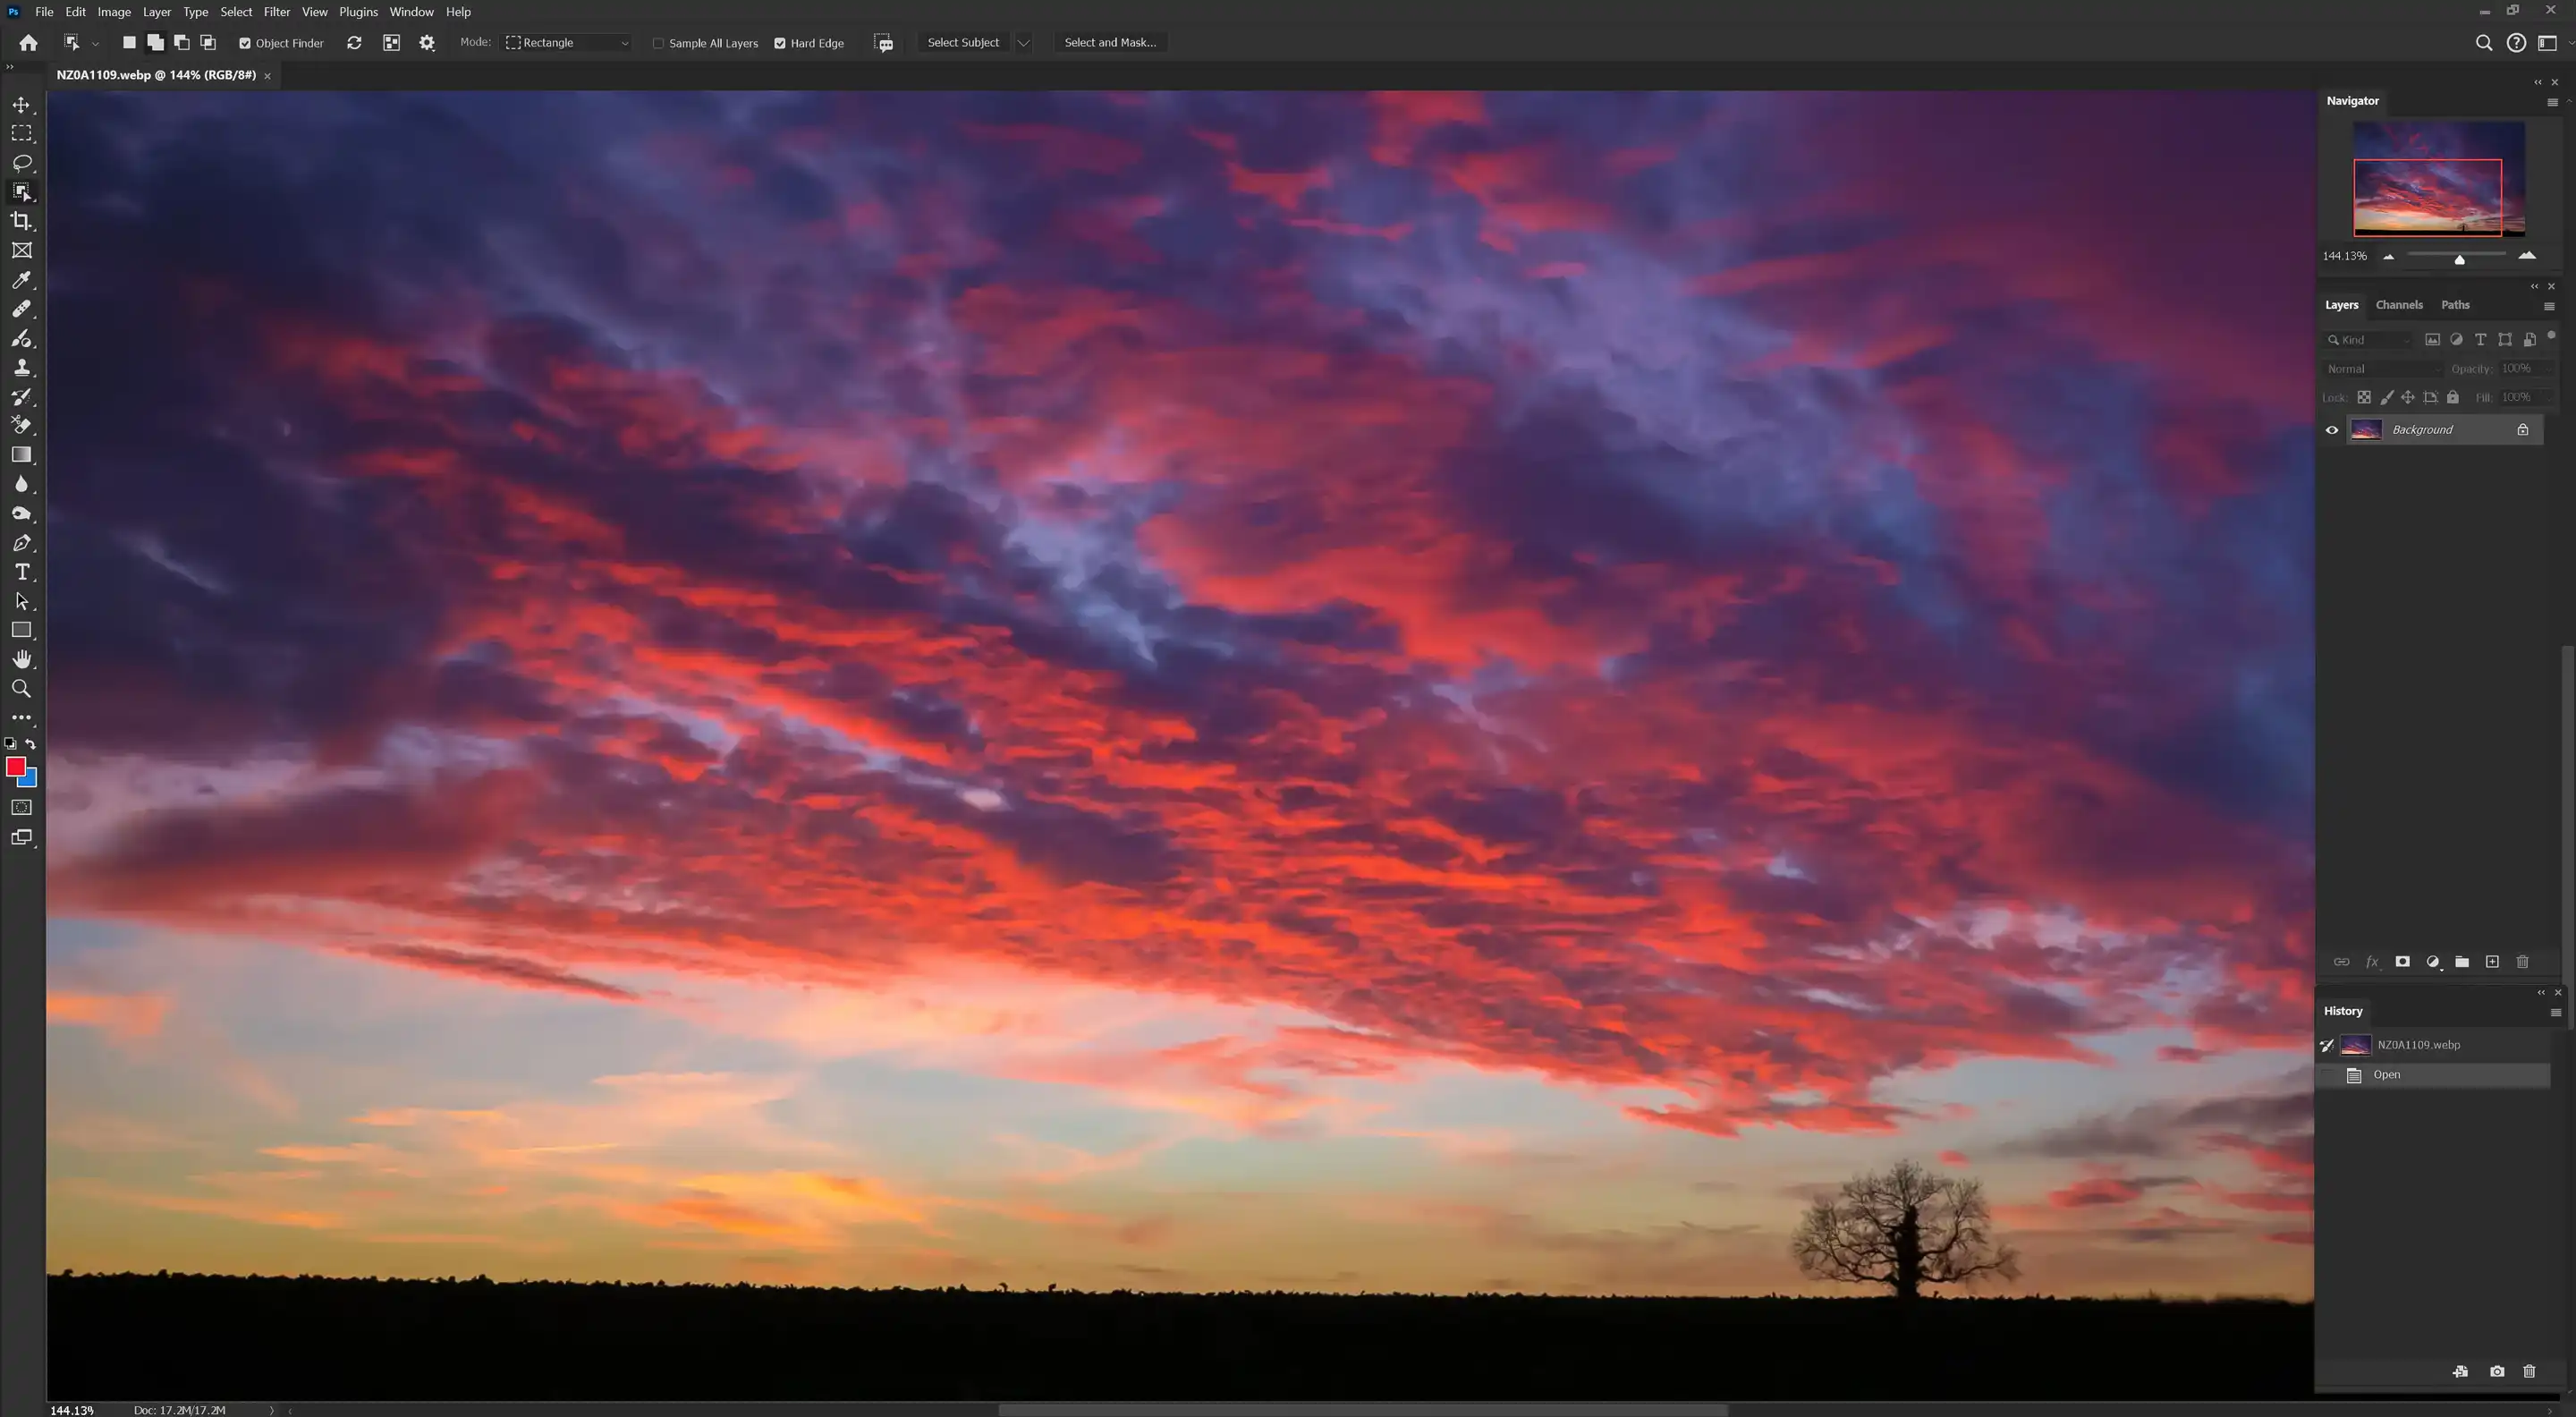
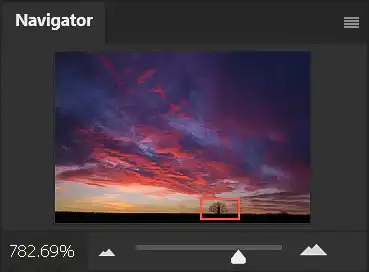
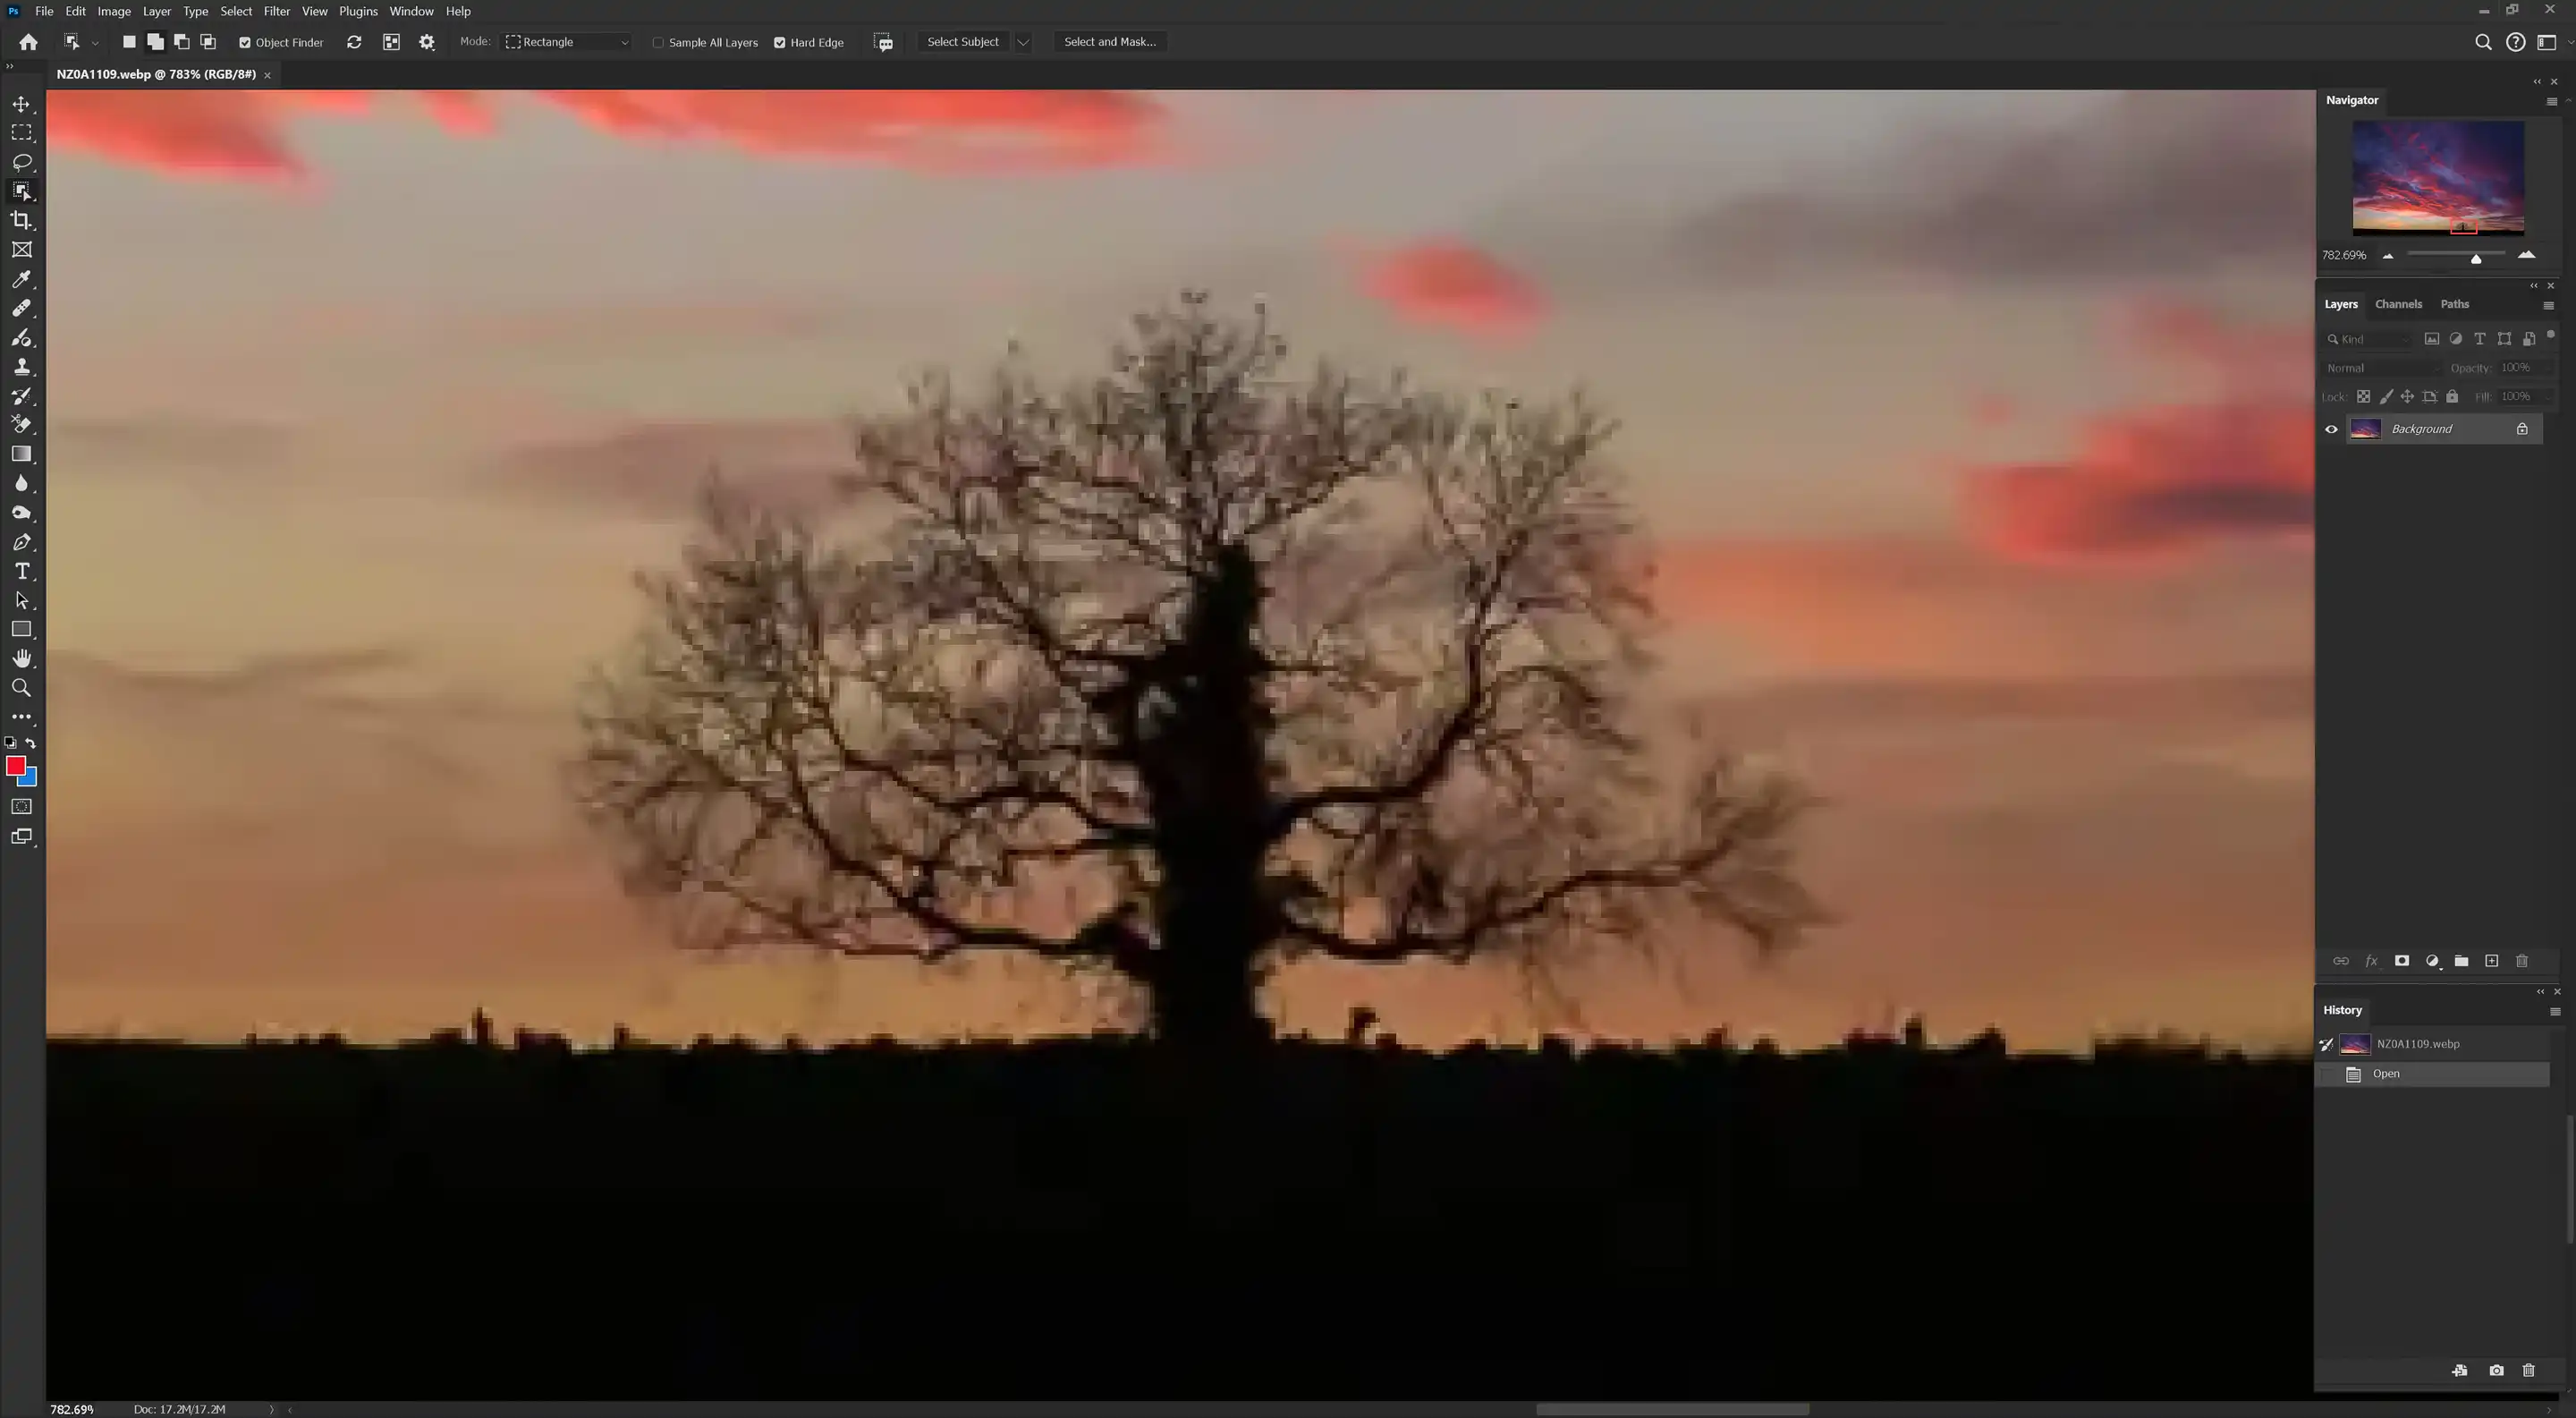
The screenshots below show that the image is zoomed in, in the image window and this is represented by the smaller red box in the Navigator panel, indicating which area of the image is visible.
How to Use the Navigator Panel
Zoom In and Out
The zoom slider is shown within the green box. To zoom in on an image, click on the large icon on the right of the zoom slider. To zoom out click on the small icon on the left of the zoom slider. Alternatively you can click and drag the slider.
Pan Around the Image
Move the cursor over the red box. It will change into a Hand icon. Click and drag the red box around the image.
Zoom In & Out with the Scroll Wheel
Although you can zoom in and out with the Navigator panel, if you are using a mouse, I recommend zooming using the mouse scroll wheel. For this to work, you need to turn on this option in Preferences.
On the menu; File > Edit > Preferences
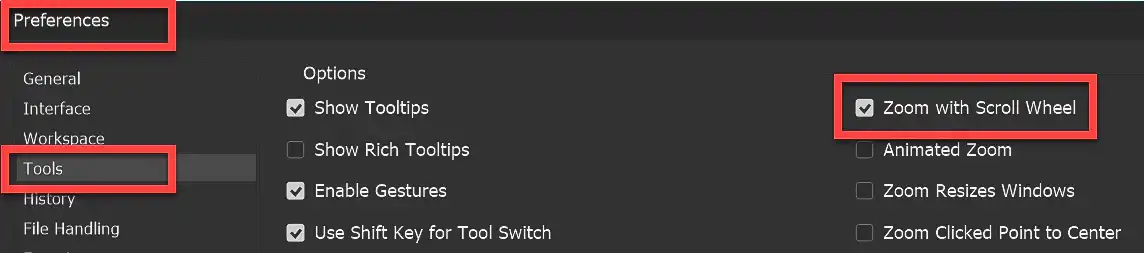
Position the cursor over the area you wish to zoom in on, then roll the mouse scroll wheel away from you to zoom in, or towards you to scroll out.
Other Shortcuts
- Ctrl+0 - Fit whole image on screen
- Ctrl+1 - View image at 100%.
When you are zoomed in on an image, perhaps to work accurately on a small area, when you want to view the whole image, instead of manually zooming out, press Ctrl+0 to fit the whole image on the screen. To view an image at 100%, press Ctrl+1.
See Keyboard Shortcuts for more useful shortcuts, to speed up your work.