Blending Modes: A Comprehensive Guide
Every Photoshop Blending Mode: A Complete Guide with Examples

Also see Examples of Uses of Blending Modes for real world application of blending modes.
Table of Contents
-
Introduction to Blending Modes
- Three Main Blending Mode Groups You Should Know
- Points to Note About Examples
- Blend Modes Examples of All Modes
- Normal Group: Normal, Dissolve
- Darken Group: Darken, Multiply, Color Burn, Linear Burn, Darker Color
- Lighten Group: Lighten, Screen, Color Dodge, Linear Dodge, Lighter Color
- Contrast Group: Overlay, Soft Light, Hard Light, Vivid Light, Linear Light, Pin Light, Hard Mix
- Comparative Group: Overlay, Soft Light, Hard Light, Vivid Light, Linear Light, Pin Light, Hard Mix
- Component, or Composite Group Hue, Saturation, Color, Luminosity
Blending Modes (Blend Modes) Introduction
Blending Modes are also commonly referred to as Blend Modes.
They are basically how one layer interacts, or blends with, the layer (or layers) beneath, based on mathematical equations or algorithms. Layers are blended depending on their hue, saturation, luminosity, or a combination of these. The results of blending the same two layers with different blend modes can vary widely.
Blend Modes are non-destructive. They do not change the layers below and you can always change the Blend Mode of a layer.
There 27 main Blend modes that you will find in several places in Photoshop, and a total of 31 Blending Modes. Each has a different effect. These effects also depend on what you are blending with what, so it’s impossible to know or remember all options. It’s also not possible to precisely predict all effects. A large part of using blend modes is to experiment, but it helps if you have an overall understanding of the blend mode groups and of the main blend modes.
Blend Modes are arranged in groups and each group has similarities. Understanding some key blend modes will help you find a starting point to find a blend mode for your purpose.
Opacity vs Fill. Note that most blend modes work the same whether you adjust opacity or fill, but some blend modes work differently when adjusted with either, for example a Solid Color Adjustment Layer with the Hard Mix blend mode.
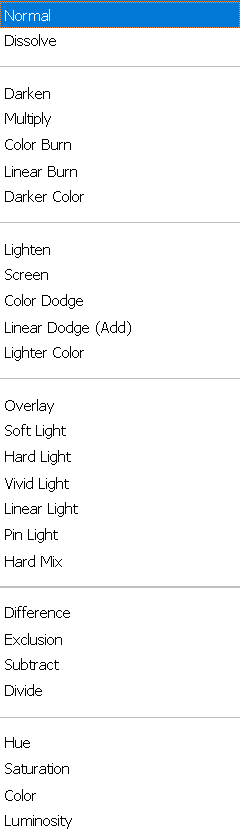
Where to Find Blending Modes
Blend Modes are available in several different places in Photoshop, including;
- Layers Panel Blend Modes are most commonly used in the Layers panel to change the blend mode of the layer and thus change how it interacts with other layers
- Tools Blend Modes are available for some tools, including Brush Tools and Clone Stamp
- Stroke (Edit > Stroke)
- Smart Filters Blend modes are not available within the filter settings, but after applying a Smart Filter, you can change the blend mode of that filter
- Layer Styles Many of the Layer Styles (Layer Effects, or fx) use blend modes, including Bevel & Emboss, Stroke, Inner Shadow, Inner Glow, Colour Overlay, Gradient Overlay, Outer Glow, Drop Shadow
Three Main Blending Mode Groups You Should Know
There are many blend modes and each also depends on what you are blending with, so it’s impossible to know or remember all options. A large part of using blend modes is to experiment, but it helps if you have an overall understanding of the blend mode groups and of the main blend modes.
Blend Modes are arranged in groups and each group has similarities. Understanding some key blend modes will help you find a starting point to find a blend mode for your purpose. The first group includes Normal and Dissolve. Normal is the default blend mode. The next three groups perform the following;
Darken: The blend modes in this group all darken in different ways. Multiply: Ignores white, makes things darker and deepens some color. This works like sandwiching two 35mm slides together. Multiply is the opposite of Screen.
Important Points to Note
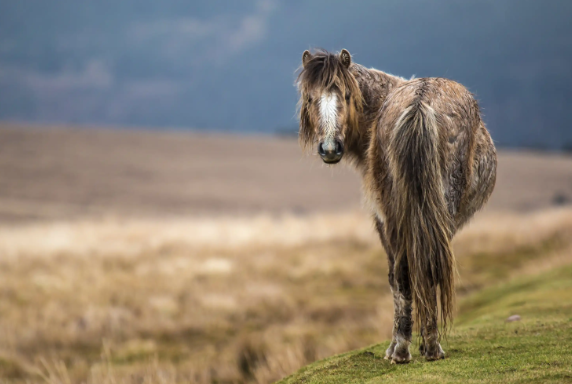
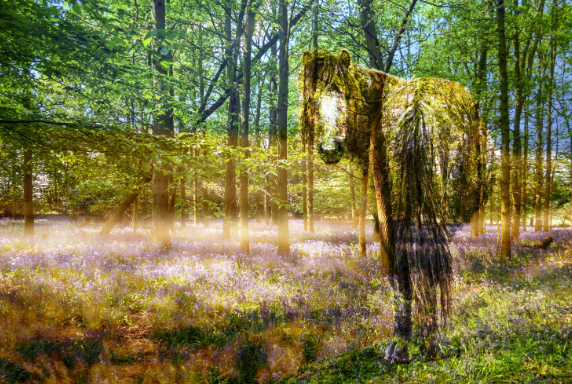
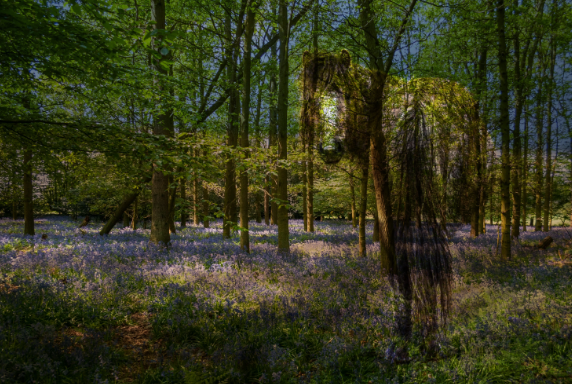
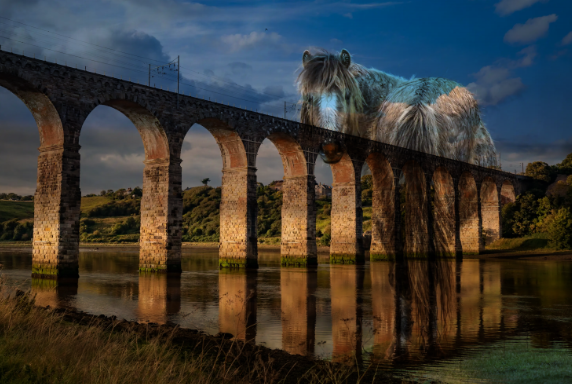
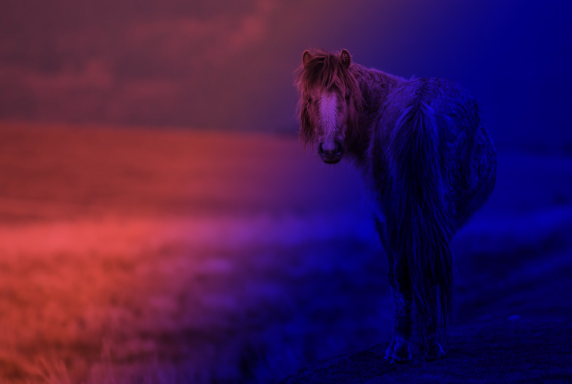
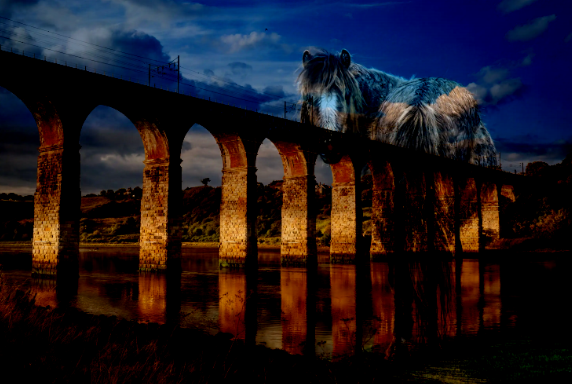
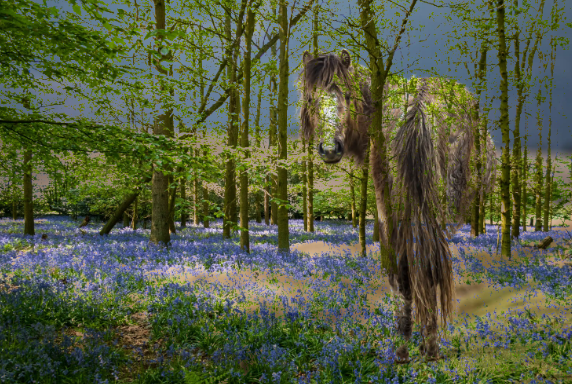
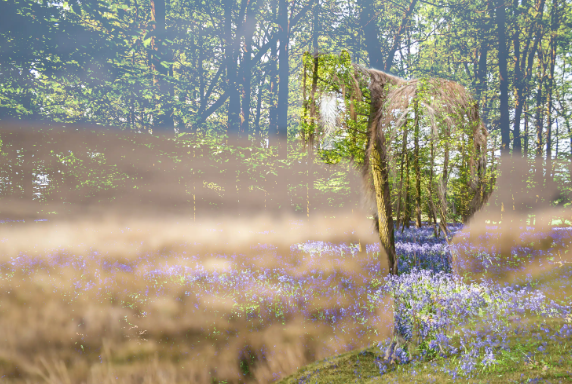
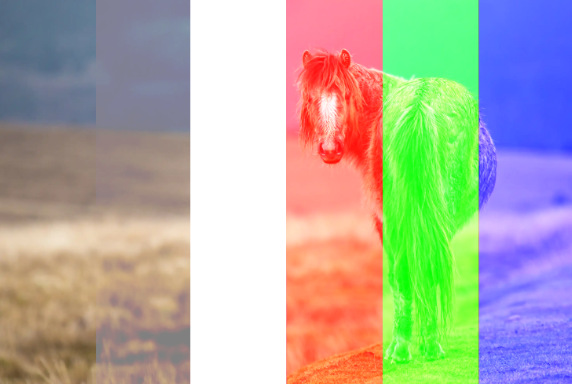
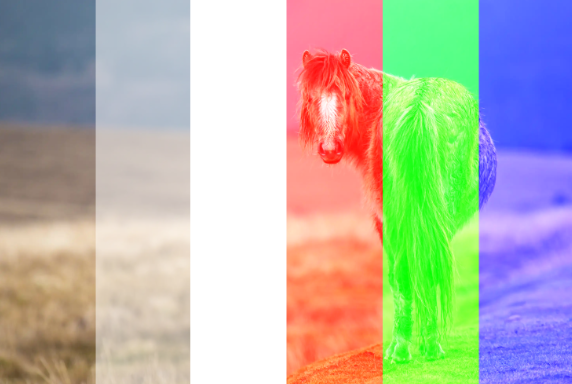
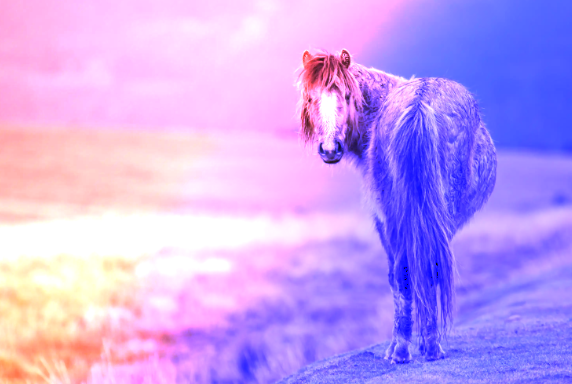
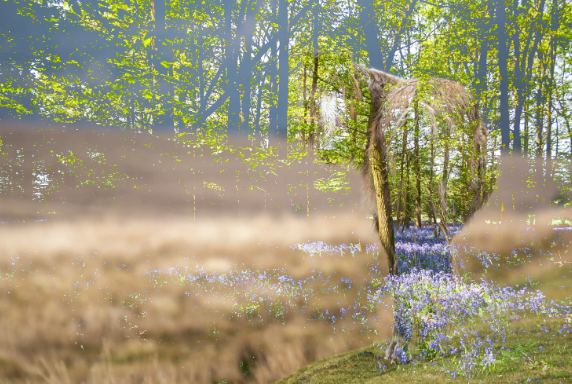
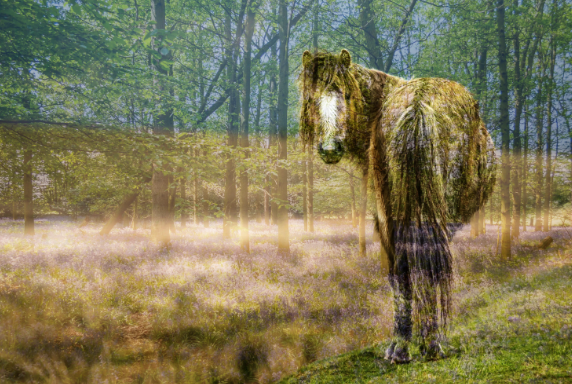
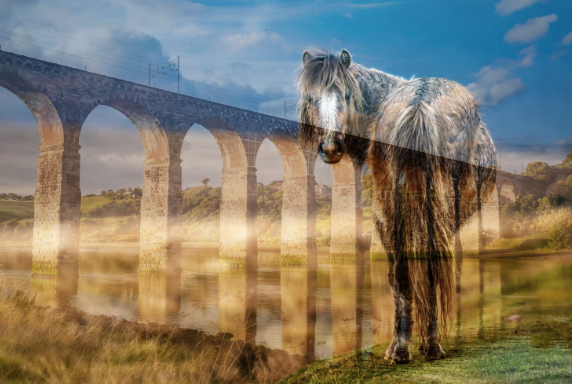
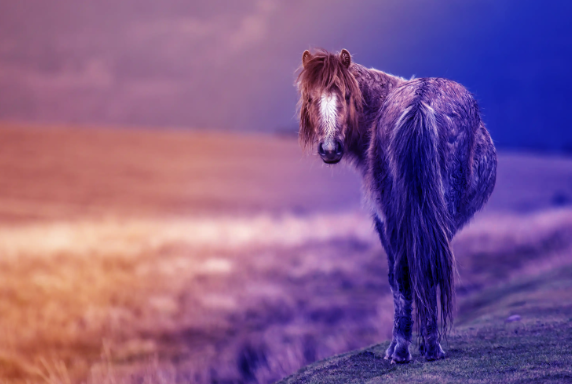
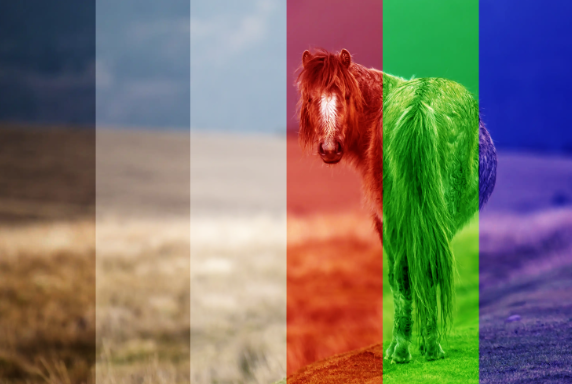
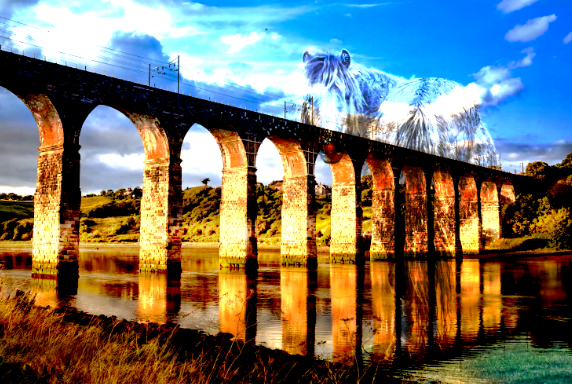
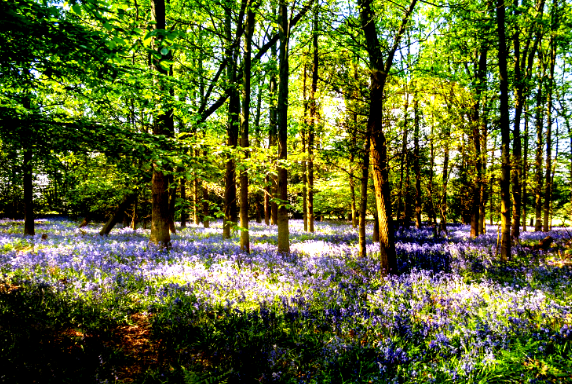
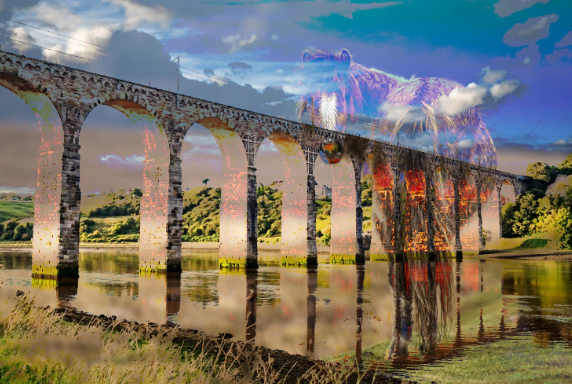
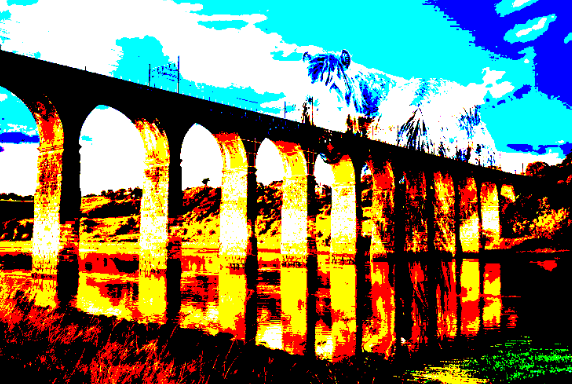
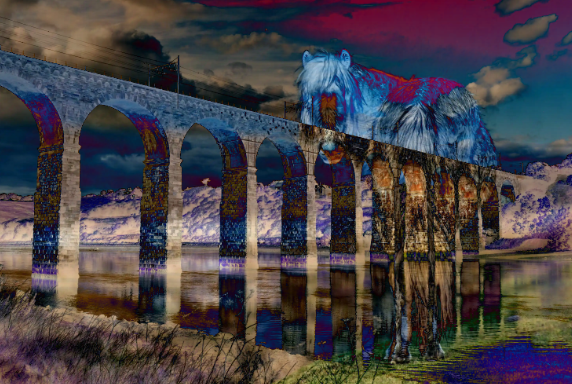
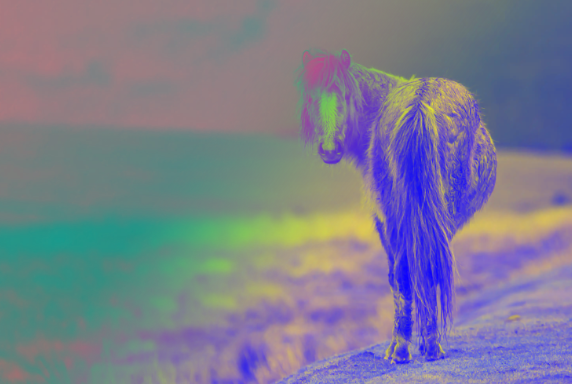
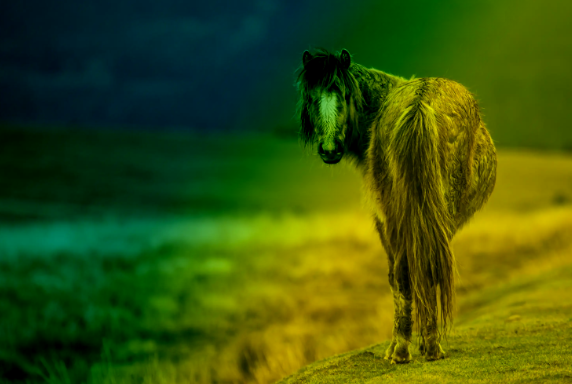
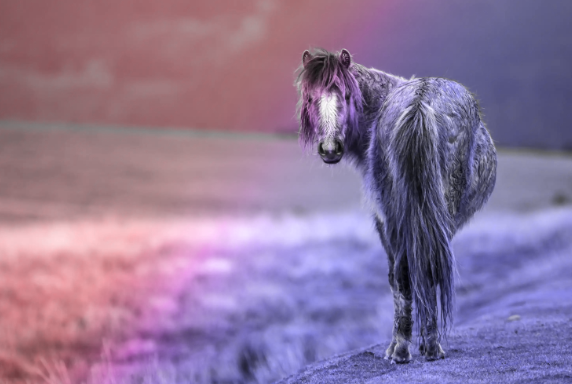
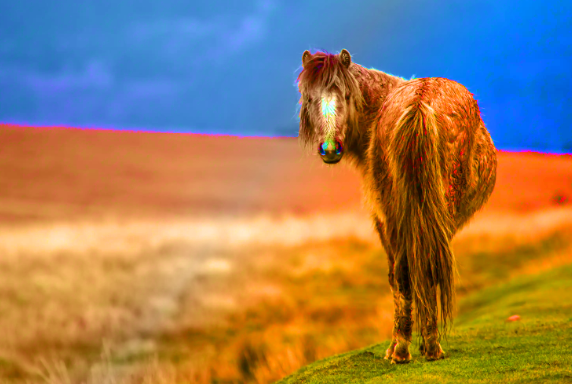
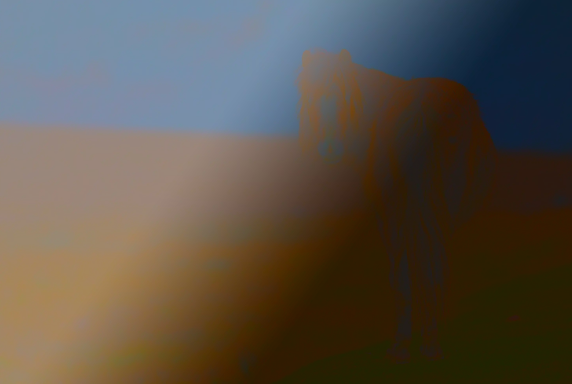
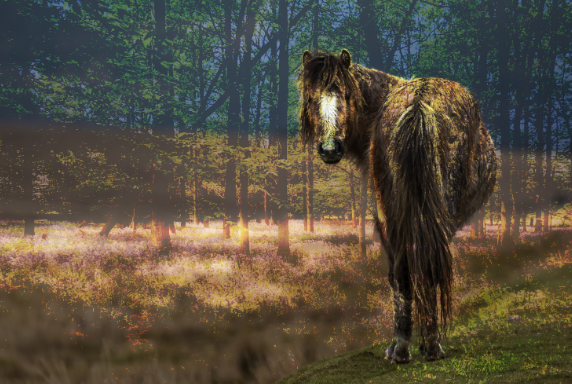
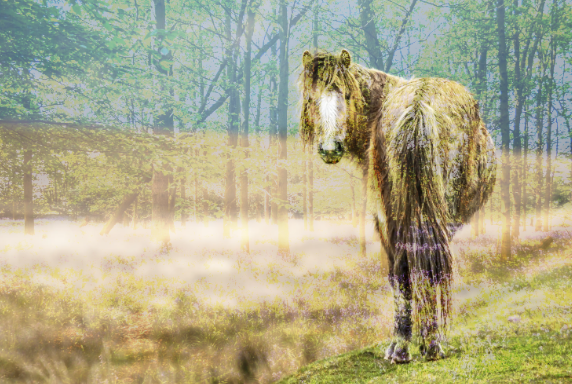
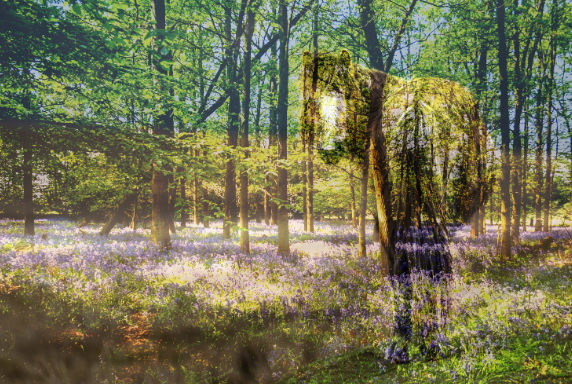
Original photo, background image
This is the base layer image (background) for all of the following blend modes.
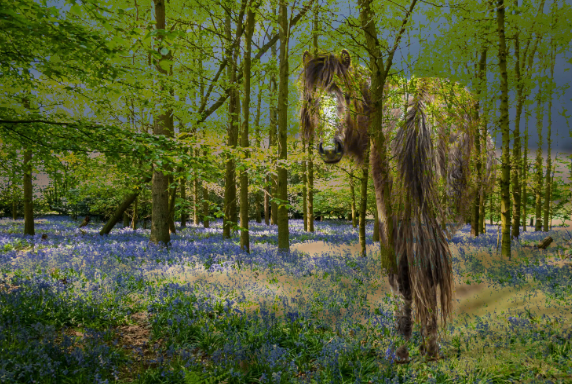
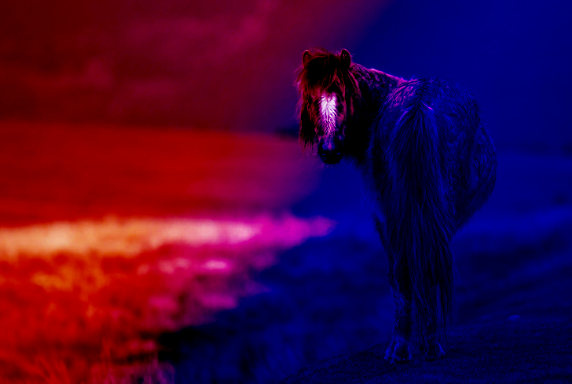
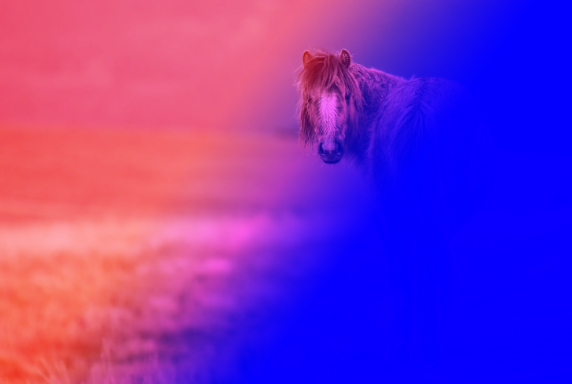
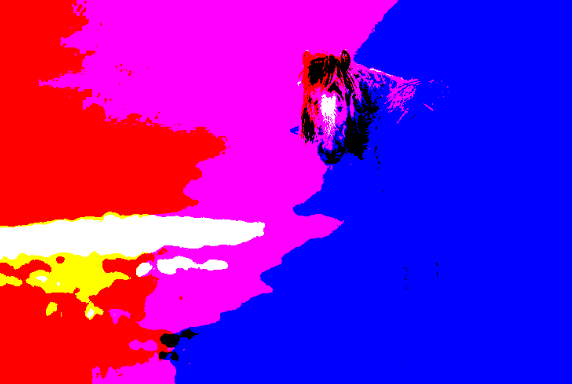
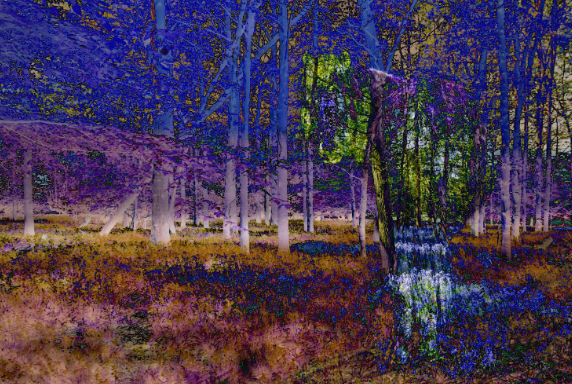
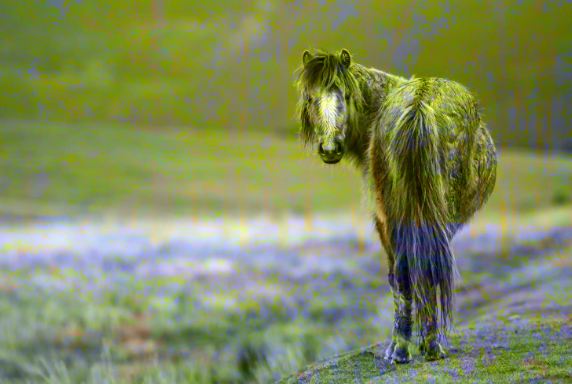
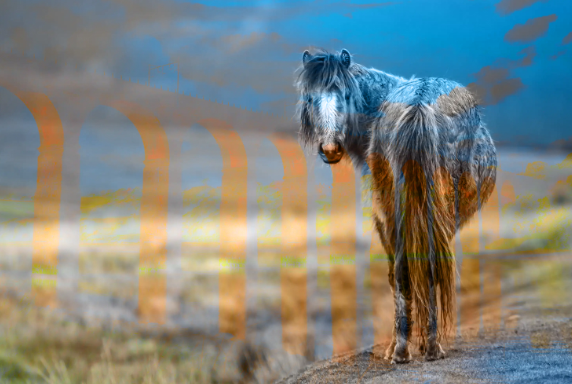
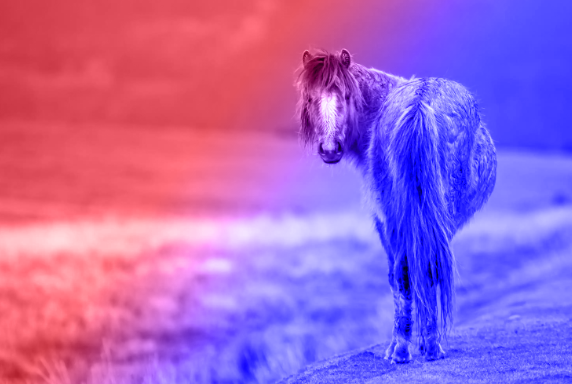
Blend modes work by interacting with the layer, or layers, beneath. All the four images in each blend mode will interact with this image.
All blend mode layers are 100% Opacity and 100% Fill.
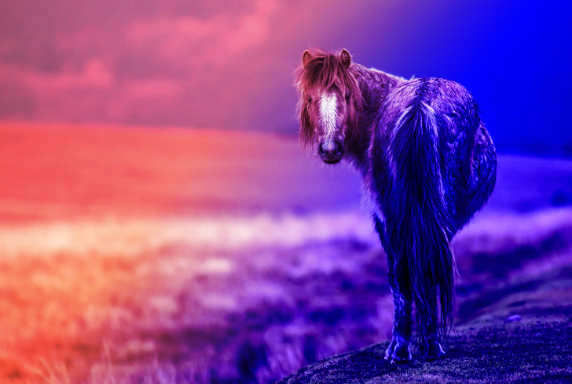
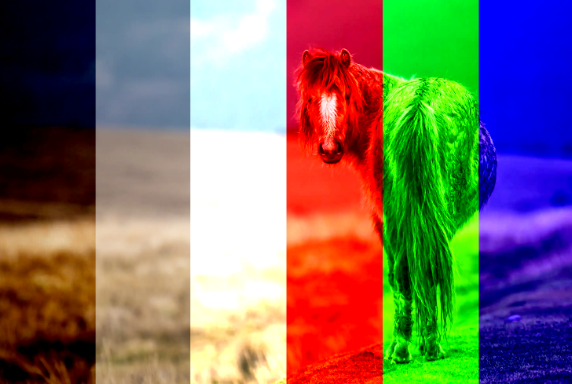
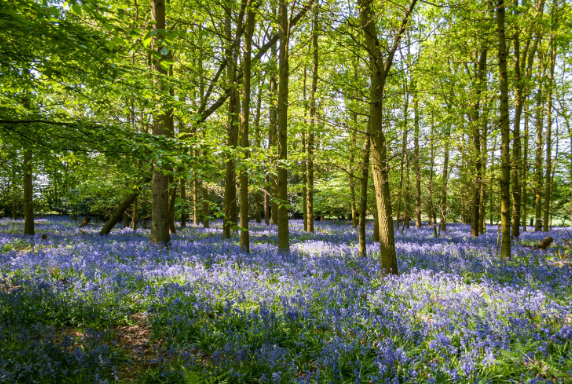
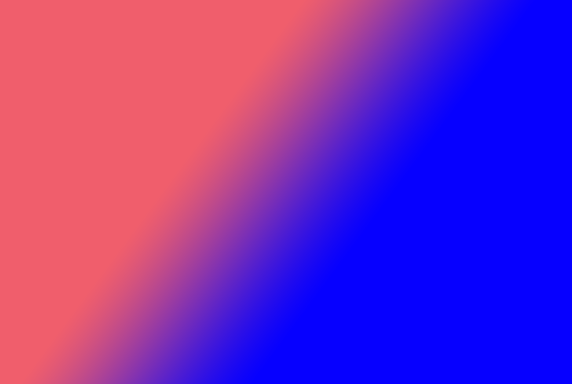
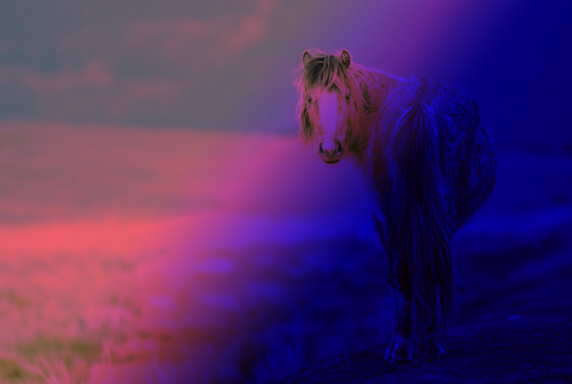
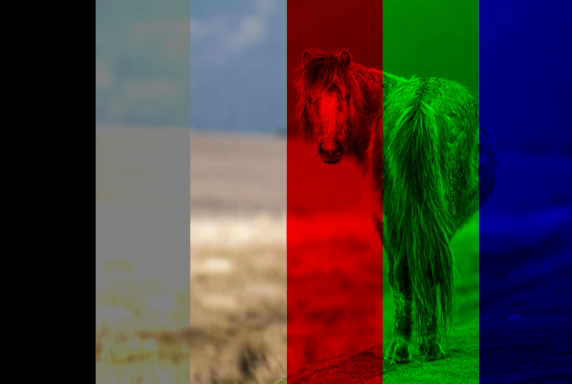
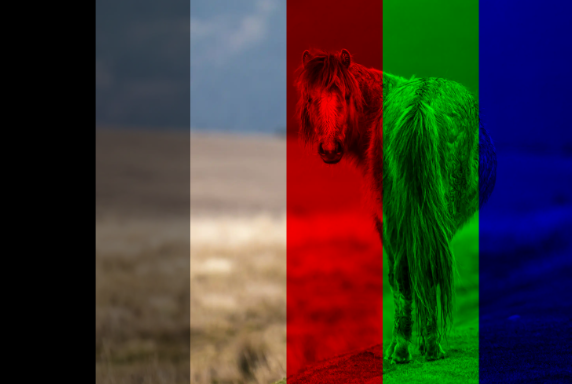
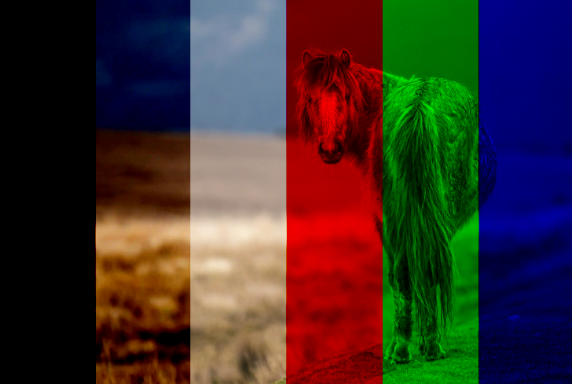
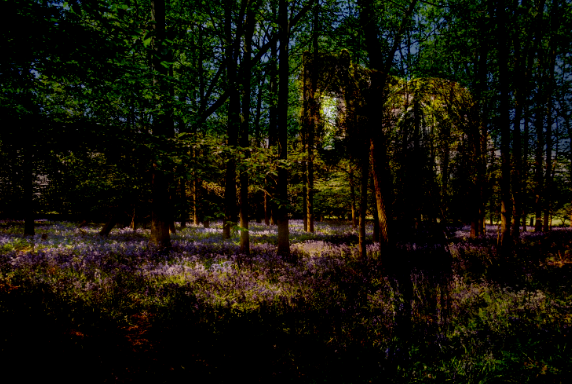
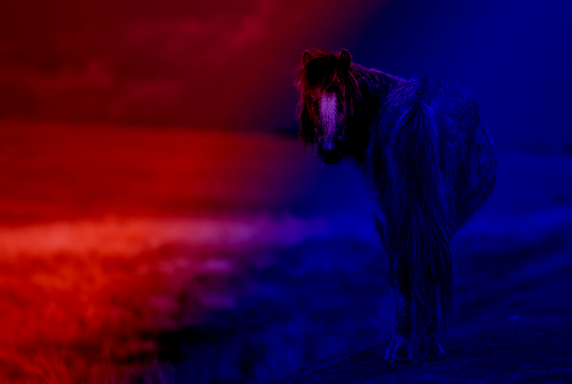
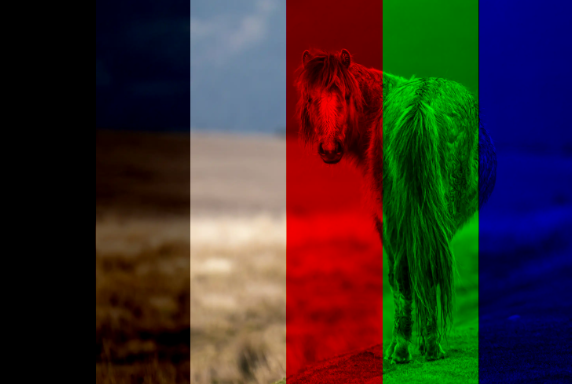
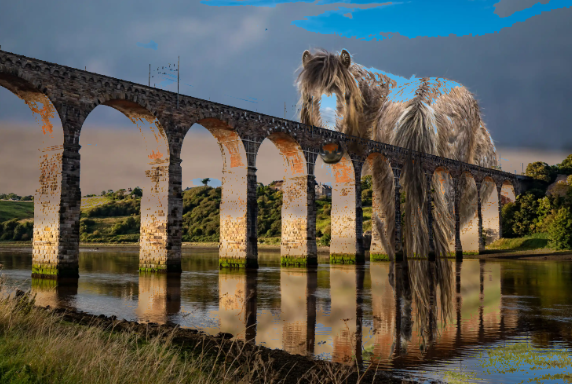
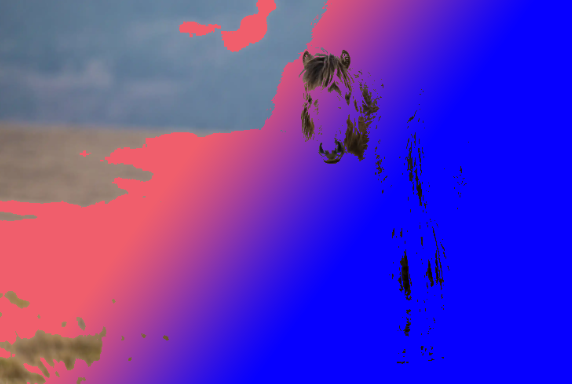
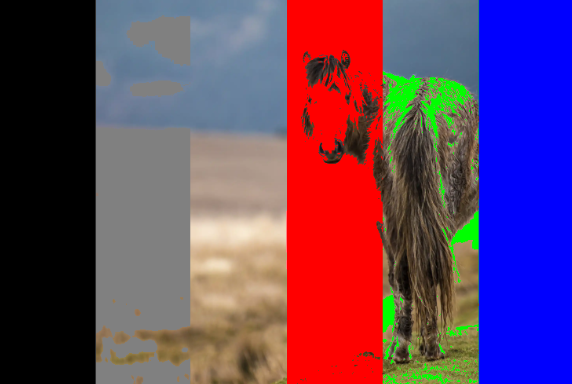
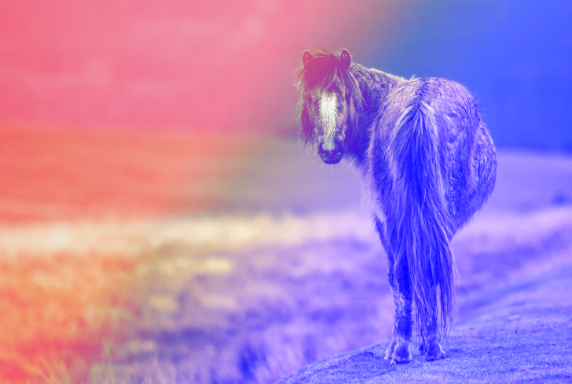
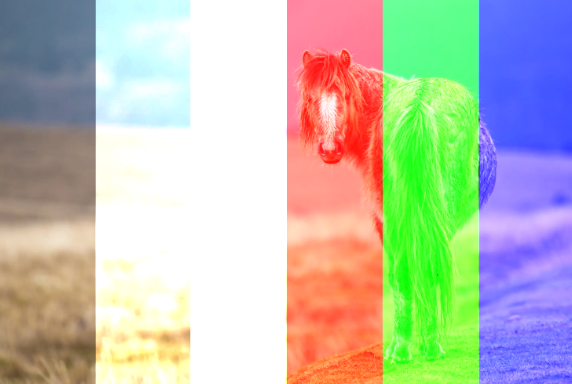
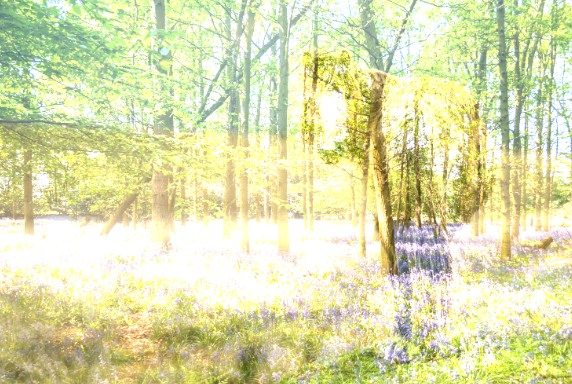
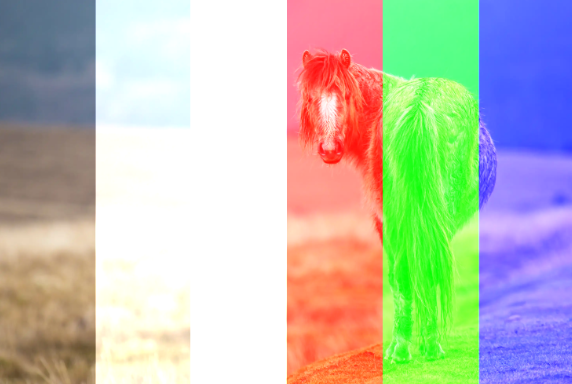
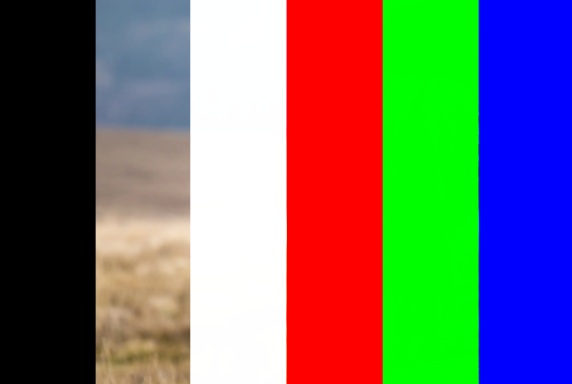
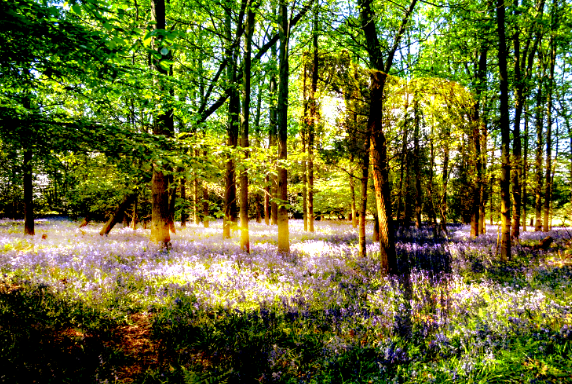
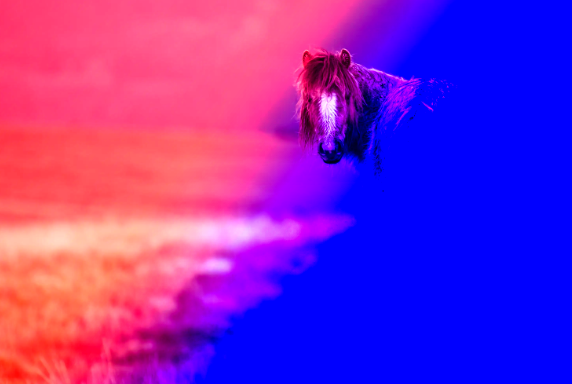
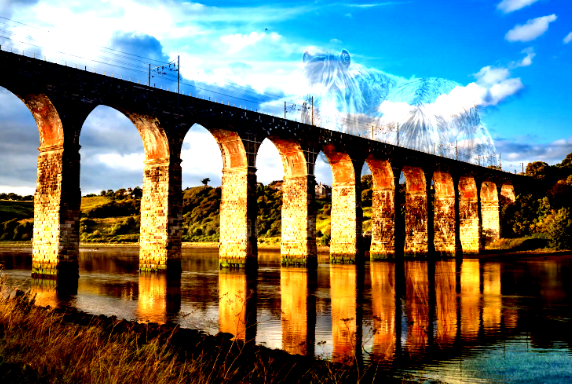
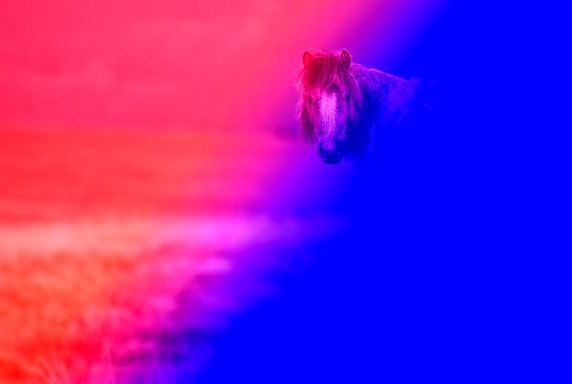
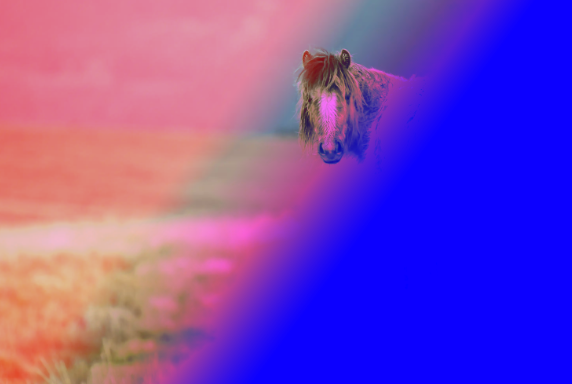
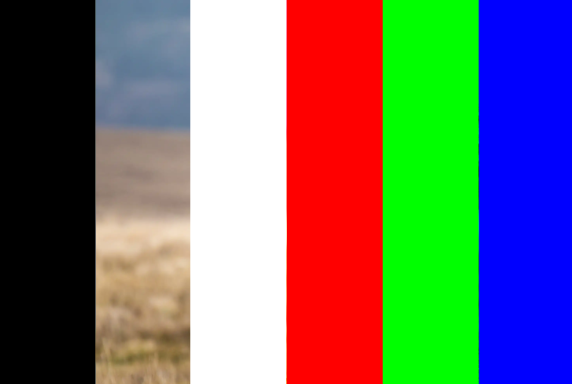
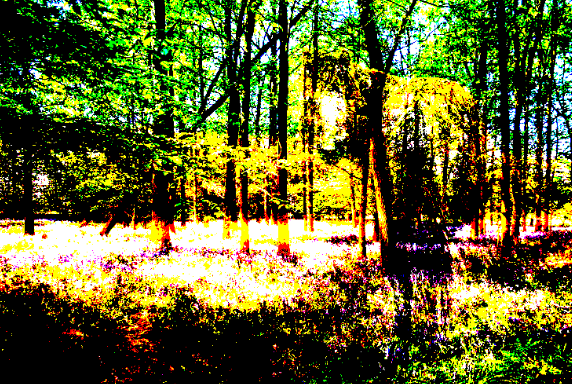
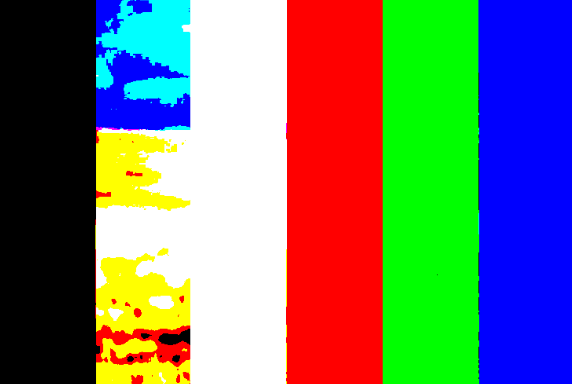
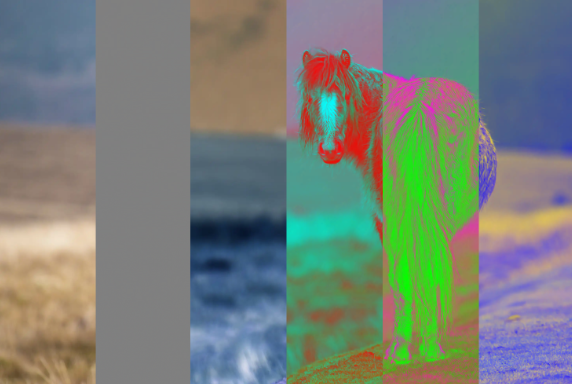
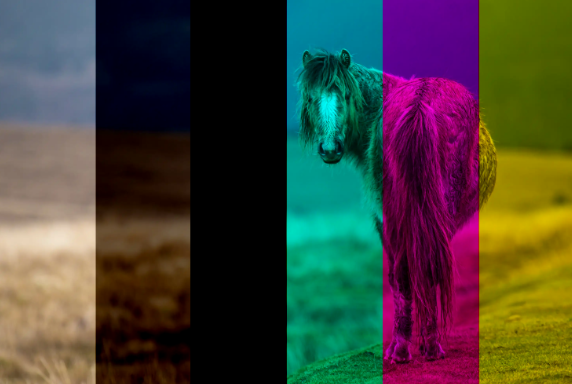
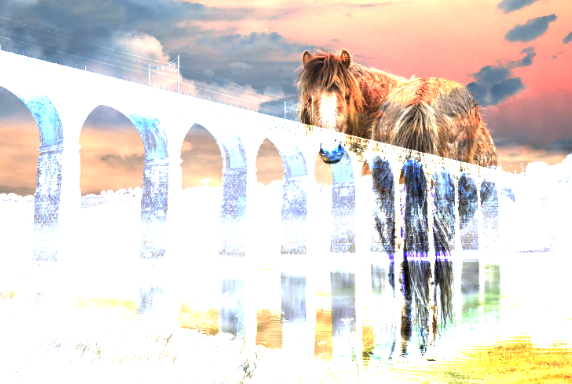
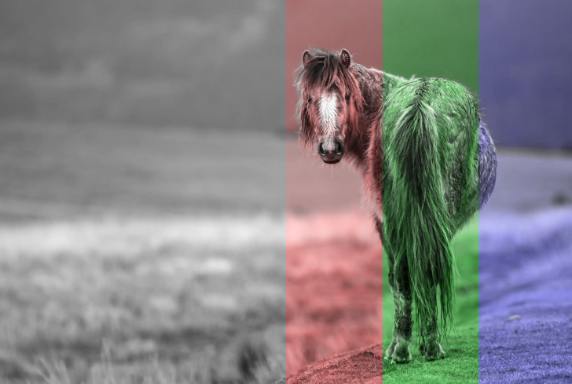
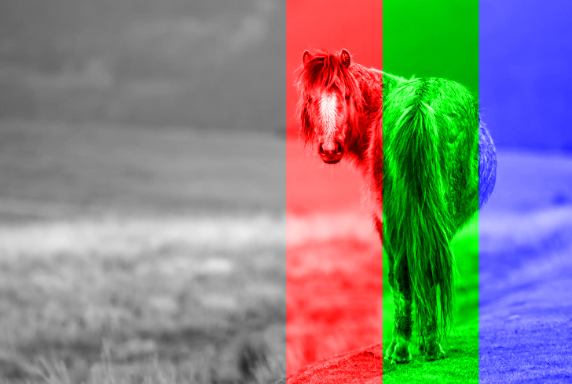
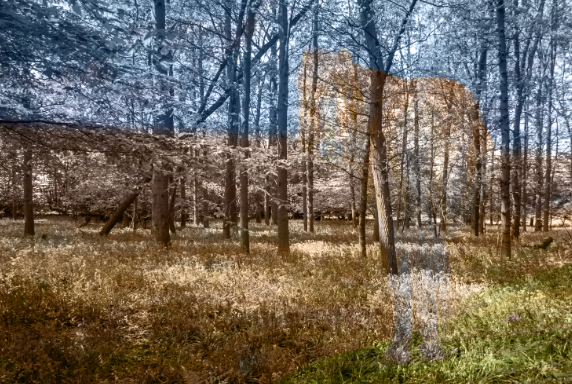
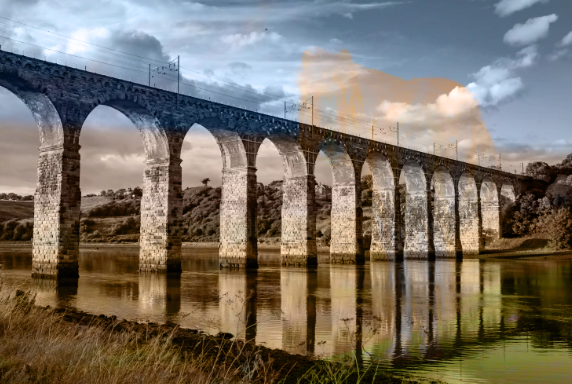
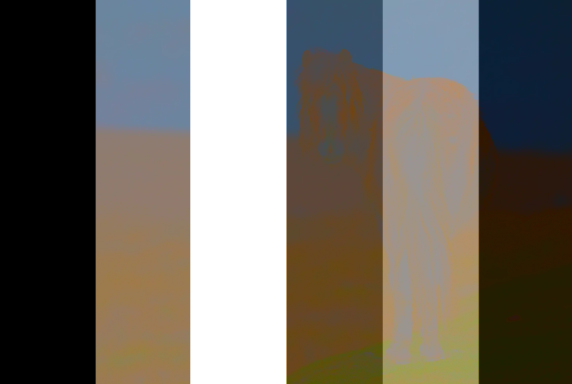
The images show a variety of detail and color; soft lines of foliage, hard lines of the viaduct, a gradient with different colors. The test card shows how each blend mode interacts with black, 50% mid grey, white, red, green and blue.
Blending Mode Examples
Normal Group
Normal
This is the default blending mode. It simply displays the top layer without any blending. The only way to change the appearance is by changing opacity or fill, although they have the same effect.


Dissolve
Randomly replaces pixels with the base or blend color, depending on opacity. Creates a grainy effect. To see this effect, reduce opacity or fill.


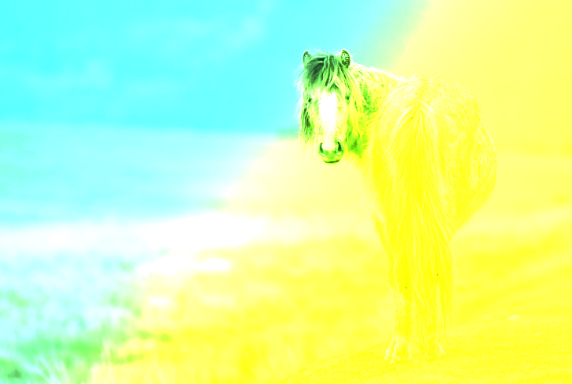
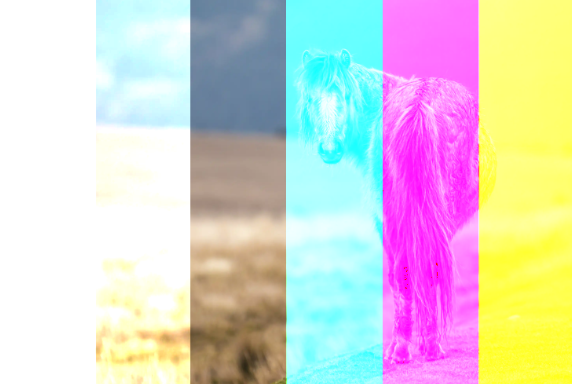
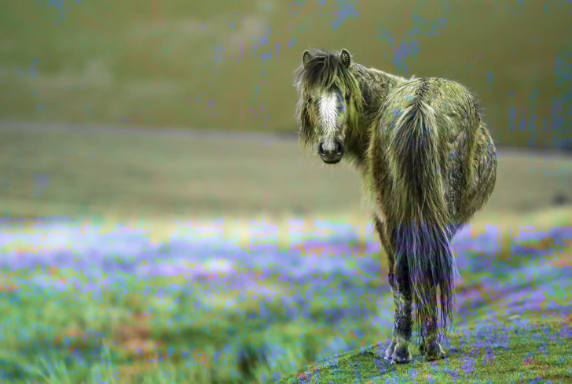
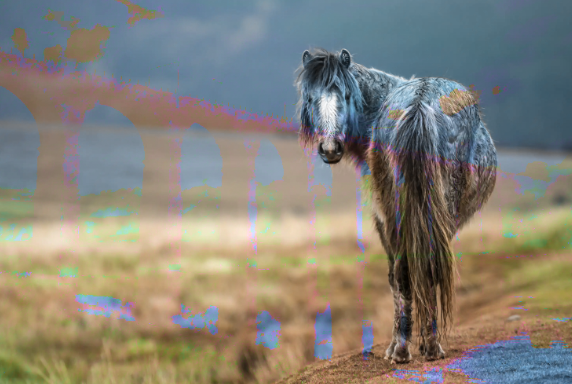
Darken Group
Blend Modes: Darken, Multiply, Color-Burn, Linear-Burn. Darker Color.
These blend modes will darken the underlying layer.
Darken
Compares pixels and keeps the darker ones, replacing lighter ones. Darkens the image overall. Opposite of Lighten.

Multiply
Multiplies the base and blend colors, resulting in a darker image. Often used for shadows and darkening effects. This is one of the more commonly used blend modes.
Color Burn
Similar to Multiply, it increases contrast, darkens the base color to reflect the blend color and intensifies the colors.
Linear Burn
Darkens by reducing brightness. Similar to Color Burn but with less contrast, darkening the base color with the blend color.
Darker Color
Compares the base and blend colors, keeping the darker of the two.
Lighten Group
Blend Modes: Lighten, Screen, Color Dodge, Linear Dodge, Lighter Color
These blend modes will lighten the underlying layer.
Lighten
Compares pixels and keeps the lighter one. Brightens the image overall. Opposite of Darken.

Screen
Opposite of Multiply. Brightens the image by multiplying the inverse of the colors. Black and white are not changed. It's used for lightening and brightening.

Color Dodge
Brightens the base color by reducing contrast. Creates a glowing effect. Black is not changed.


Linear Dodge (Add)
Similar to Color Dodge but with less contrast, lightening the base color with the blend color. Black is not changed.

Lighter Color
Compares the base and blend colors and keeps the lighter color, replacing darker ones. Opposite of Darker Color.

Contrast Group
Blend Modes: Overlay, Soft Light, Hard Light, Vivid Light, Linear Light, Pin Light, Hard Mix
These blend modes affect contrast.
Overlay
A combination of Multiply and Screen. Dark areas become darker, and light areas become lighter, increasing contrast.
Soft Light
Similar to Overlay, but less intense. Applies a subtle effect, darkening or lightening the base color depending on the blend color.
Hard Light
Combines Multiply and Screen like Overlay, but with more intensity, creating a sharper contrast. It's a commonly used blend mode, but you will often benefit by reducing opacity.


Vivid Light
Combines Color Dodge and Color Burn, creating a highly contrasty effect with intense highlights and shadows. Adjusting opacity or fill produces different effects.

Linear Light
Combines Linear Dodge and Linear Burn, producing a strong contrast and more noticeable adjustments to brightness. Adjusting opacity or fill produces different effects.

Pin Light
Replaces colors depending on the blend color's luminance. Lighter areas stay the same, and darker areas may get replaced with pure black or white.

Hard Mix
Creates a posterized effect, blending with harsh color contrasts (only 8 possible colors result). Reduces colors to primary tones (red, green, blue, etc.).
Comparative Group
Blend Modes: Difference, Exclusion, Subtract, Divide
These compare and invert colors between layers. They create differences in color and can be used for aligning layers (e.g., for photo stacking or panoramas), comparing two layers to see the difference, or for creating surreal, inverted color effects. .
Difference
Subtracts the blend color from the base color or vice versa, creating inverted colors.
Exclusion
Similar to Difference, but with softer results, creating an effect of lowered contrast and more muted colors.

Subtract
Subtracts the blend color from the base color, creating darker results.
Divide
Divides the base color by the blend color, often creating bright, washed-out effects.
Component, or Composite Group
Blend Modes: Hue, Saturation, Color, Luminosity
Changes color quality, using a combination of white and primary colors (red, green, blue).
Hue
Applies the hue of the blend color while keeping the luminance and saturation of the base color.
Saturation
Applies the saturation of the blend color while keeping the hue and luminance of the base color.

Color
Applies the hue and saturation of the blend color while keeping the luminance of the base color. Great for recoloring, for example, hand coloring old black and white photos.
Luminosity
Applies the luminance of the blend color while keeping the hue and saturation of the base color. Useful for adjusting brightness without affecting color.
Blend Modes Where Opacity and Fill Have Different Effects
With most blend modes, adjusting opacity or fill has the same effect. However there are some blend modes that have a different effect by adjusting opacity or fill. Sometimes the differences are subtle, but sometimes adjusting Fill can have a significant impact.
Color Burn
100% opacity & fill
50% opacity, 100% fill

100% opacity, 50% fill
Linear Burn
100% opacity & fill
50% opacity, 100% fill
100% opacity, 50% fill
Color Dodge
100% opacity & fill
50% opacity, 100% fill
100% opacity, 50% fill
Linear Dodge (Add)
100% opacity & fill
50% opacity, 100% fill
100% opacity, 50% fill
Linear Light
100% opacity & fill
50% opacity, 100% fill
100% opacity, 50% fill
Hard Mix
100% opacity & fill
50% opacity, 100% fill
100% opacity, 50% fill
Difference
100% opacity & fill

50% opacity, 100% fill
100% opacity, 50% fill
