Add a Realistic Frame and Bevel Mount to a photo in Photoshop
After you have created a montage with multiple images using Contact Sheet, it's very easy to change options in Layer Styles. To create the montage, See the tutorial to create a montage using Photoshop Contact Sheet.
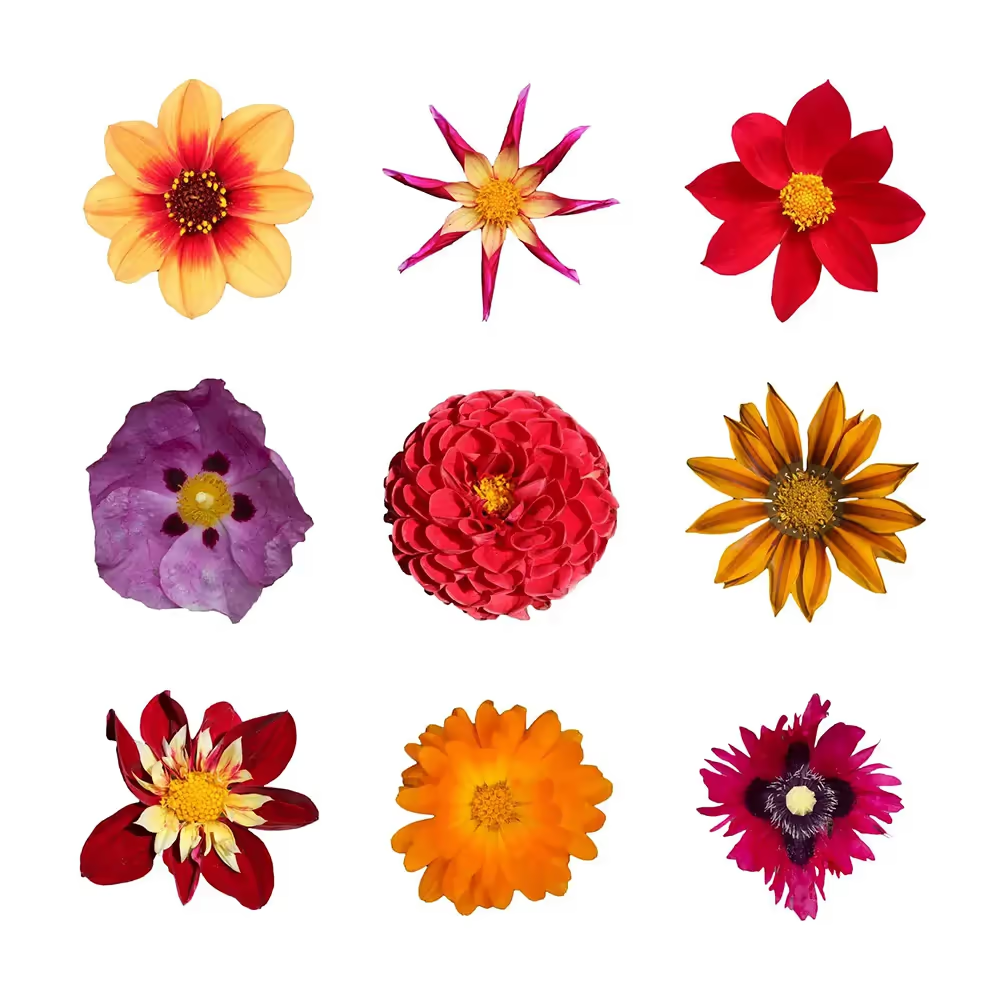
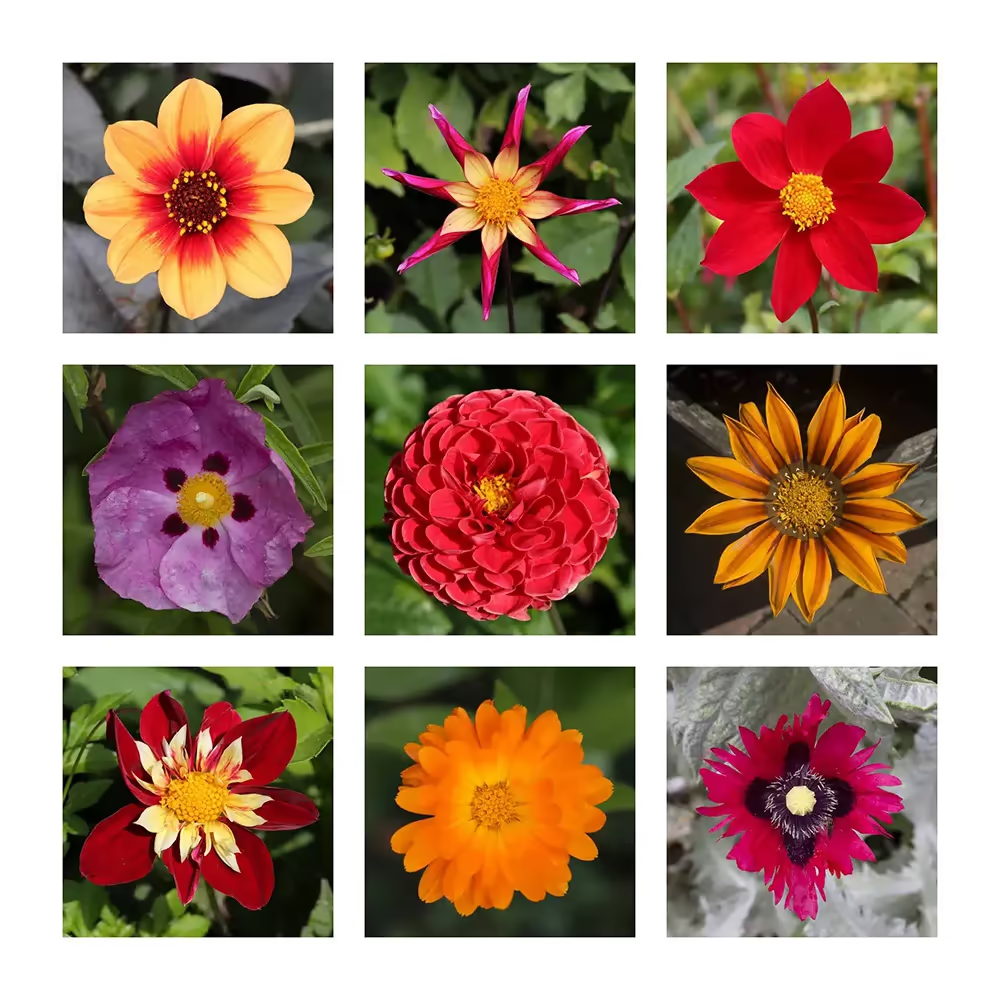
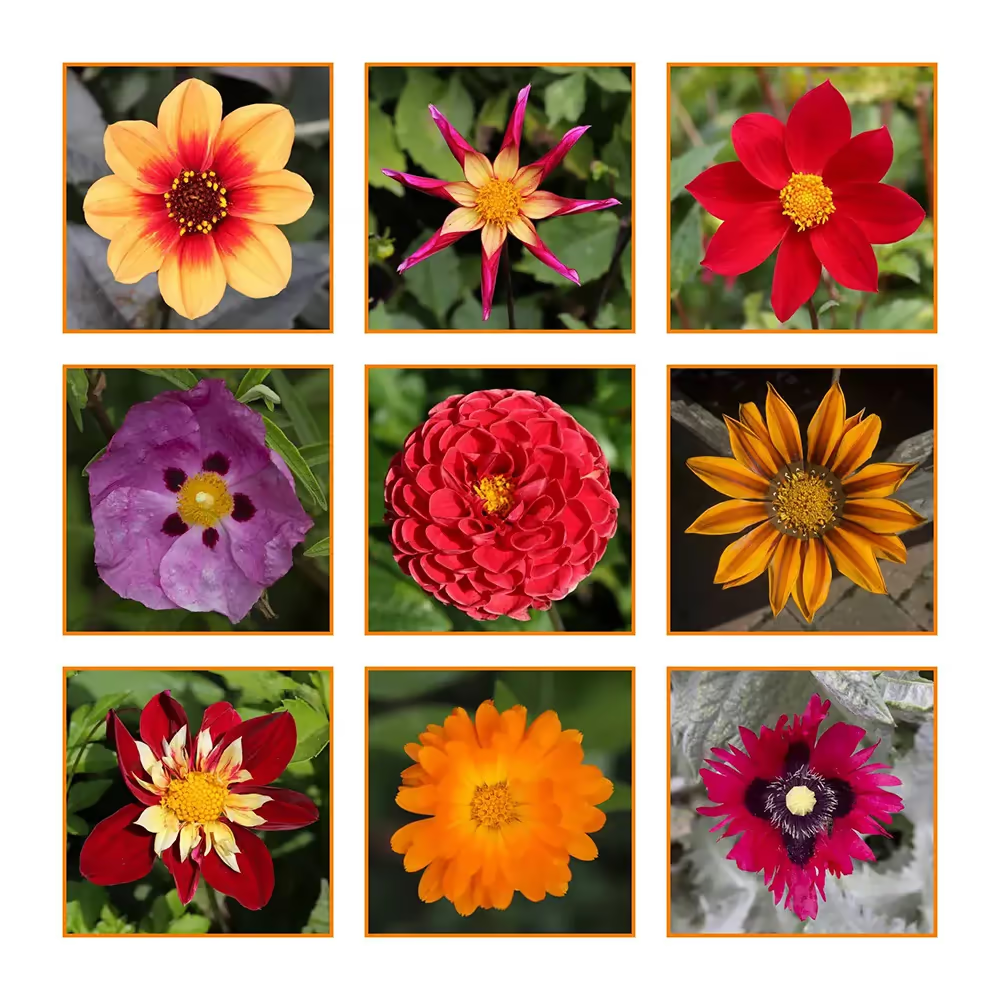
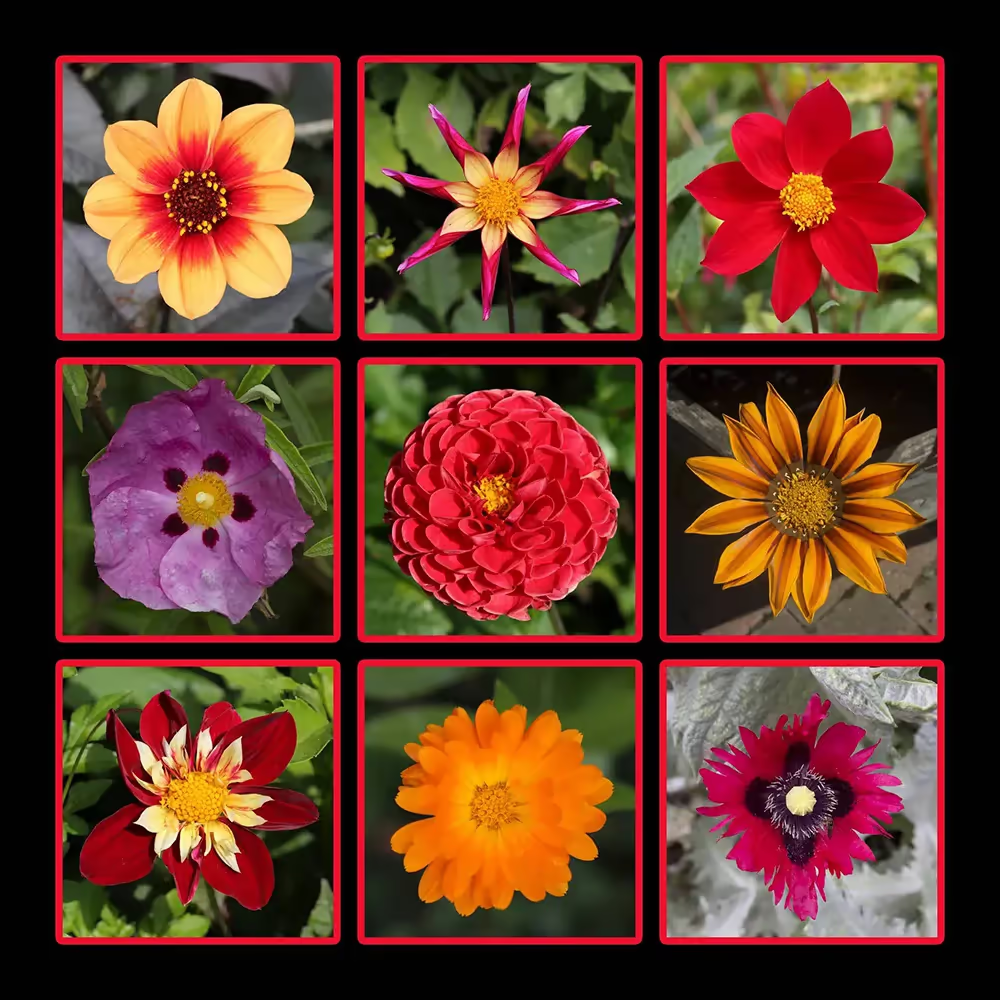
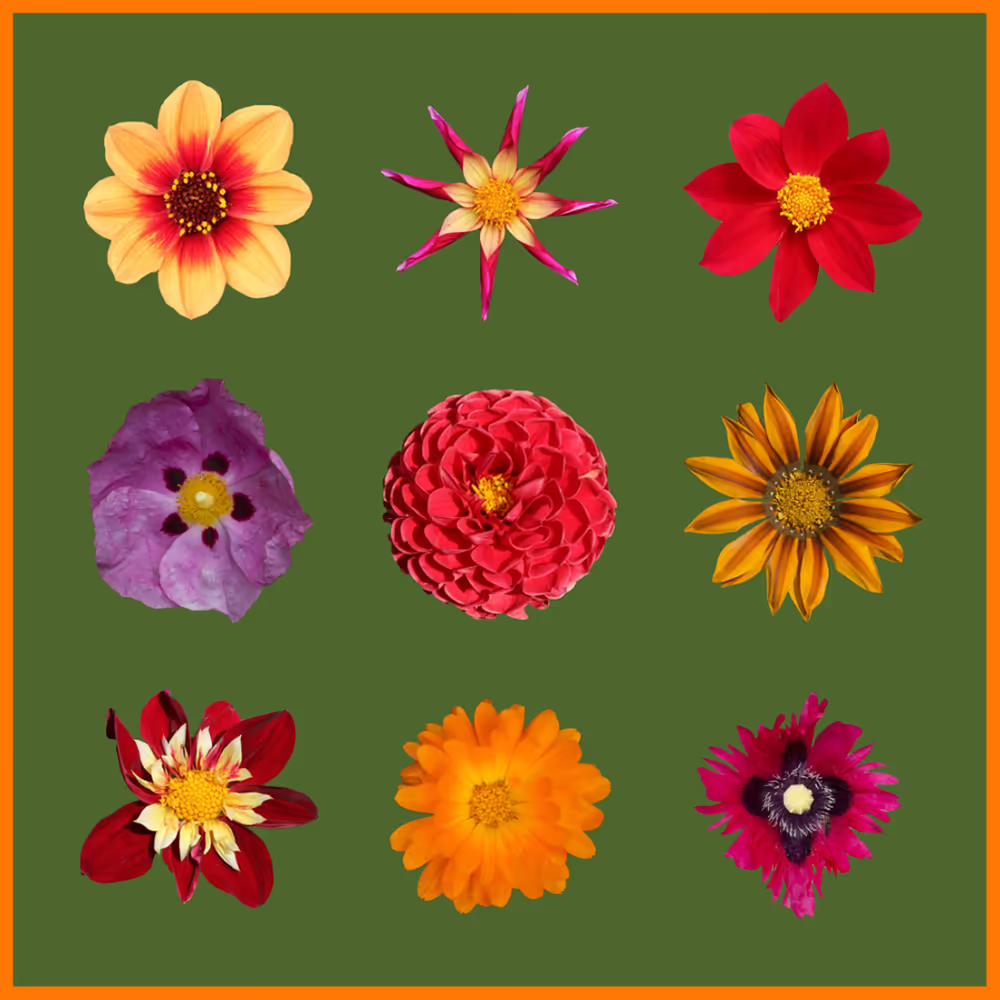
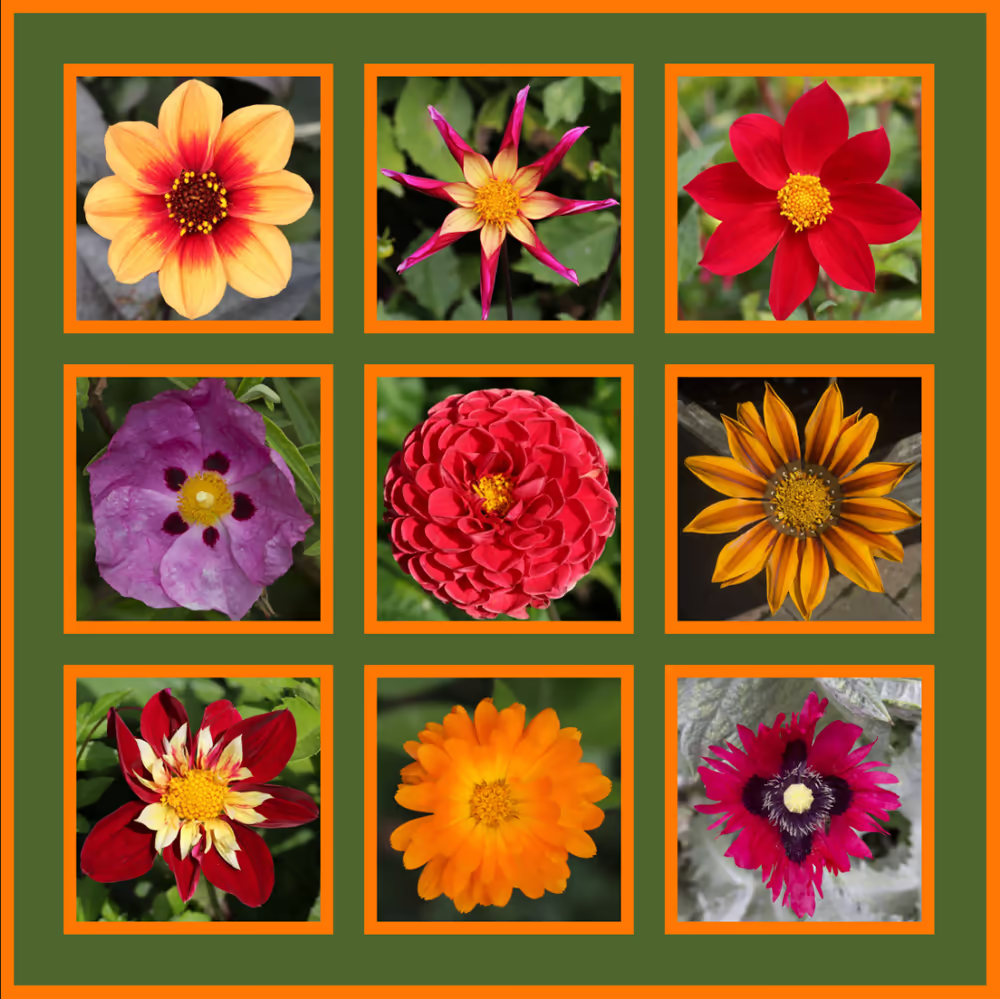
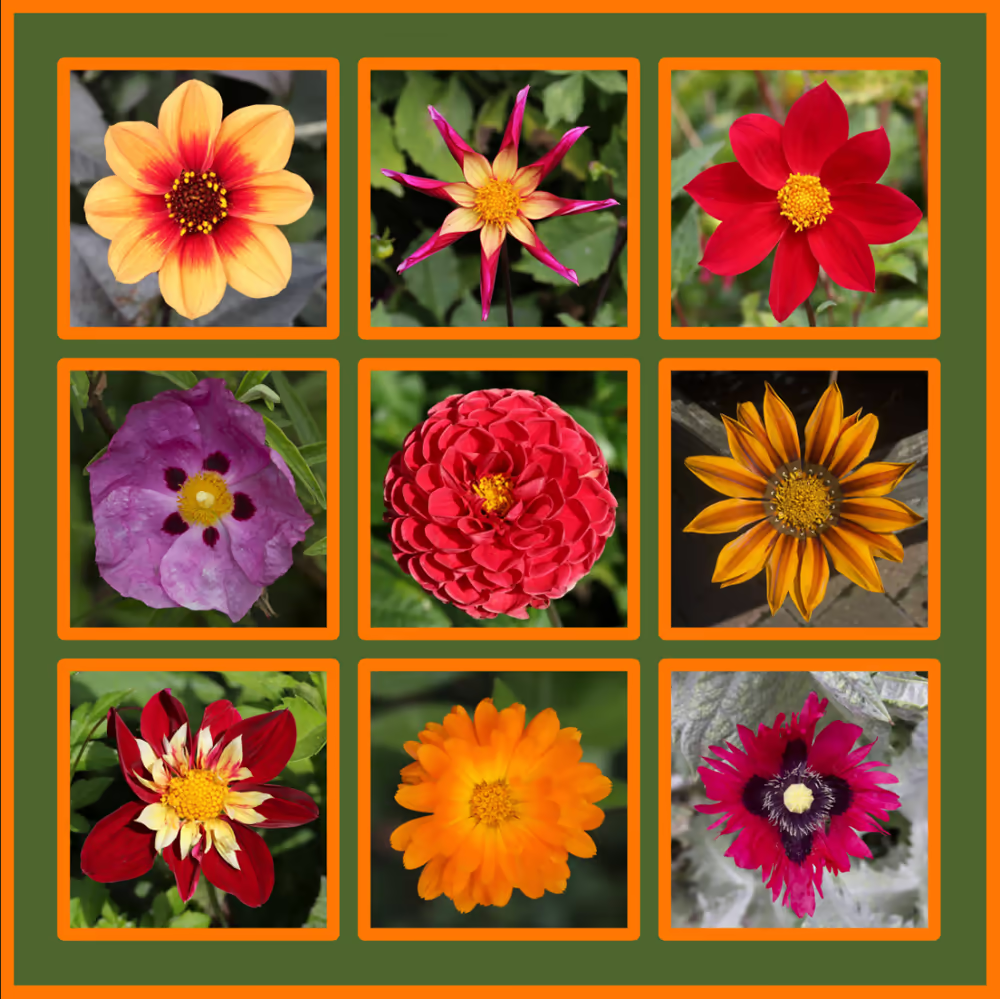
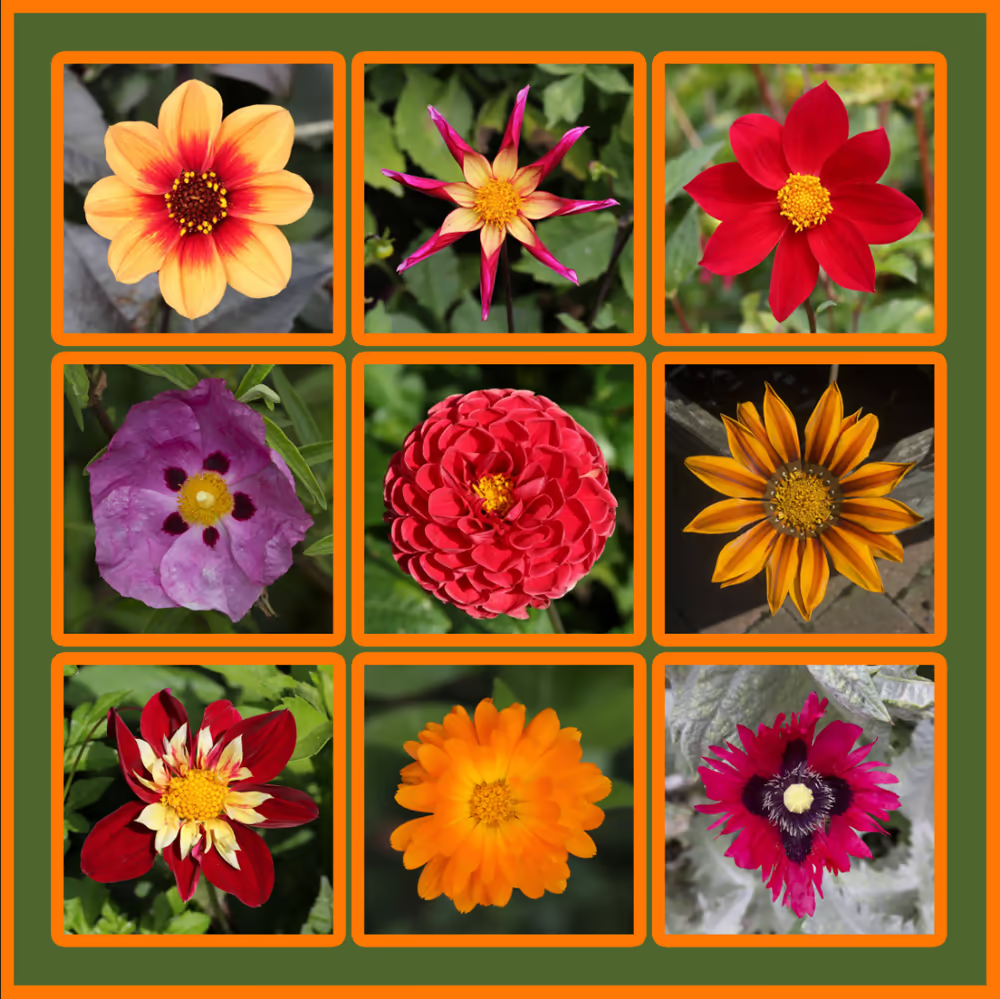
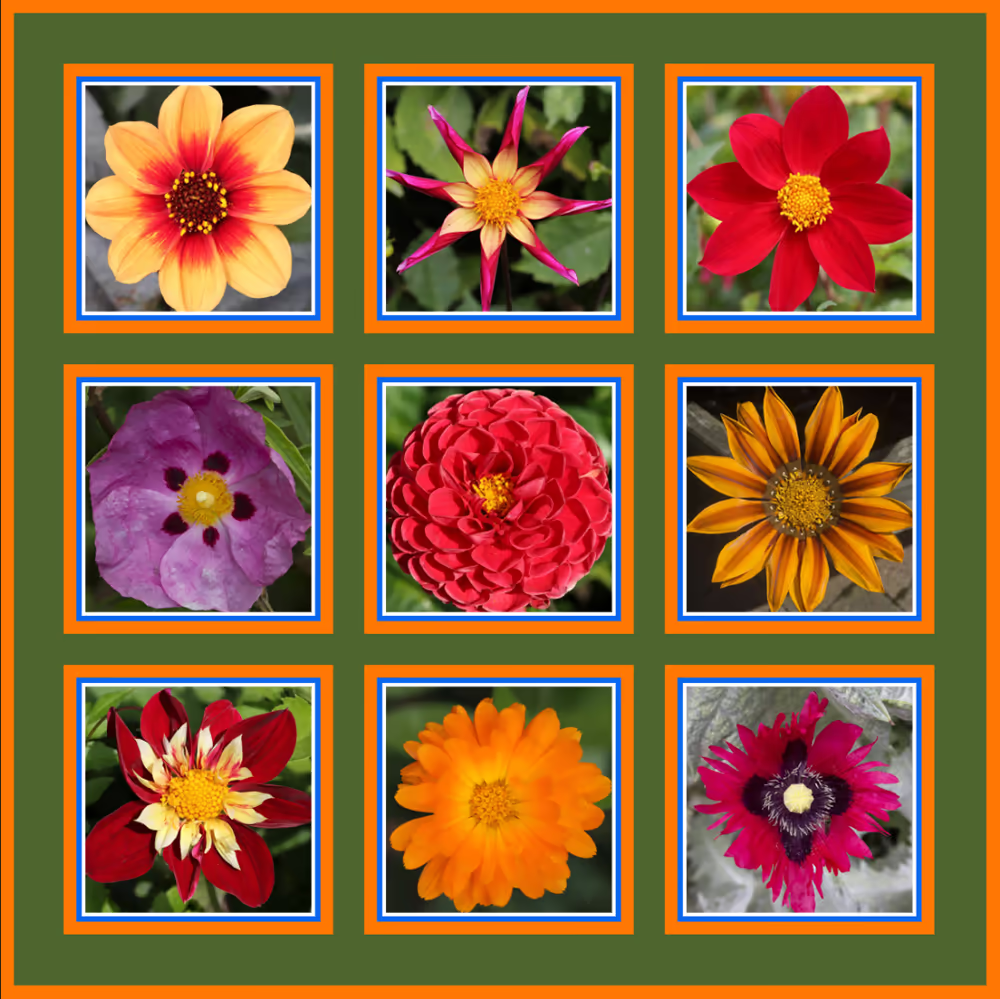
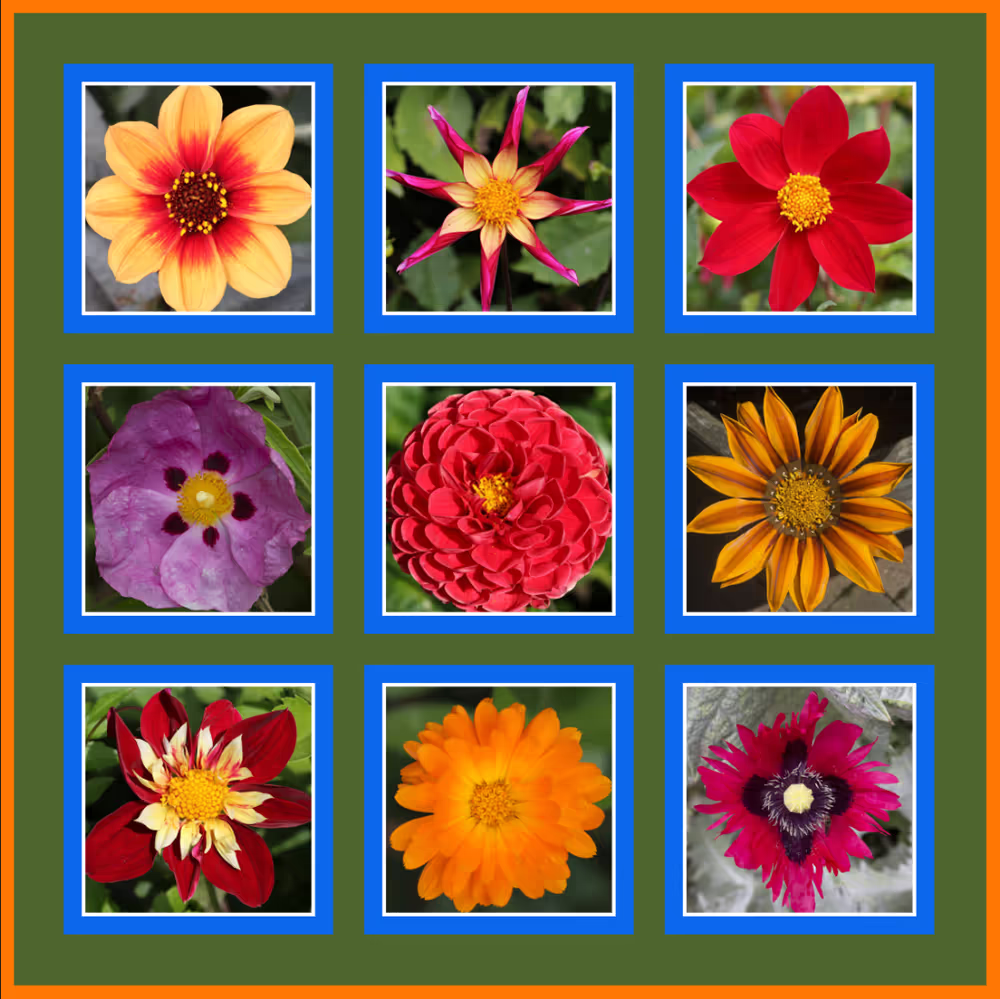
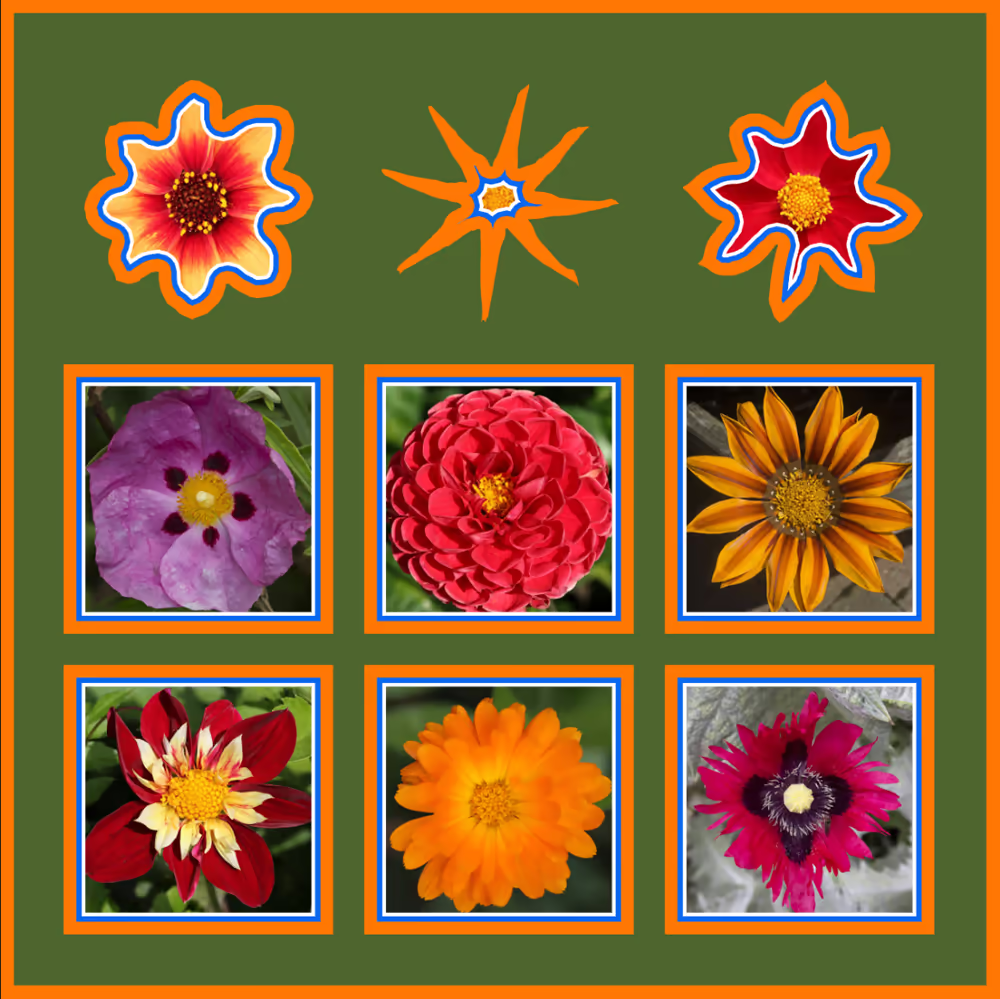
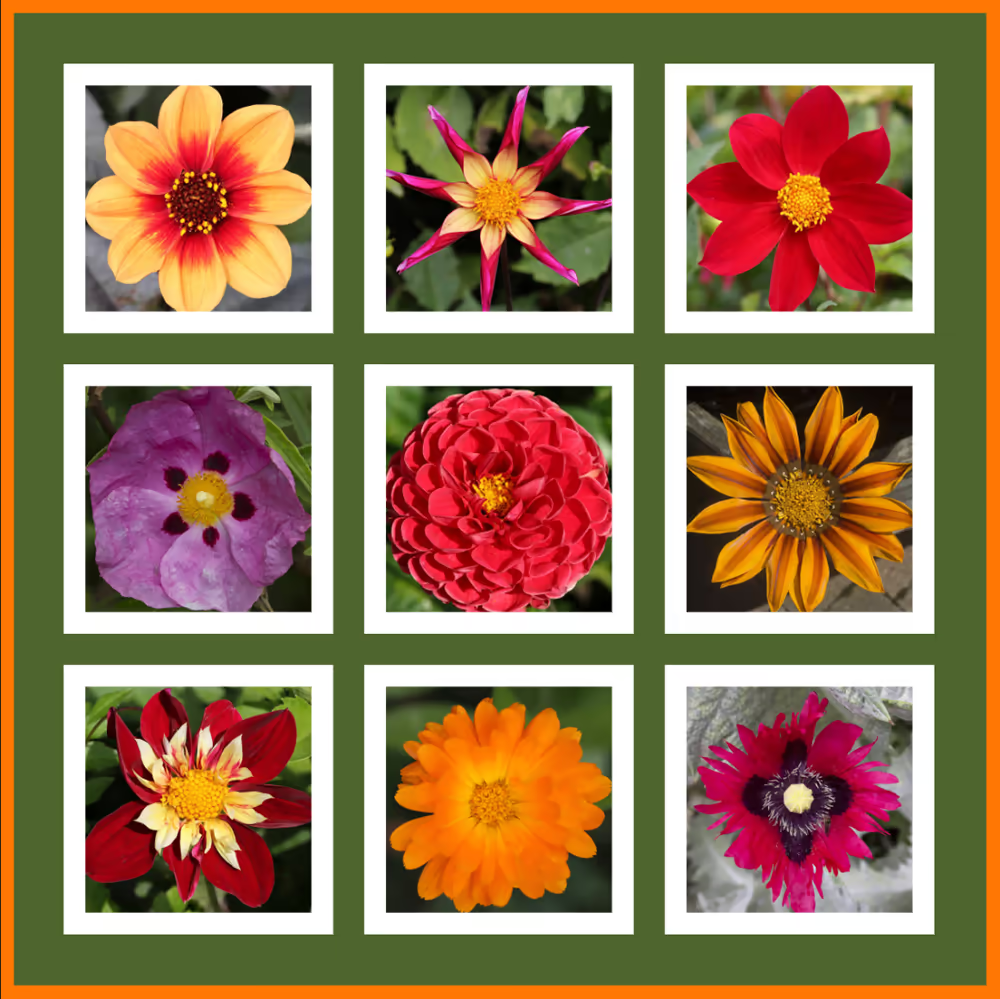
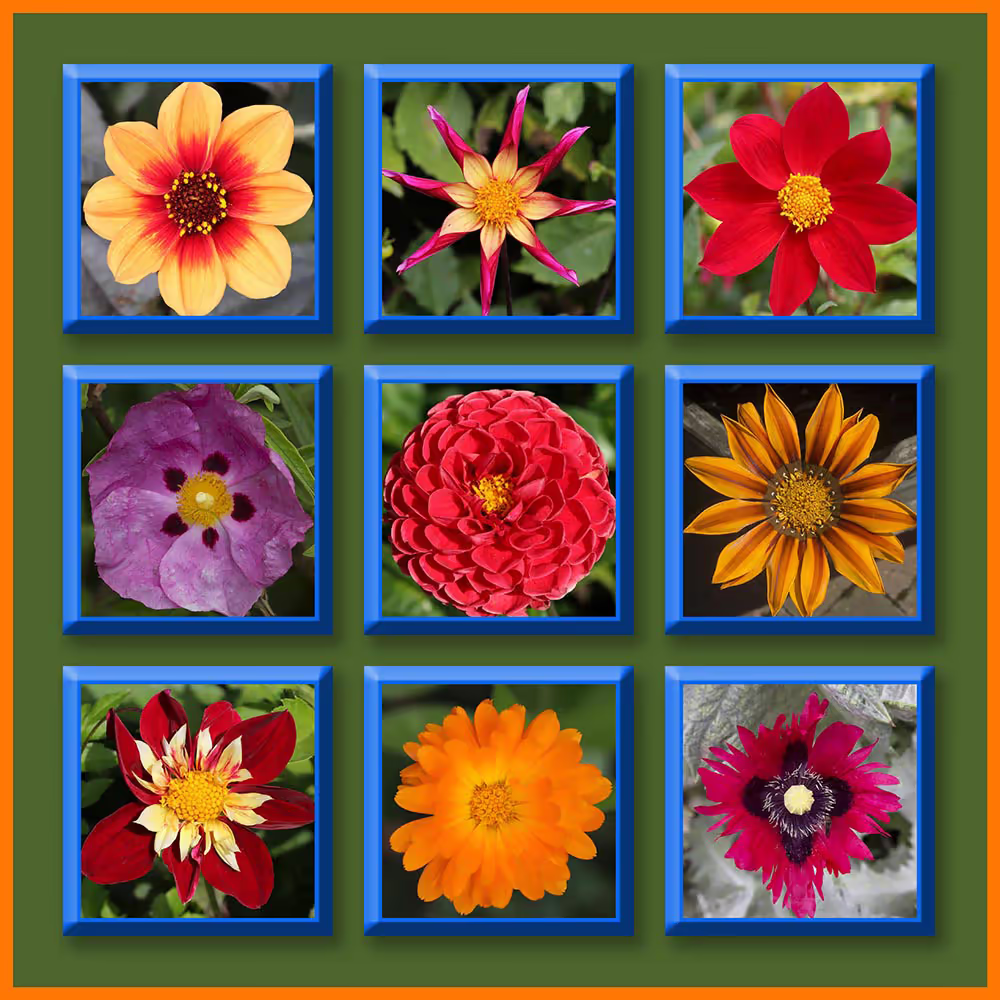
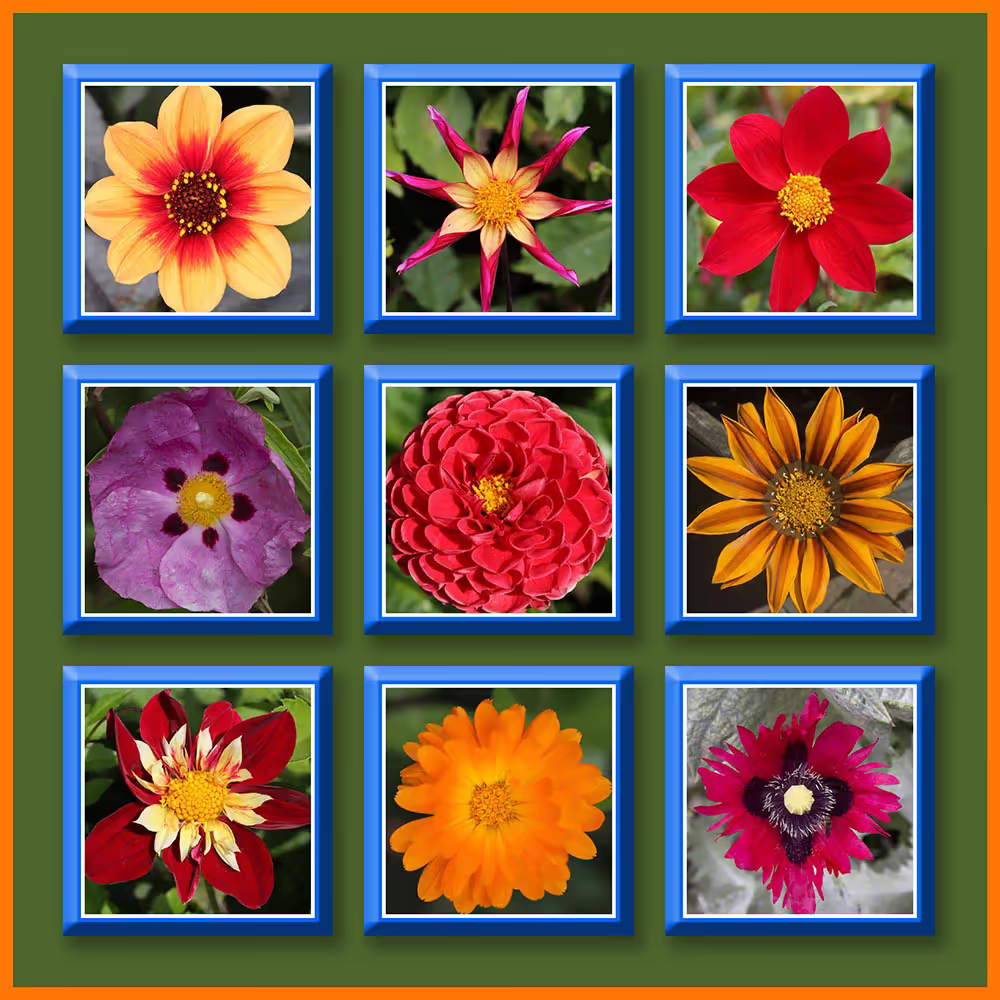
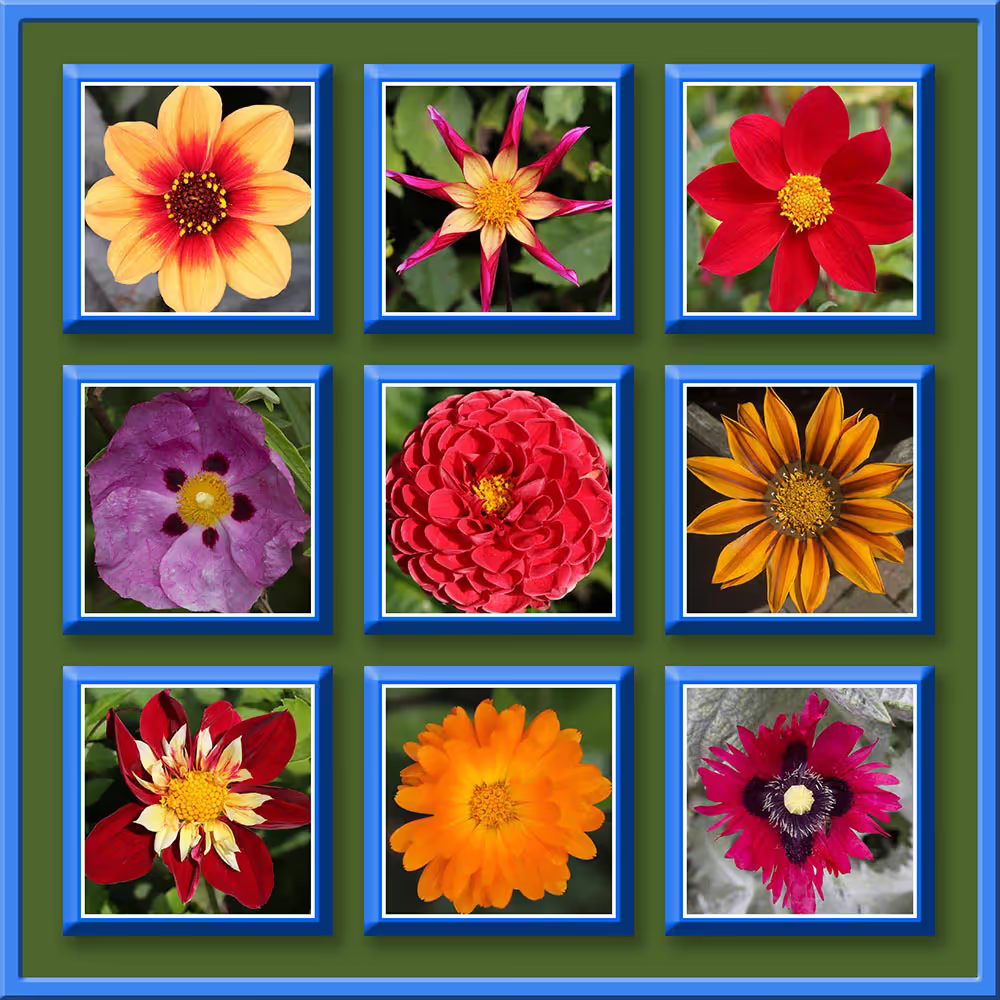
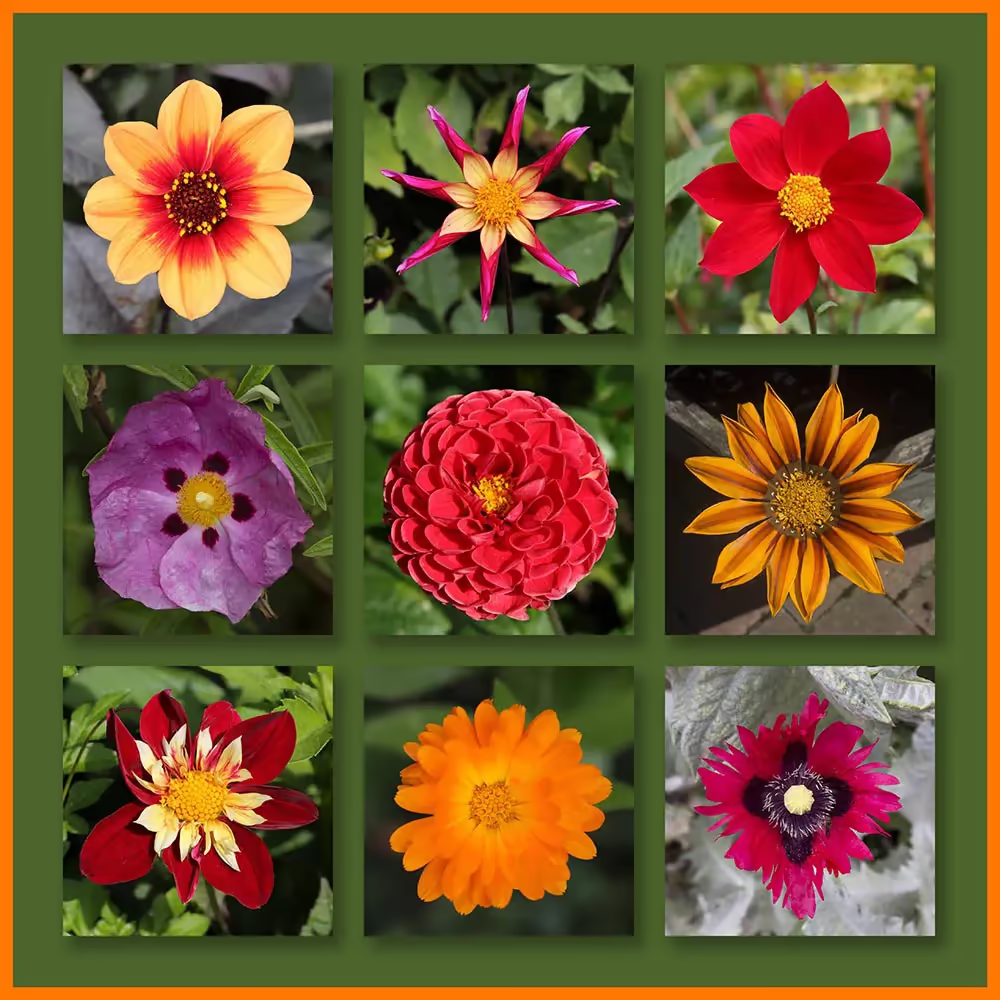
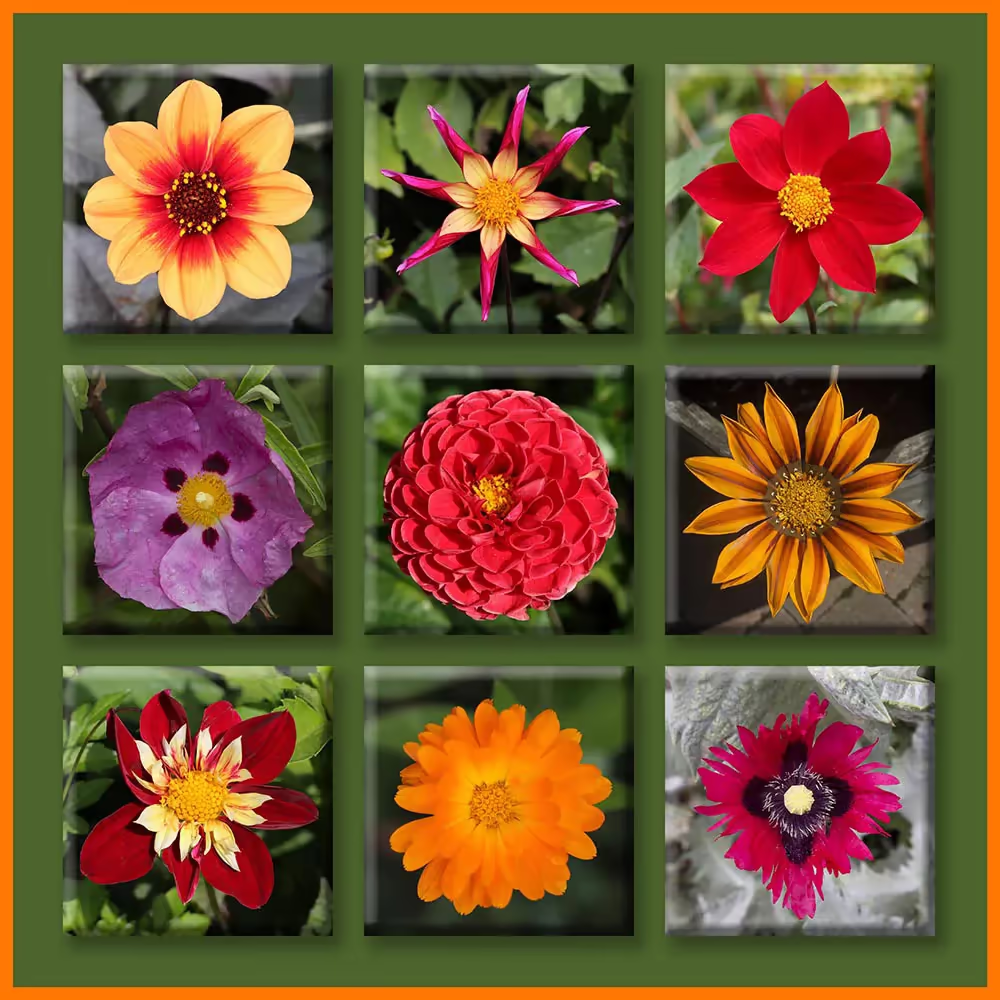
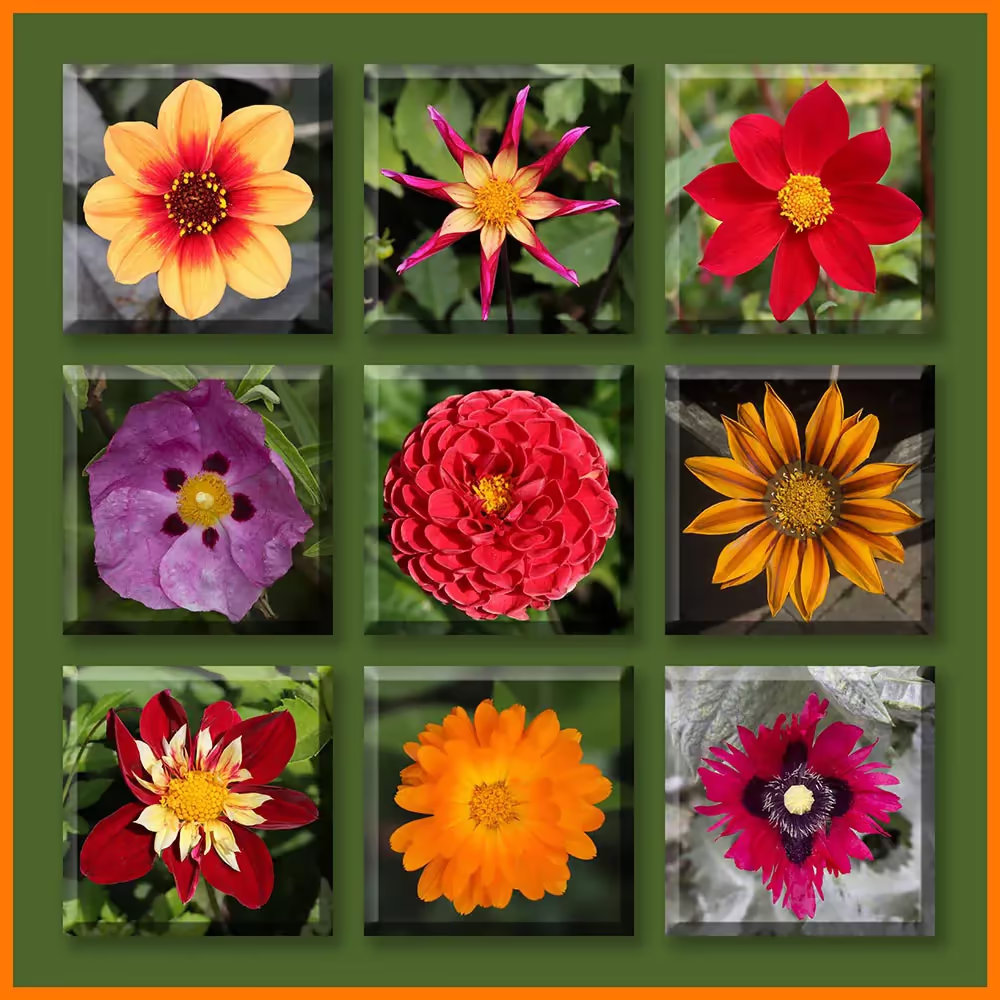
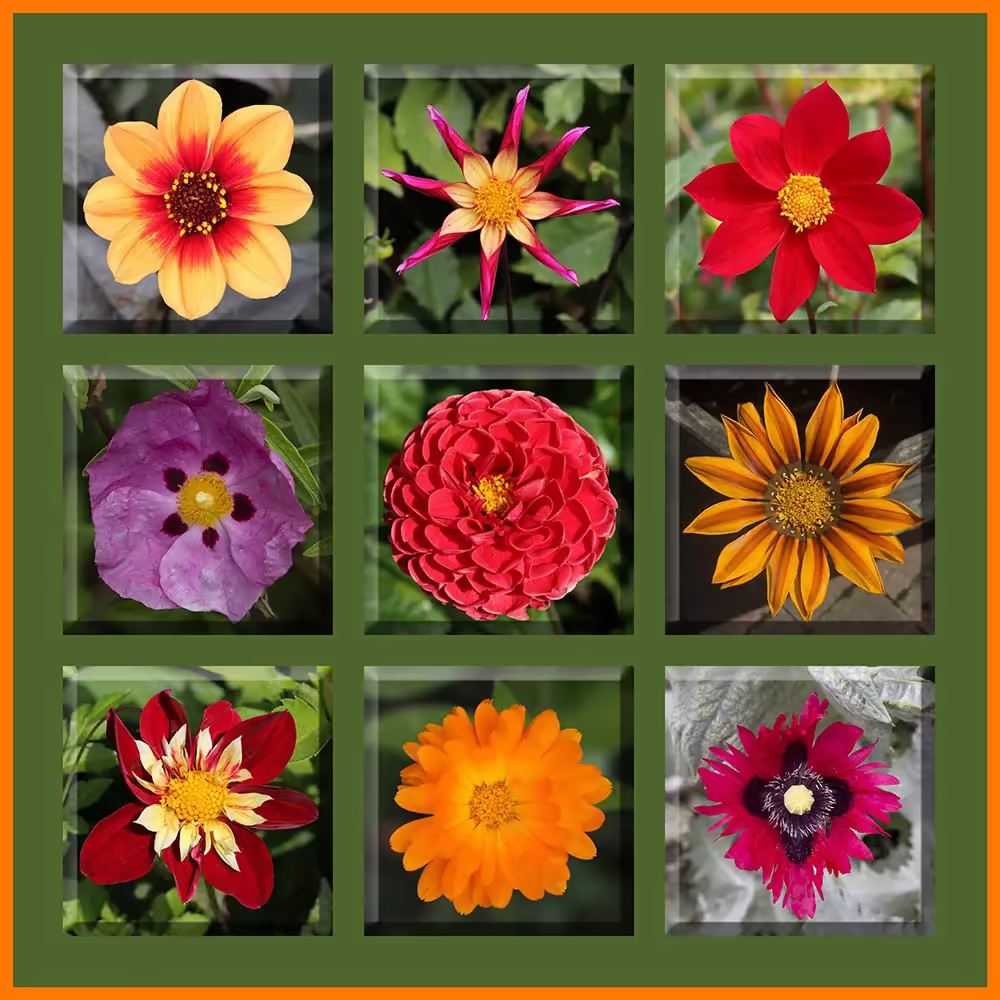
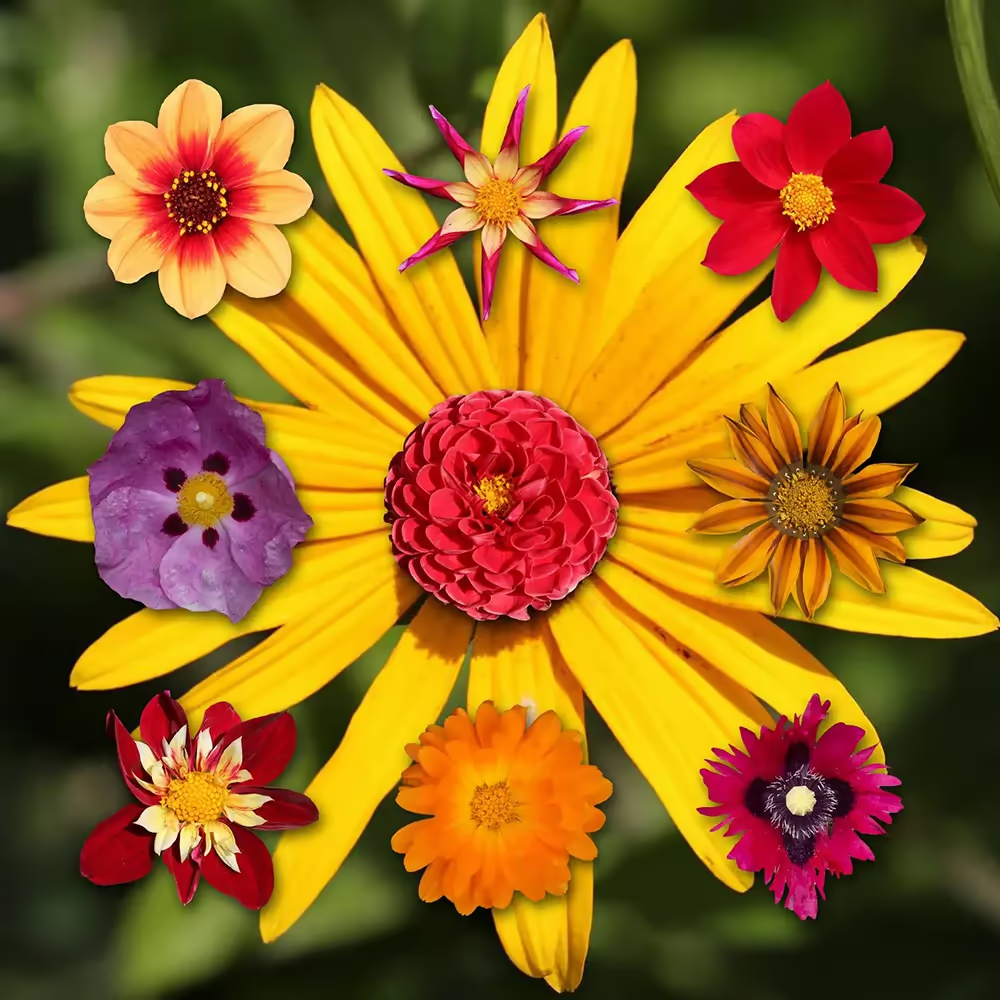
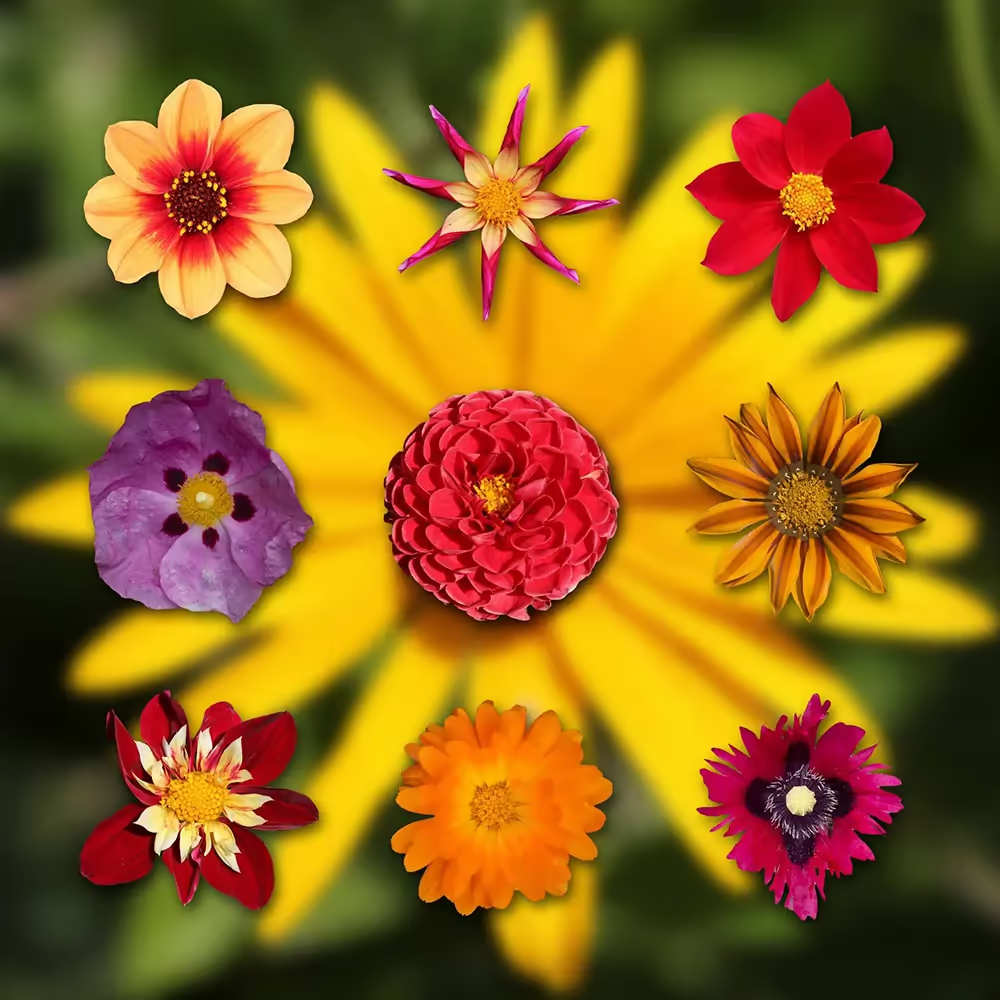
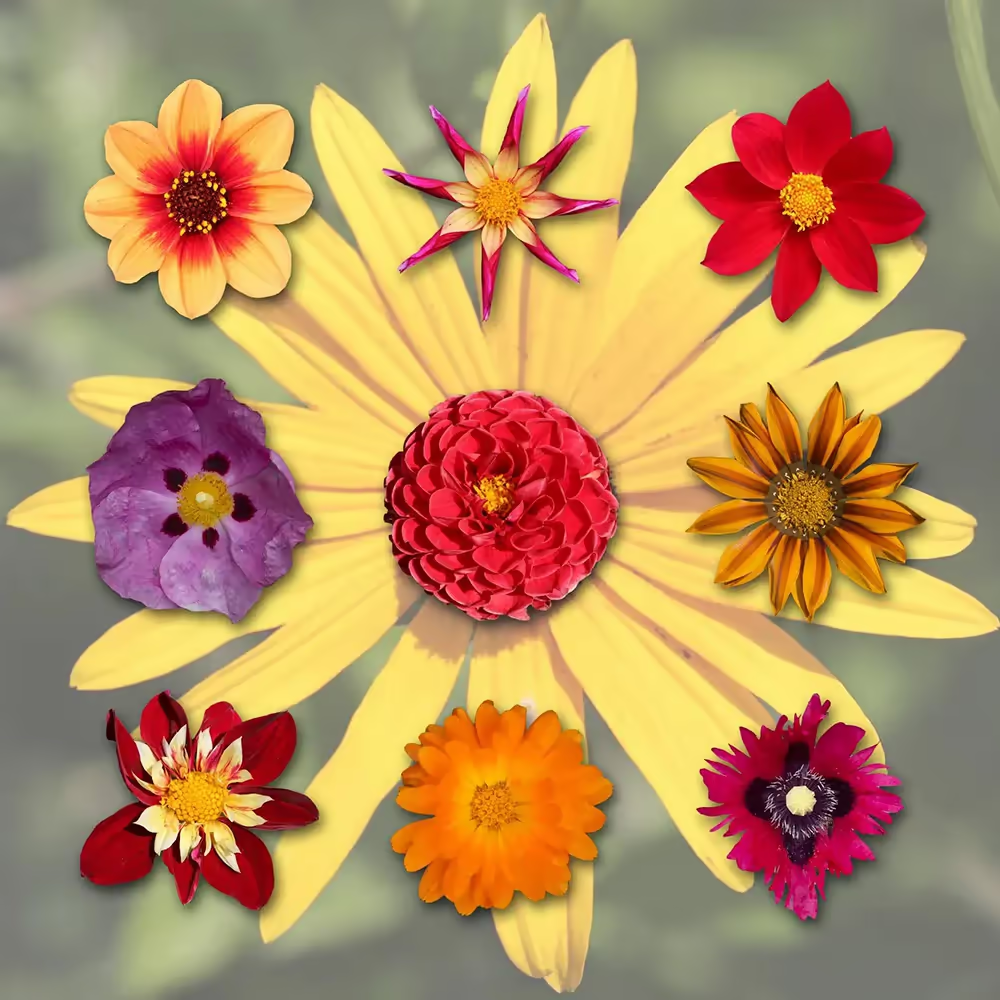
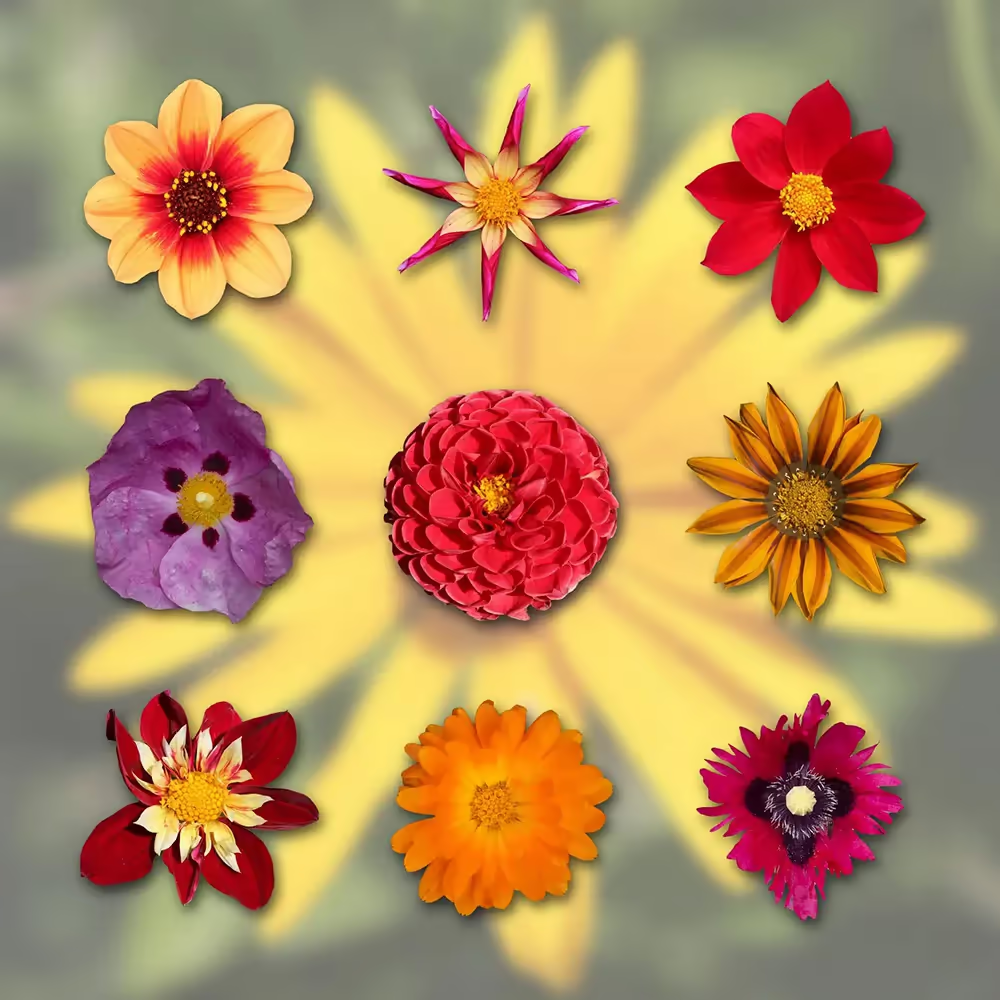
The 40 variations of the montage below will give you an idea of what's possible.
Click on the small thumbnails to see larger images.
See below images for details of what has been used on each image.

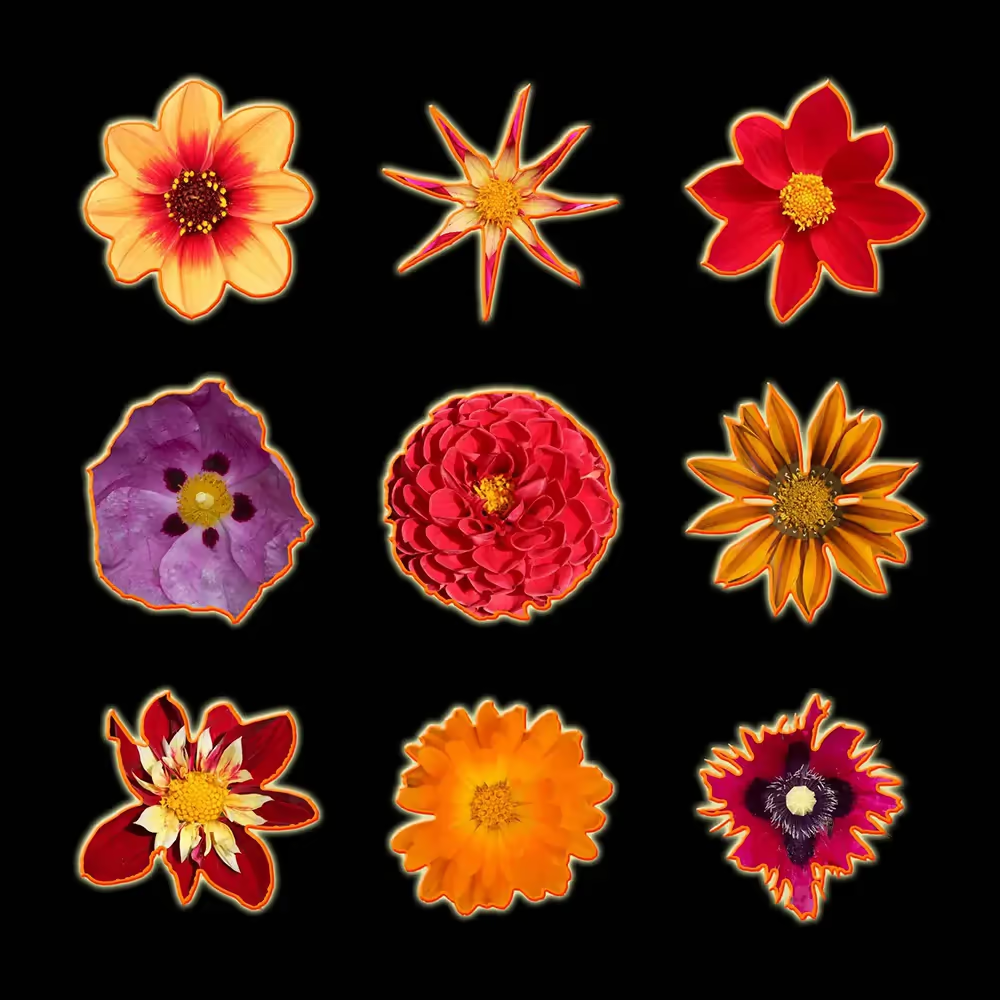

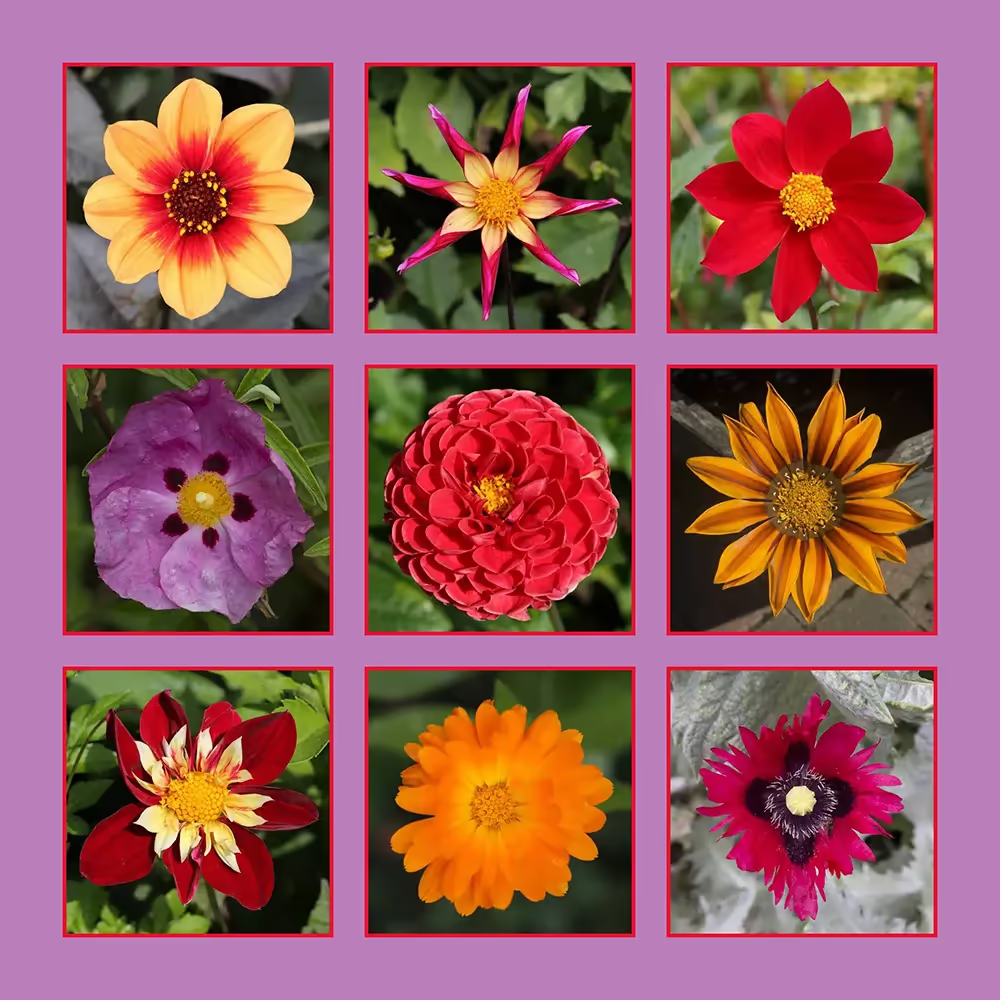
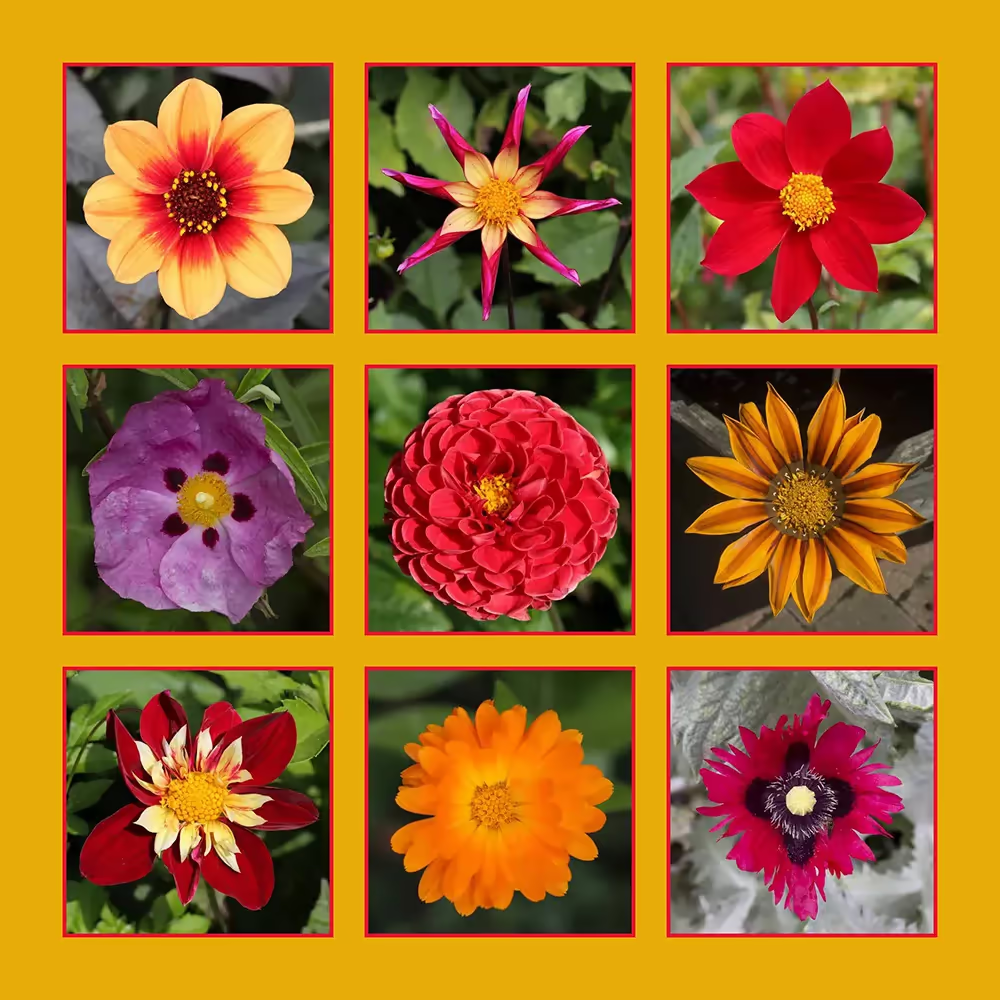
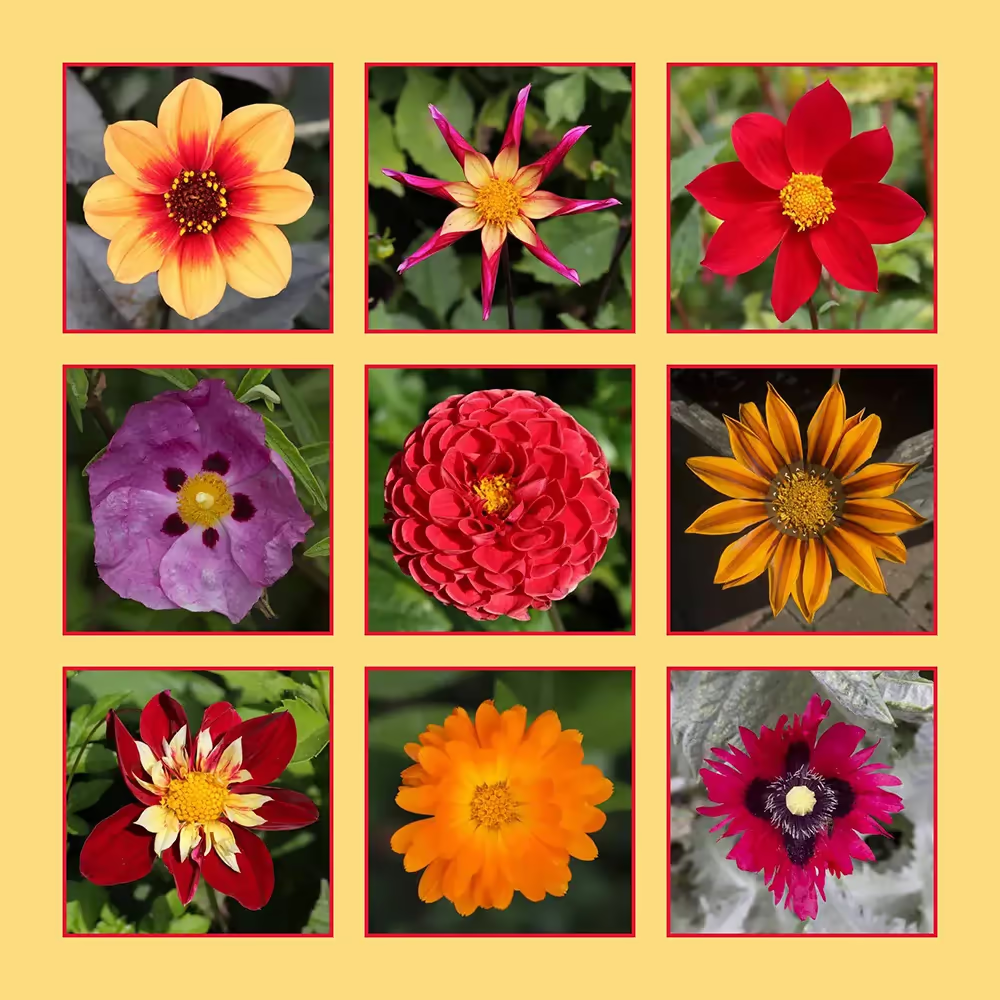
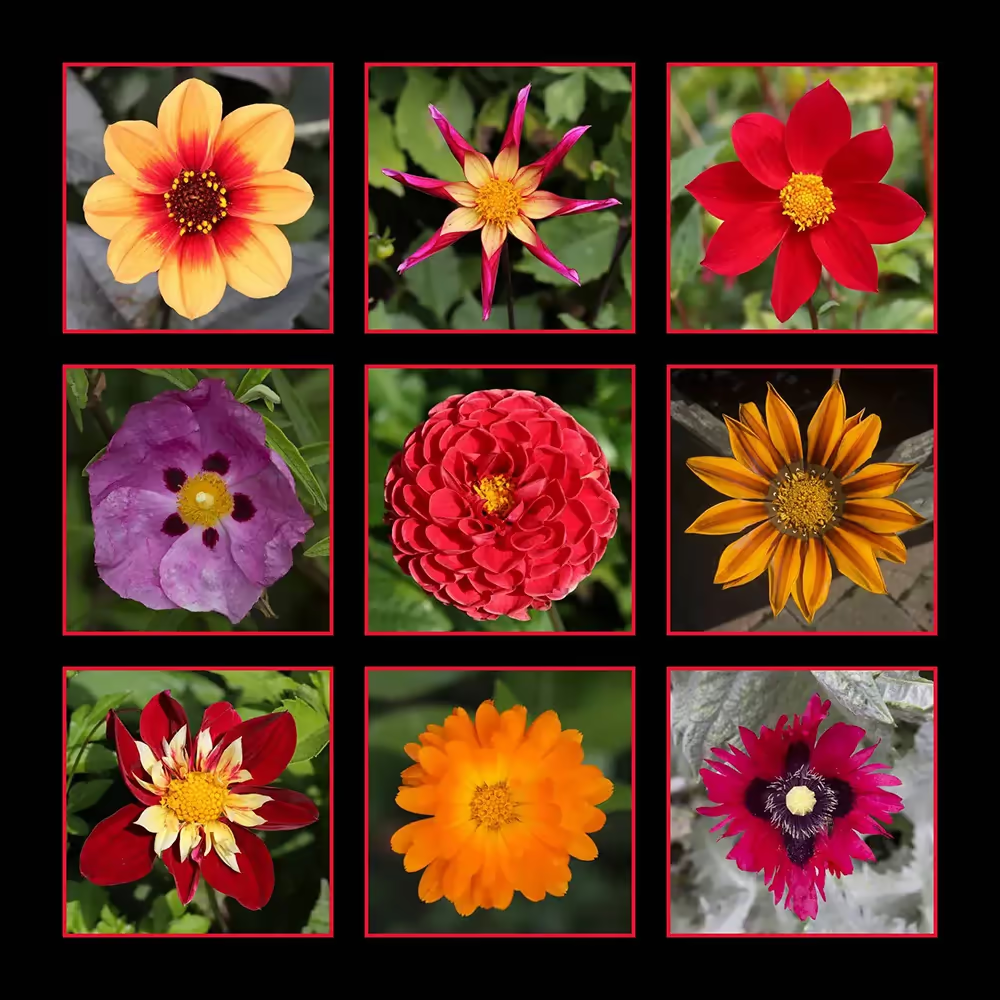


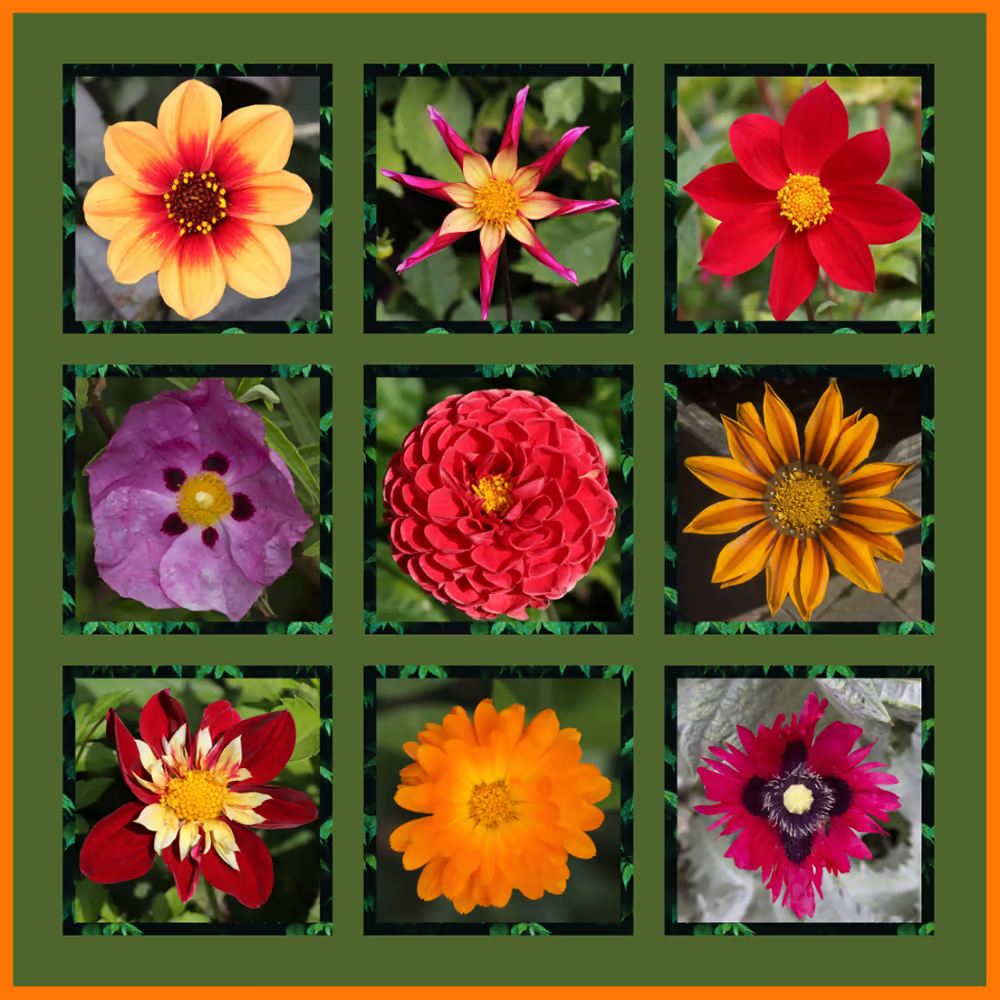
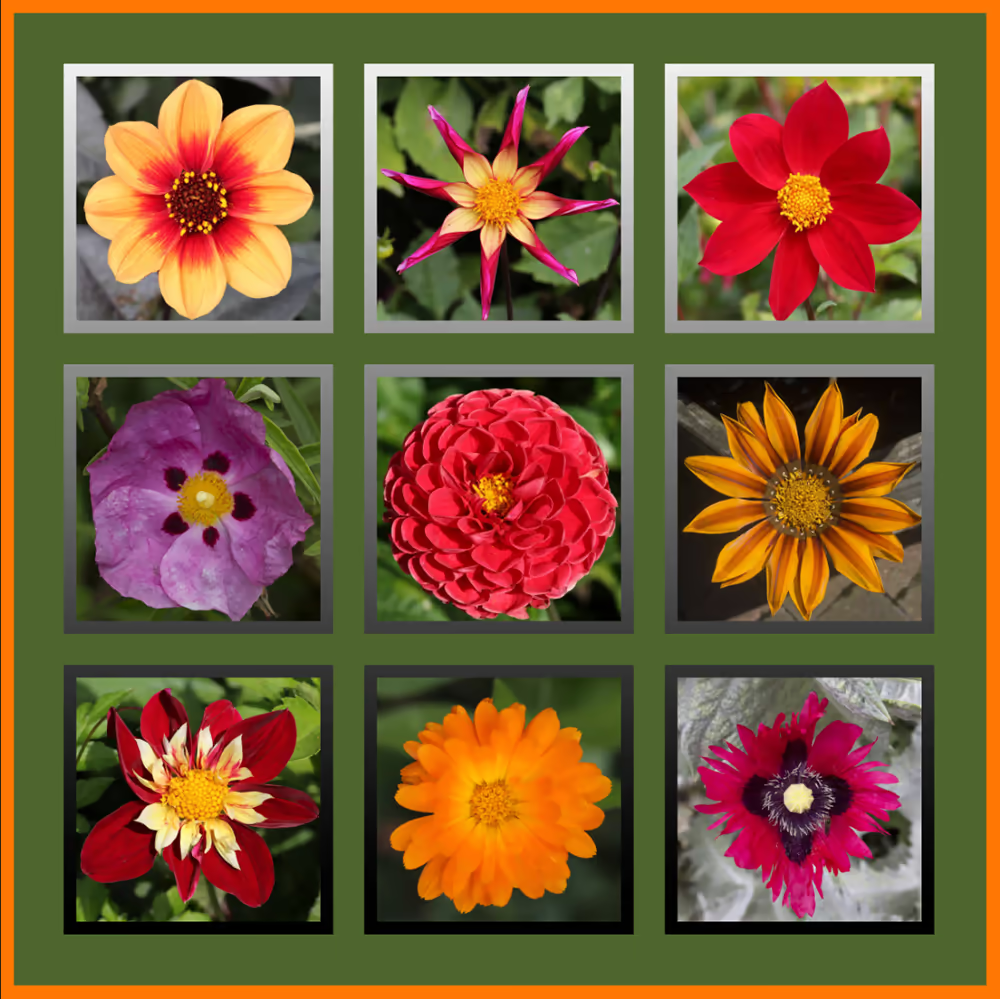
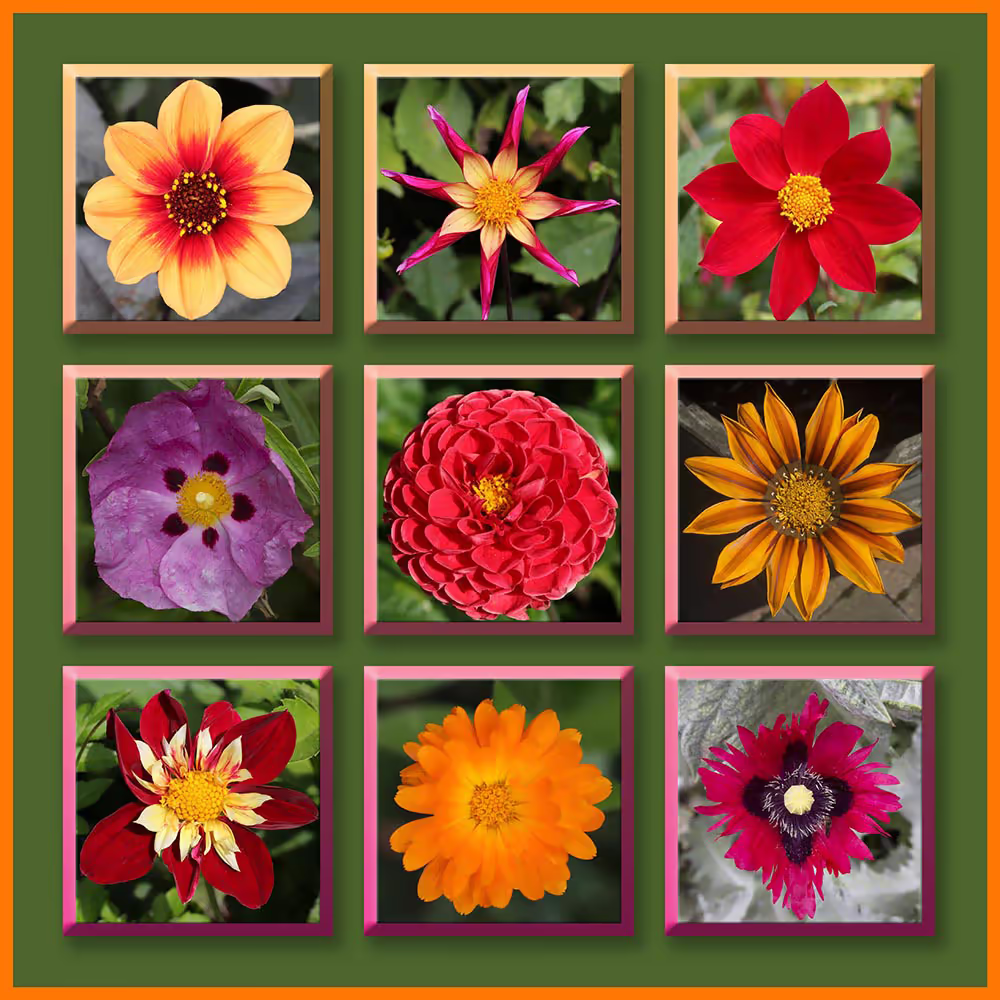
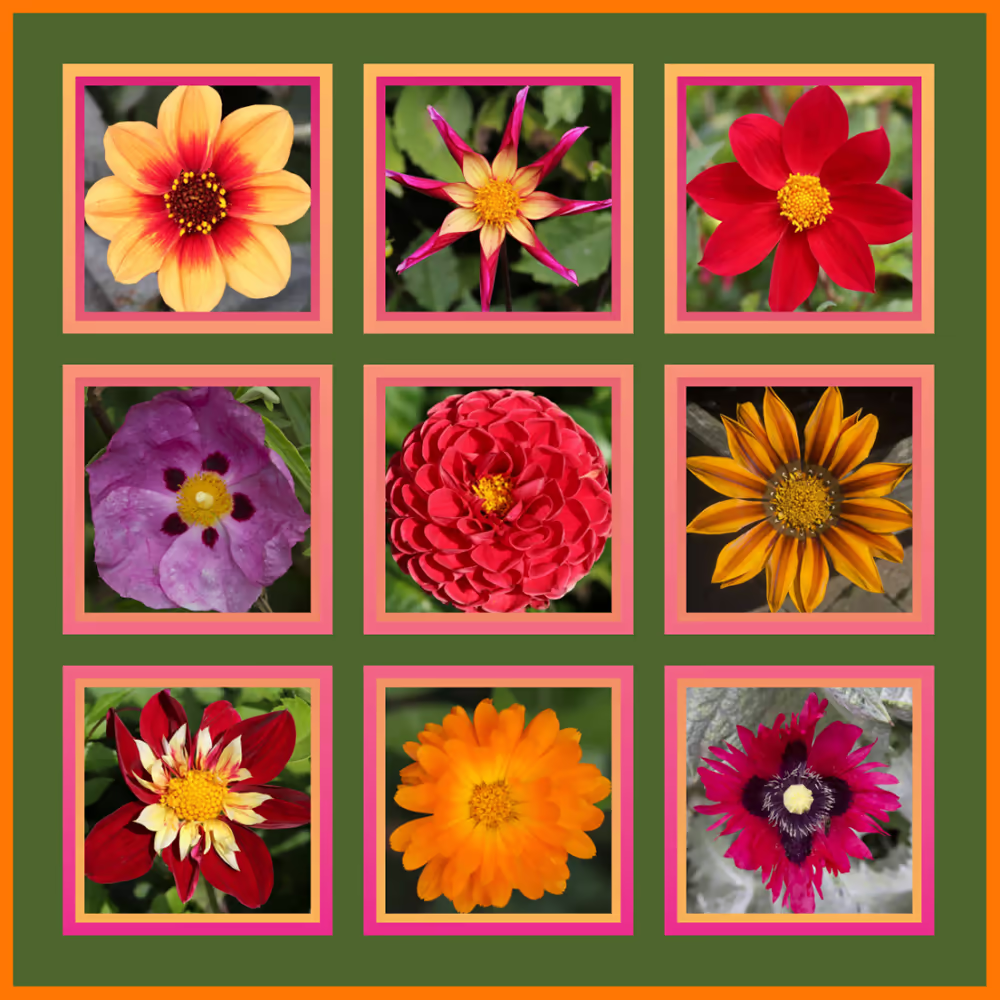
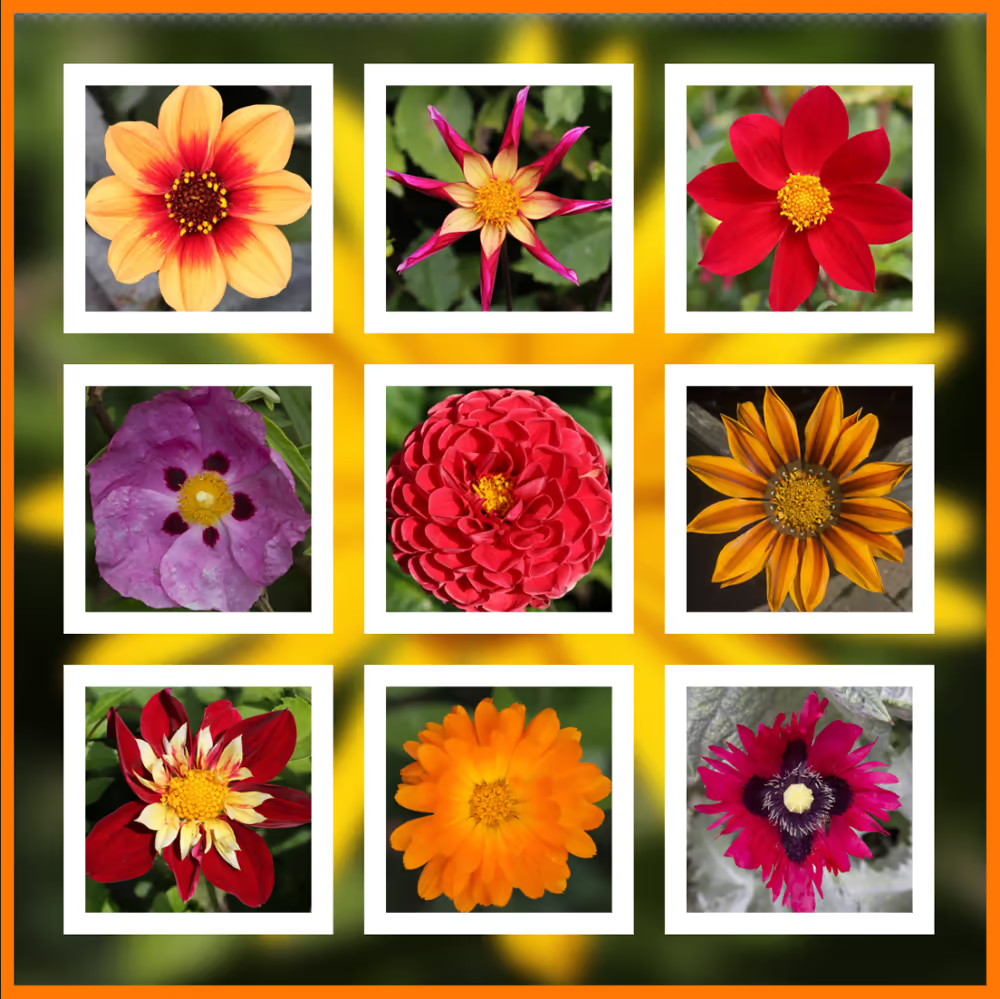


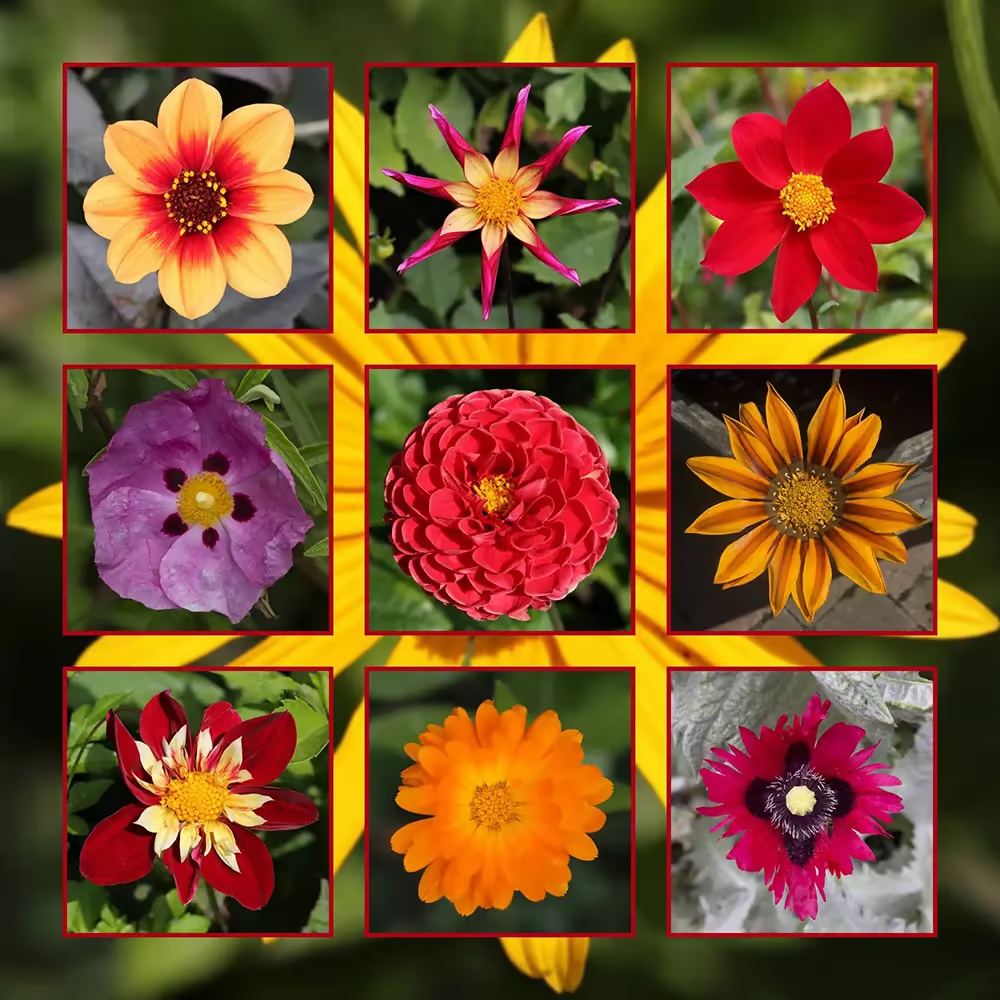
Notes on Styles and Masks Applied to Image
Solid Color Adjustment Layers
It's easy to change color with a Solid Color Adjustment Layer - double click on the layer thumbnail and select a new color. See Adjustment Layers. An alternative would be to fill an empty layer with color, but it's not quite as quick and easy to fill with a new color.
Layer Masks
Layer Masks are extremely useful. In this montage they have been used to isolate each flower on its layer. In most of the montages the Layer Masks have been disabled, by holding the Shift key and clicking on the mask. For more information about Layer Masks, see Layer Masks.
Stroke - Inside, Outside, Centre
A stroke in Photoshop is a border around the selection, or visible layer contents. You can apply a Color, Pattern, or Gradient Stroke and in the above images there are examples of all of these.
Whenever you apply a Stroke you have 3 options of where to apply it; Inside, Outside or Centre. These options relate to either the selection if you have one active, or the contents of the layer in the case of Layer Styles. Adding a stroke Inside will give square corners. Adding a stroke Outside will produce rounded corners and Centre will produce less rounded corners. show rollover here of 12-14.
Stroke applied INSIDE
Stroke applied OUTSIDE
Stroke applied CENTER
Outer Stroke
Layer Styles are very useful and were used to create all the strokes around the flower layers, so that changes could be made once and be applied to all layers simultaneously.
I added a new empty layer for the outer stroke, but you can't apply Layer Styles to an empty layer. I firstly added a new emopty layer, then created a selection around the whole of the layer by Ctrl+A (select All), or you could use the Rectangular Marquee tool with a feather of 0 and draw from outside one corner to outside the opposite corner. Then I added a stroke via the menu; Edit > Stroke. You can fill this with any color, which you can then easily change with Layer Styles. Note that whatever thickness of stroke you apply in Layer Styles, it will only apply to the thickness of the stroke you apply via Edit > Stroke. However that is easy to change. Make a selection of the whole Layer, then from the menu, Edit > Stroke and enter a new figure and fill with any color. You can control the actual color in Layer Styles.
Layer Groups
I grouped all the flower layers into a Layer Group, so that I could apply Strokes and other Layer Styles at the same time to all the flower layers.
To create a Layer Group, firstly select all the layers you wish to include in the group, by clicking on the first layer, then Ctrl+click on each other layer. When all the layers are selected, then press Ctrl+G, or from the menu: Layer > Group Layers.
Happy editing!
