Open Multiple Images into Photoshop
Different Methods to Open Multiple Images into Photoshop
Combining images in Photoshop is a common task. Images, (added as Layers), often need to be combined into one document in Photoshop and there are a number of different methods to do this. In Lightroom alone, there are six different options for opening images into Photoshop, (including merging images to create a panorama, or HDR image).
Table of Contents
-
Open Images from Lightroom into Photoshop
- Edit in Photoshop
- Open as Smart Objects in Photoshop
- Open as Smart Object Layers in Photoshop
- Merge to Panorama in Photoshop
- Merge to HDR Pro in Photoshop
- Open as Layers in Photoshop
-
Duplicate Layer from Menu or Right-Click
-
Duplicate Layer by Drag and Drop
-
Open Multiple Images Using Contact Sheet
-
Open Multiple Images Using Scripts
-
Open Multiple Images from External Program
Compare File size of Images opened from Lightroom
A composite image made from 6 images
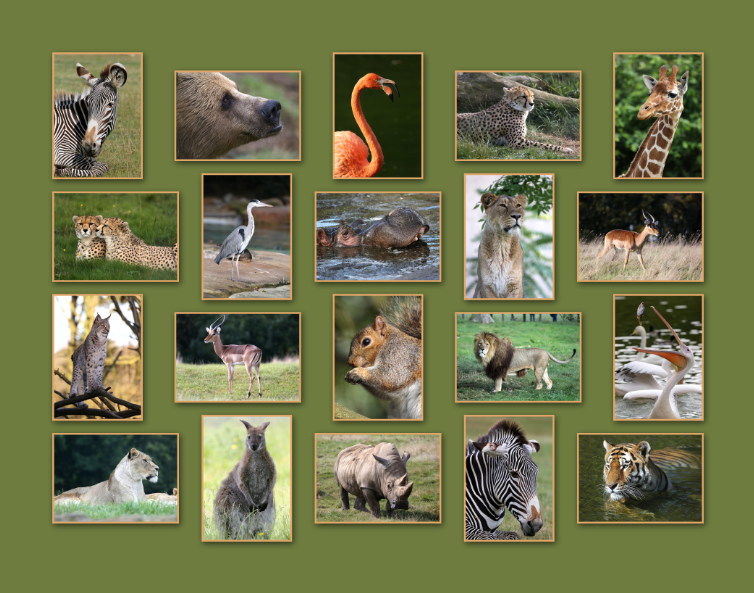
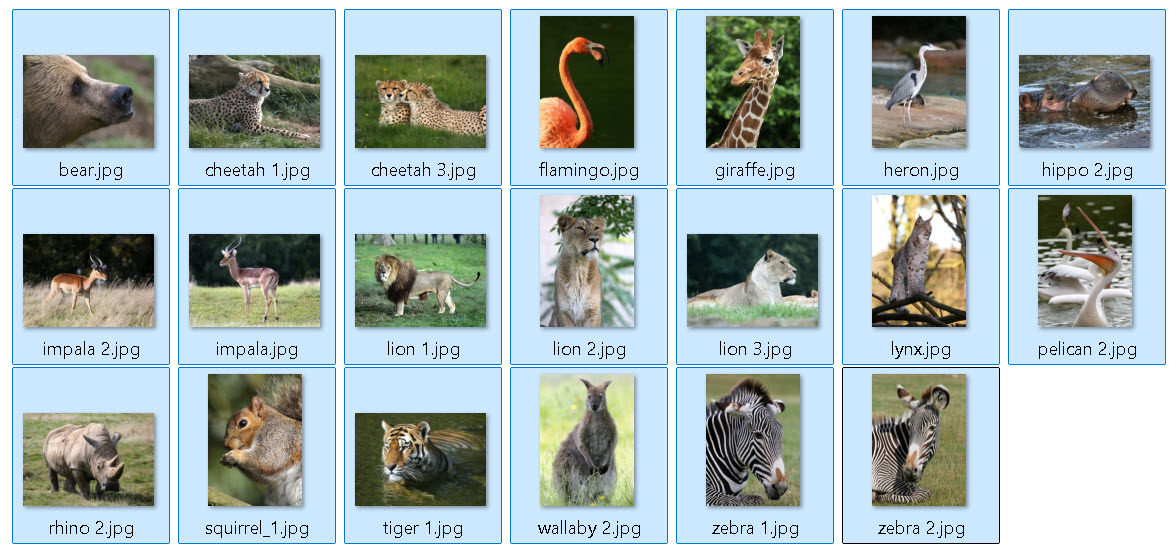
20 images used in this montage
Method 1: Open Images from Lightroom into Photoshop
If you use Lightroom, it is an obvious choice to open images directly from Lightroom into Photoshop. Below we'll look at the differences between each of these methods. You can open imaged from the menu: Photo > Edit In or by Right Clicking on selected images. To select multiple images press and hold the Ctrl key, while clicking on each image.

Options in Lightroom to open images into Photoshop. This screenshot is from Right-Clicking, but the same options are available on the menu: Photo > Edit In.
Edit in Photoshop
This option will open each of the selected images in Lightroom, into Photoshop as separate documents.
Open as Smart Objects in Photoshop
This will open each of the selected images in Lightroom, into Photoshop as separate documents, but each will be a Smart Object.
Open as Smart Object Layers in Photoshop
This will open each of the selected images in Lightroom, as a separate layer, converted to a Smart Document, into a single Photoshop document.
Merge to Panorama in Photoshop
This will stitch together images taken to overlap each other, to produce a single panoramic image.
Merge to HDR Pro in Photoshop
This will combine images taken at different exposures, usually by Exposure Bracketing, to produce an image with a higher dynamic range than from a single image.
Open as Layers in Photoshop
This will open each of the selected images in Lightroom, as a separate layer, into a single Photoshop document.
If you then convert these layers into Smart Objects, the resulting Photoshop .psd document file size may be significantly larger than in option 3 (and also option 2, if you duplicate the Smart Object layer into another image). See below for details.
Compare File size of Images opened from Lightroom
Be aware that there can be significant differences on which option you choose to open multiple images into the same document in Photoshop (or combine images). If you do this a lot and are short on hard disk space (perhaps on a laptop), then you should be aware of this.
I opened two Canon 5D4 full size images (6744x4502px) from Lightroom into Photoshop, using each of the above methods. The image file sizes were 44Mb and 42Mb.
Options 1 and 2 opened the images as separate documents, so I duplicated one document into the other, each image as a layer. I saved this as a Photoshop .psd file, without any editing.
For more information on different file formats, see Image File Formats.
- Edit in Photoshop: Photoshop .psd 470Mb
- Open as Smart Objects in Photoshop: Photoshop .psd 557Mb
- Open as Smart Object Layers in Photoshop: Photoshop .psd 557Mb
- Open as Layers in Photoshop, then converted each layer into a Smart Object (exactly the same result as in 2 and 3 above: Photoshop .psd 935Mb
If you want to open multiple images into Photoshop and convert the layers into Smart Objects, select the option to do this in Lightroom. DO NOT open as Layers, then convert to Smart Objects, as this will result in a much larger file size (935Mb vs 557Mb).
Opening multiple images from outside Lightroom, then adding them into one Photoshop document and converting each layer to Smart Objects, may increase the file size by 67% (two thirds). Disclaimer: I have not tested this with other images.
Additional methods.
- I opened the original Raw files outside of Lightroom, into Photoshop, then duplicated one image into the other, so they were both on separate layers in the same document. Photoshop .psd 456Mb
- I opened the original Raw files outside of Lightroom, into Photoshop, then duplicated one image into the other, so they were both on separate layers in the same document. Then I converted each layer to a Smart Object. Photoshop .psd 907Mb
- I exported both images to jpeg at 100% quality, then opened into Photoshop and duplicated one image into the other, so they were both on separate layers in the same document. Photoshop .psd 254Mb
Note. If you open images into Photoshop outside of Lightroom, as I did with the last two examples, then for Lightroom to see these images, you need to select the folder in Lightroom, right click and select Synchronize. If you have opened images directly from Lightroom into Photoshop, you do not need to Synchronize, as Lightroom already knows the images are there.
Duplicate A Layer or Image Into Another Image in Photoshop
Here are 2 methods to Duplicate a Layer into another image. Both images (or all images if using more) need to be open. Methods 1 and 2 are very similar, either selecting Duplicate from the menu, or Right-Click.
Method 2: Duplicate from Menu or Right-Click
Step 1 - Menu or Right-Click
From the menu: Layer > Duplicate, or Right-Click and select Duplicate.
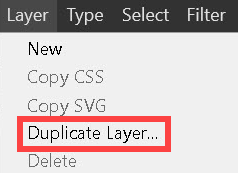
Menu: Layer > Duplicate
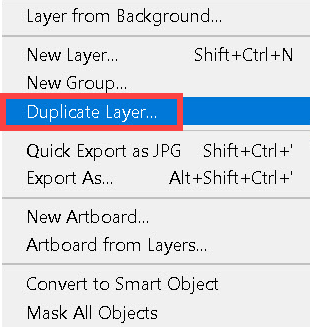
Right-Click > Duplicate
Step 2 - Dialogue Box
Selecting Duplicate from either the menu, or Right-Clicking, will both open the same dialogue box.
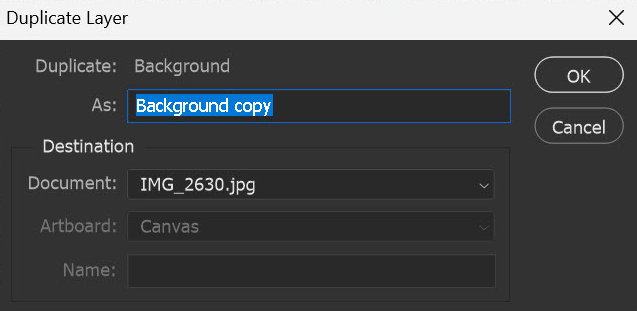
Duplicate Layer dialogue box
Step 3 - Select Destination Document
Click in the box (red highlight) to show a drop-down list of open images. Select the image you wish to duplicate the layer into. Note that you can also select to duplicate it into a new document. Click OK.
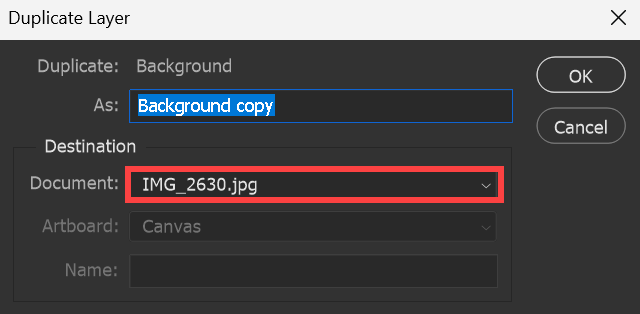
Click in the document box to see a list of open documents
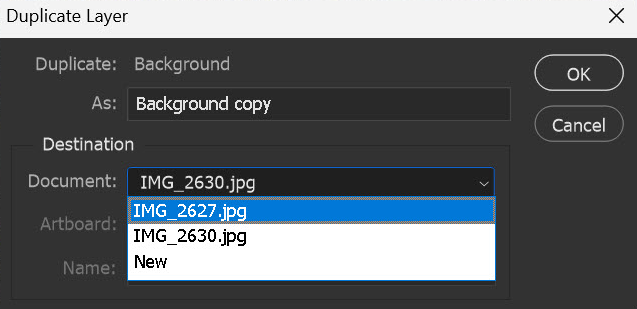
Select the document to duplicate the layer into
Method 3: Duplicate by Drag and Drop
This method is quicker than the above methods using the menu, or Right-Click. With the Move tool, you simply click on an image, drag it to the image tab of the image you want to duplicate it in, wait until the tab is selected, then move the cursor over the new image before releasing the mouse button.
Select the Move tool. This is the topmost tool on the Toolbar, but shares the tool button with the Artboard tool. The visible tool will be the last one used. For more information, see Move Tool.
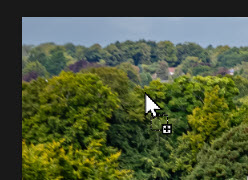
Step 1 - Select with Move Tool
Select the image you want to duplicate and position the Move tool over it.
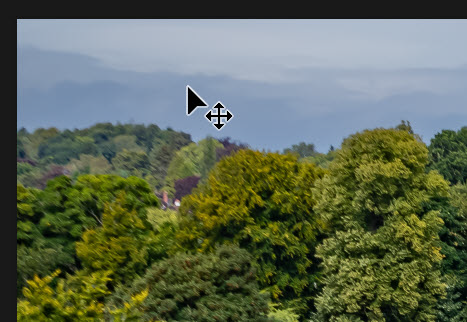
Move tool cursor over image
Step 2 - Click & Drag
Click and drag to the image tab of the image you wish to duplicate the layer into (keeping the mouse button pressed). The cursor will show a + (plus) icon. Keep the mouse button pressed.

Move tool cursor over image
Step 3 - Drop Image
Still keeping the mouse button pressed drag over the new image. Release the mouse button.
If both images are of equal size and you wish to place the duplicated image exactly over the new image, press and hold the Shift key before you release the mouse button.
Move tool cursor over image
Method 4: Open Multiple Images in Photoshop using Contact Sheet
This is a great method to open multiple images, especially if you want to create a photo collage, or montage, with images arranged neatly and spaced evenly.
Back in the days of film, contact sheets were printed by laying the negatives in strips, directly onto the print paper, to provide a quick reference of all the shots on the film. Today it can still be used to provide a reference print containing multiple shots, for a client or editor to select the best shots. However you can use Contact Sheet as a great method to create a photo collage, or montage.
In the screenshot below of the Layers panel, note how layer masks have been applied to each image. This was done automatically on loading the images and allows you to further crop and reposition images, whilst still retaining the aligned and spaced images.

Contact Sheet is a great method for creating a photo collage
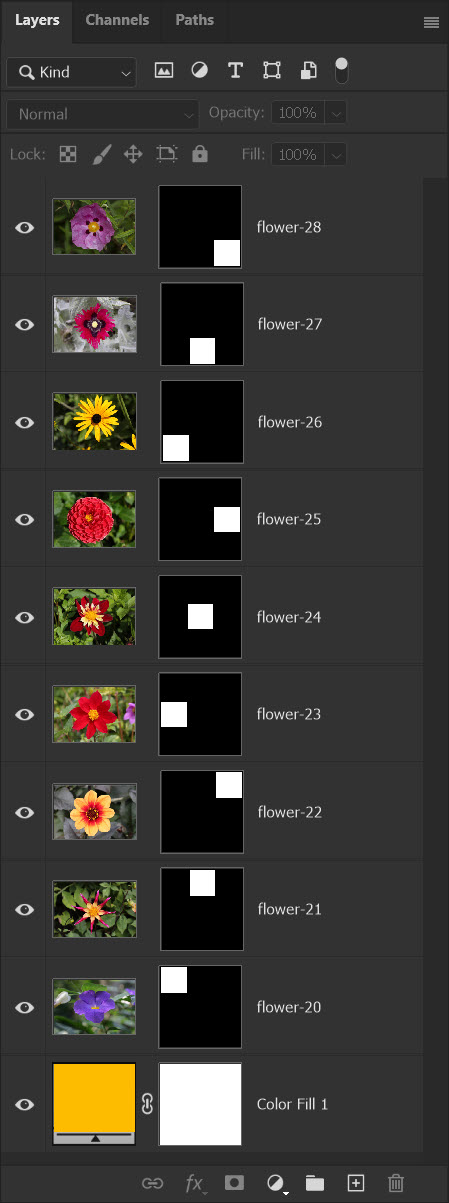
Layer masks are applied automatically, which allows further cropping and positioning
Step 1 - Select from Menu
From the menu select:
File > Automate > Contact Sheet II.

Use Contact Sheet to open multiple images
Step 2 - Browse for Images
You can either select a folder, which will include all the images within that folder, or select files. Select Files or Folder, then click on Browse and navigate to your images. If your images are in different folders, you can click on Browse multiple times and select files from different folders.
To select multiple files within a folder, click on the first one, then Ctrl+click on additional images. Or tick checkboxes next to each image, depending on how your device is set up.

Browse to select images
Step 3 - Select Options
There are several options here that you should pay attention to, as highlighted.
Selected images (red): Click on Browse to add images, or click on Remove to remove images from the list.
Document (orange): Choose the units (pixels, cm, or inches). Then select the width and height and resolution. Resolution is important if printing and the industry standard is 300 pixels per inch. For more information on resolution, see Image Size.
Flatten All Layers (green): UNTICK this box to enable layers. If the box is ticked, all images will be added to one layer and you will not be able to move, crop or reposition them.
Thumbnails (pink): Select the number of rows and columns and whether the sequence should run across and then down, or down and then across.
Spacing (blue): Select the spacing between images.
Use Filename for Caption: Choose whether or not to have the filename showing under each image as a caption.
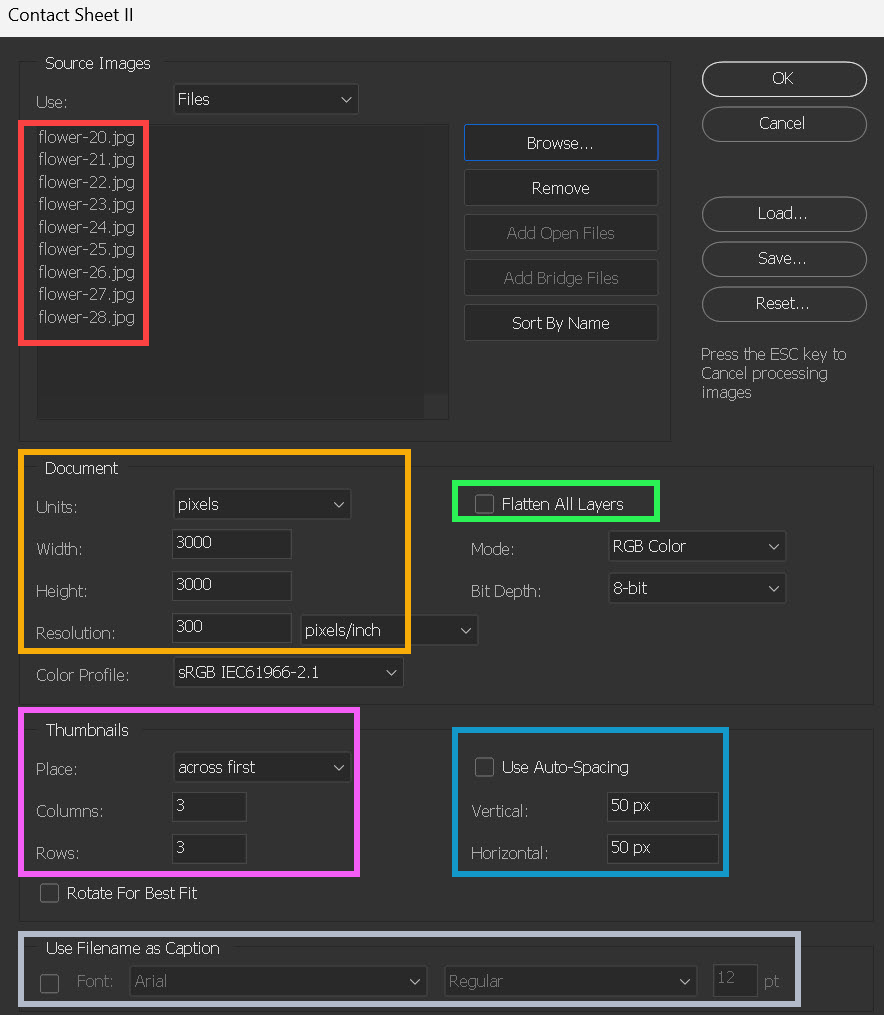
Select options
Step 4 - Without Captions
The images were all cropped square before using Contact Sheet. I used the settings shown in step 3: 3000x3000px, 3 rows x 3 columns, horizontal and vertical spacing 50px.
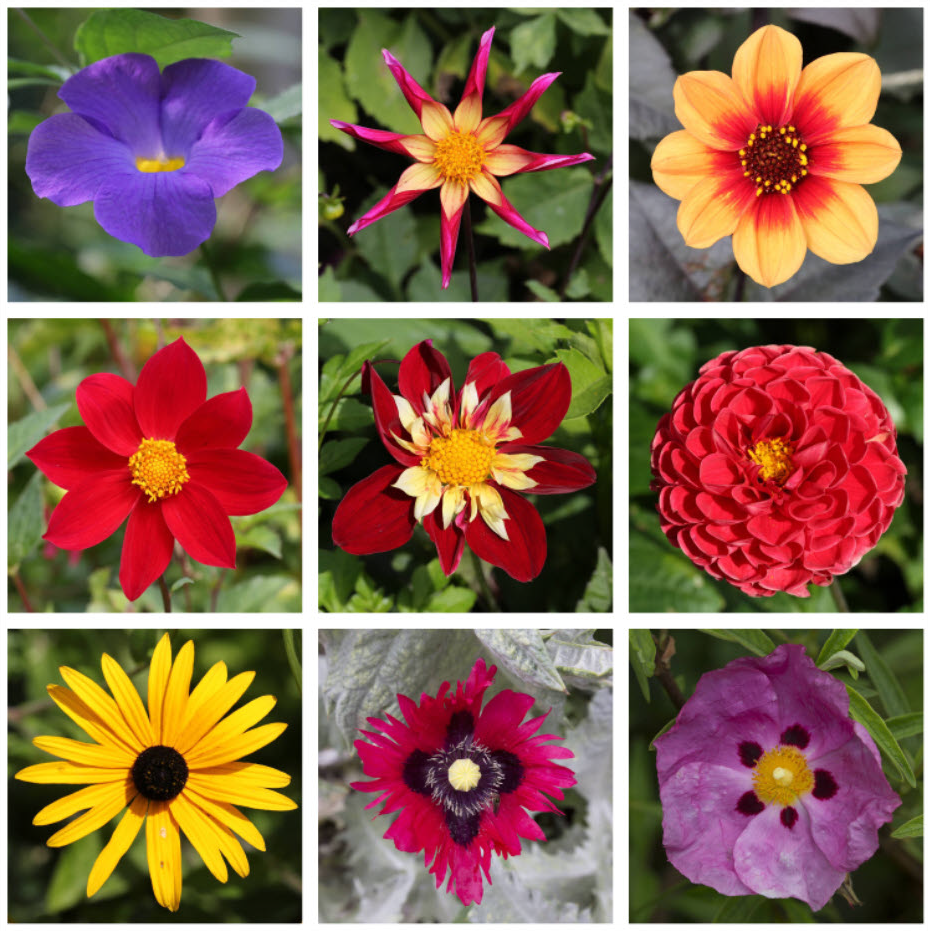
Square images without captions
Step 5 - With Captions
The images were all cropped square before using Contact Sheet. Settings were identical to step 4, except that Use Filename for Caption was selected.
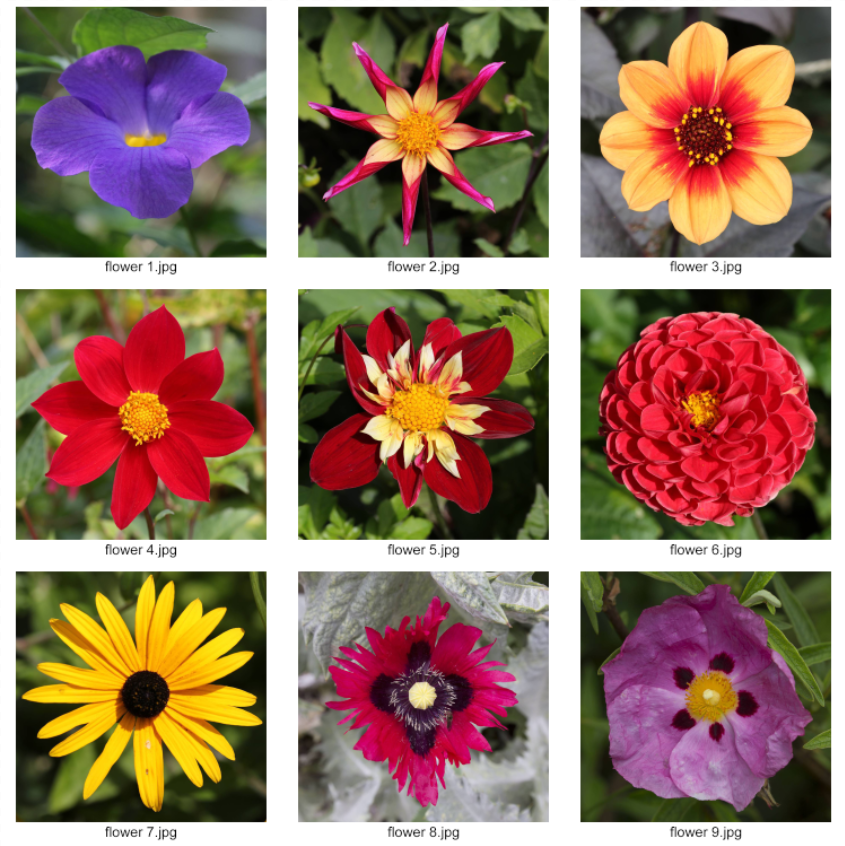
Square images with captions
Method 4: Open Multiple Images in Photoshop using Scripts
This is also a great method for opening many images straight into a single Photoshop document, particulary if you don't want to arrange and space them neatly, as in the above option of Contact Sheet. It easy and has the benefit of each layer name automatically being the image filename, (instead of Layer 1, Layer 2, etc.).
Using the above methods would be tedious if you are duplicating many images into a Photoshop document.
When you have many layers, opening into Stack using Scripts is a great method

Using Scripts uses the filename as the layer name
Step 1 - Select from Menu
From the menu select:
File > Scripts > Load Files into Stack.

Use Scripts to open multiple images
Step 2 - Browse for Images
Click Browse and navigate to the folder containing your images. If they are in multiple folders, you will need to repeat this step for each folder. To make things easier, I suggest you put all the required images in the same folder and name the folder appropriately. You might also wish to crop and size images prior to opening, depending upon your projects.
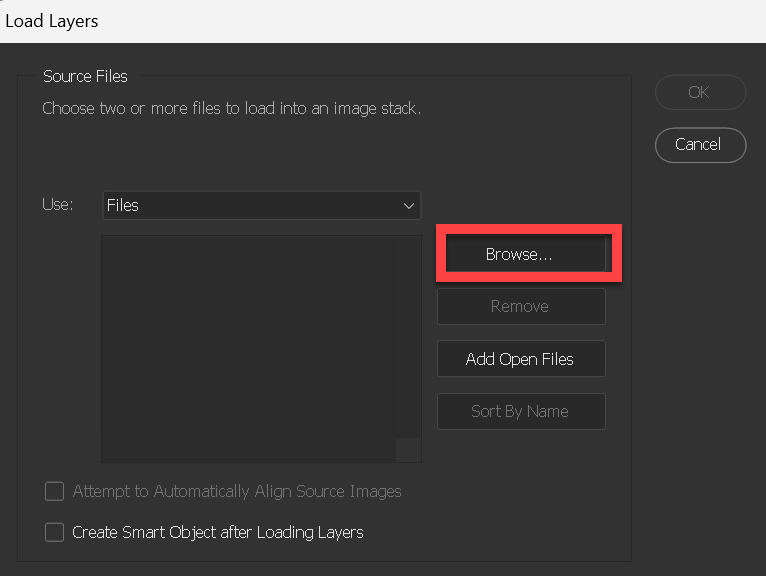
Use Scripts to open multiple images
Step 3 - Choose how to View Images
You may wish to change how you view the images.
Select the View Option button to show a drop-down list of options.
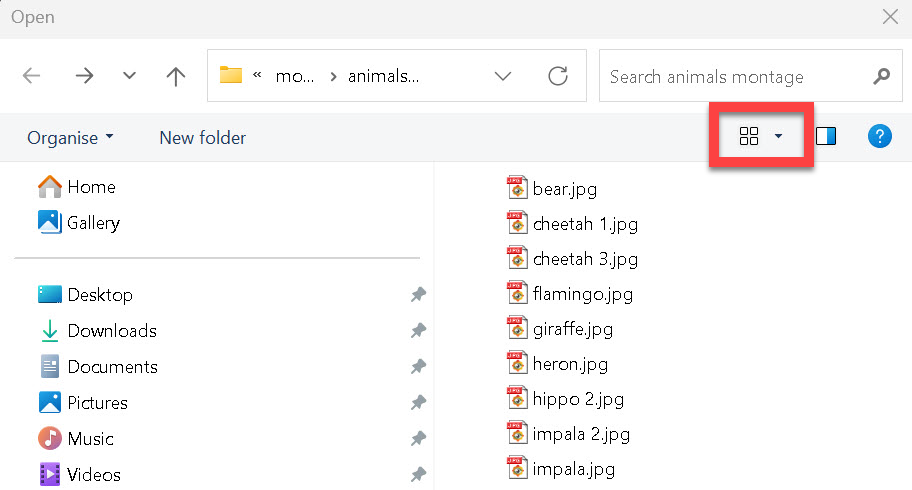
Click on the View Options button for a drop-down list
Step 4 - View Option
Select your preferred View option. This makes no changes to the contents of the folder, just how you view them. In this case I have selected Small icons.
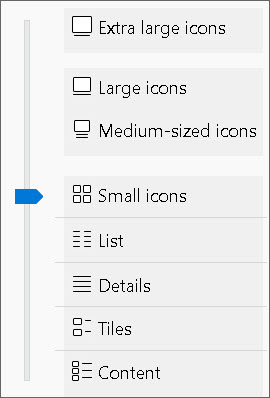
Select how to view the files
Step 5 - Select Multiple Images
To select multiple images, press and hold Ctrl while you click on each image.
When you have selected all the required images, click OK.
Click OK to close the panel and your images will load into a new Photoshop document.
Multiple images are selected
The image filename is the layer name
Method 5: Open Multiple Images from External Program
Some programs allow you to open images directly into Photoshop from the program, such as FastStone Image Viewer. I've used FastStone for years, alongside Photoshop and Lightroom.
I do all my initial culling of images from a shoot in FastStone, rather than Lightroom. Then I import into Lightroom, adjust settings and do the final culling when I'm looking at corrected images. In FastStone I like that I can quickly compare 2, 3, or 4 images simultaneously, zoom in and pan around them in sync. It allows me to compare images in a way that I can't do in Lightroom and I can work more quickly this way, which is important when I'm editing a wedding shoot of 1,000 images.
In FastStone, you can set a keyboard shortcut of just pressing the E key (Edit) to open images directly into Photoshop. If you have multiple images selected (Ctrl+click) and press E, they will all open in Photoshop. If Photoshop was not open, it will automatically open when doing this.
FastStone Image Viewer is freeware and is available at https://www.faststone.org/
Other programs will do similar, but I've only used FastStone.
Step 1 - FastStone Settings
In FastStone Image Viewer, from the menu select: Settings > Settings, then select the Programs tab.
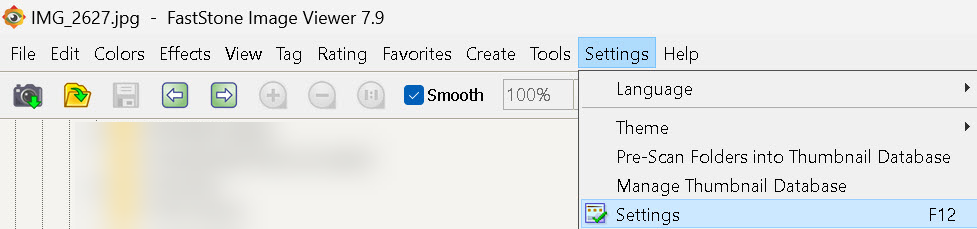
Automatic selection with Object Selection tool
Step 2 - Add Photoshop
Select the Programs tab. Click on the Add button. Navigate to where Photoshop is installed and select the Photoshop.exe file. The usual location is; C:\Program Files\Adobe\Adobe Photoshop 2025\Photoshop.exe

FastStone Image Viewer, add Photoshop to Programs
Step 3 - Open Images
Press E to open selected images straight into Photoshop. Photoshop will open automatically, if not already open.
Happy editing!
