Rectangular Marquee Tool
The Rectangular Marquee Tool is a basic selection tool for selecting rectangles or squares. There are also related tools:
When using the Rectangular or Elliptical Marquee tools, it can sometimes be helpful to Transform a Selection. See my tutorial on Transform Elliptical Selection
For a complete list and description of all Selection Tools, see Selection Tools Summary.
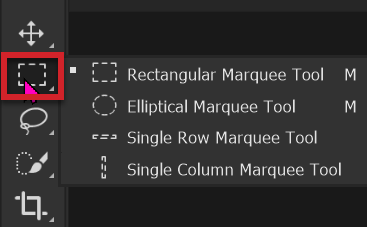
Detailed descriptions of each tool option
Tool Presets

You can create and save a Tool Preset for any tool. This will remember settings that you choose. Right click on the Tool Presets button to reset the tool to default settings, but take care not to reset all tools, unless you intend to.
Selection Buttons

Many of the Selection Tools have these four buttons. Left to right, they are;
New Selection - Click to cancel existing selection and create a new selection
Add to Selection - Add to any existing selections
Subtract from Selection - Remove from existing selections
Intersect with Selection - Create custom shapes
Feather


Feather softens the edge of the selection, but must be selected before using the tool. A feather of zero creates a hard edge as shown in the left rectangle. The selection for the rectangle on the right was feathered 50px (image width is 1500px).
The amount of Feather depends on the image size and area selected. A high resolution image would require a higher feather than a low resolution image. You may have to experiment, but this is an excellent way to learn and increase your skills.
Anti-alias


Anti-alias smooths out lines and edges.
Two circles were created with the Elliptical Marquee, then both were filled with black. The top circle was created without anti-alias, while the bottom circle was created with anti-alias.
The bottom circle, (with anti-alias), is smoother than the top circle, (without).
Anti-alias options exist in other tools as well. I recommend that where available, you turn on Anti-alias and leave it turned on. Anti-alias is only available for the Elliptical Marquee. It is not available for the other Marquee tools.
Style & Width & Height


Style and Width & Height are linked. Width and Height are only available when either Fixed Ratio or Fixed Size are selected. When Normal is selected, Width & Height are greyed-out (unavailable).
Select and Mask

Select and Mask is available on the Options Bar of most of the selection tools. It is also available from the menu: Select > Select and Mask...
Select and Mask is a very powerful tool that allows you to improve selections or layer masks. It comprises of several tools itself. It's such a a large and important subject that it has it's own dedicated tutorial.
This is such a large subject and essential skill for anyone using selections and layer masks in Photoshop.
Using the Rectangular Marquee
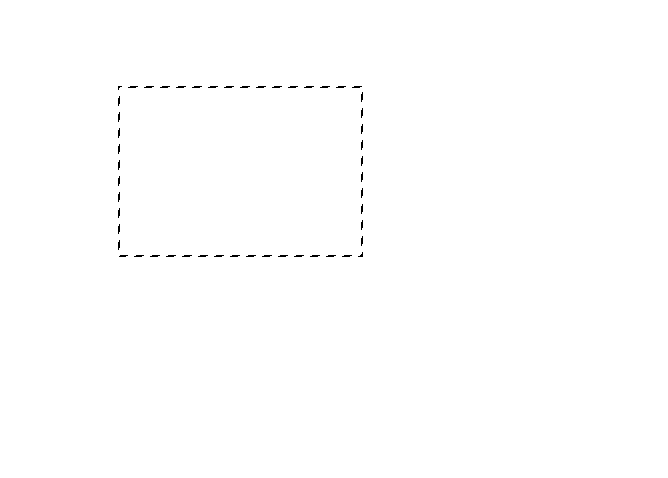
The Rectangular Marquee does what it says ... it makes rectangular selections. Just click and drag to draw your selection.
Before drawing your selection, decide which button to select; New, Add, Subtract, or Intersect. See the examples below for their different effects.
The first button is for new selections. Each time you start a selection you will cancel any existing selections.
New Selection cancels existing selections
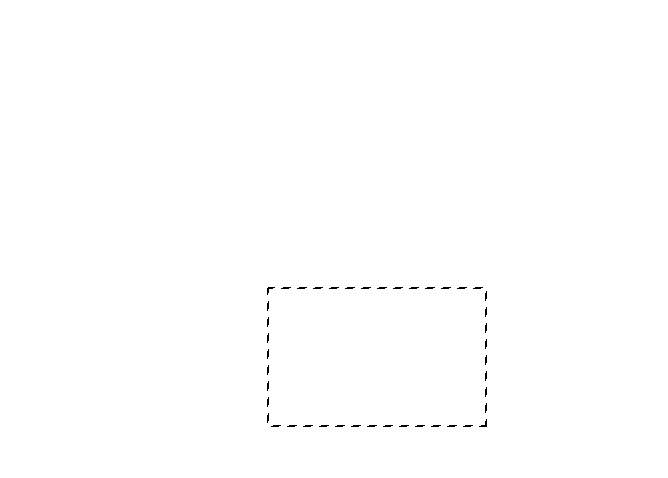
With the New Selection button selected, when I created a second rectangle, the first disappeared.
To cancel a selection, press the Esc key (top left of keyboard).
To deselect all selections, you can got the menu: Select > Deselect. But the recommended method is the keyboard shortcut Ctrl+D. I strongly recommend you get used to using this. It will make your Photoshop life so much easier (and quicker).
If you have the New Selection button selected, you can also click outside the image. This also works with other selection tools.
New Selection

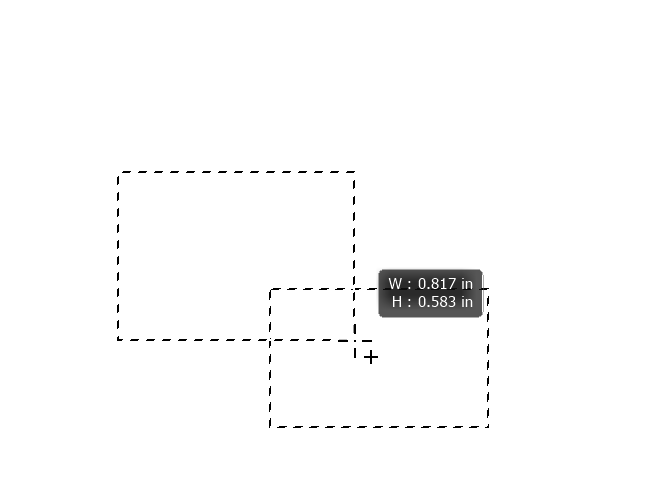
New Selection

New Selection is the 1st button.
After creating a selection, if you create a second selection, it will replace the existing selection.


Add to Selection

Add to Selection is the 2nd button.
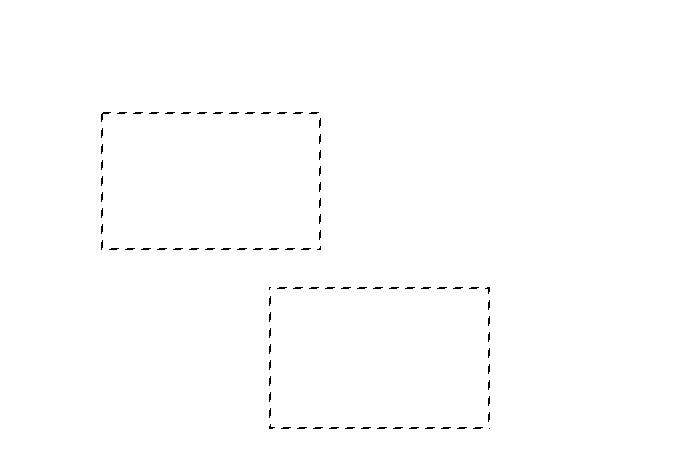
If you don't overlap, they will be separate selections.
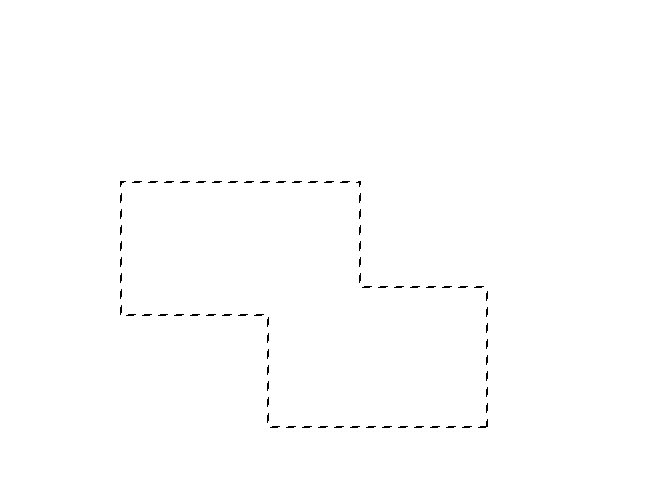
If you overlap the selections, they will be added together.

Subtract from Selection

Subtract from Selection is the 3rd button.
You must overlap the selections, or nothing will happen with the second selection. When overlapped, the new selection will subtract the overlapping area from the existing selection.


Intersect with Selection

Intersect with Selection is the 4th button.
You must overlap selections for them to intersect. Where they intersect, will be what is left.


Square Selection
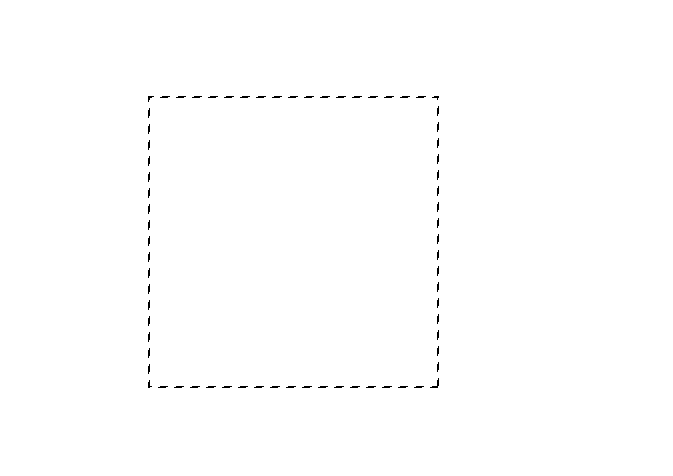
Start making the selection, then press and hold the Shift key. Your selection will now be square.
Or, from the Options Bar you can select Fixed Ratio from the Style box, then select Fixed Ratio and enter 1 in each box.
Or, if you need a square, or other shape, but at specific dimensions, then select Fixed Size from the Style box, then enter the dimensions.
Regardless of which unit of measurement you have set in preferences (Edit > Preferences > Units & Rulers, you can type your preferred until after the number. For example 5cm, 50mm, 2in, 100px.
If you don't type the unit type, it will be entered as the unit specified in preferences.
Draw from the Centre

Normally, when you click and drag a selection is made from corner to corner, depending on the direction you drag.
You can create a selection from the center, by pressing and holding the Alt key.
If you also press and hold the Shift key, you will draw a square, from the center.
Rectangular Marquee Tool Summary
The Rectangular Marquee tool is a fairly basic selection tool for making rectangular or square selections. You can also use these selections to add to, subtract from, or intersect with other selections.


