Lasso Tool
A basic Selection Tool that has its uses
The Lasso tool is basic selection tool, which you use to manually draw around an object or area to select (or deselect). Despite it being basic and not useful to select objects, it is useful in some situations. It is one of 3 Lasso tools; Lasso, Polygonal Lasso, Magnetic Lasso
For a complete list and description of all Selection Tools, see Selection Tools Summary.

Tool Presets

You can create and save a Tool Preset for any tool, which will remember settings that you choose for that tool, so you can quickly and easily select different presets and settings for a particular tool. The degree of usefulness of presets varies, depending on the tool.
You can reset any tool back to its default settings by right clicking on the Tool Presets button and select Reset Tool. Take care not to Reset All Tools, unless that is intended.
Selection Buttons

Many of the Selection Tools have these four buttons. Left to right, they are;
New Selection - Click to cancel existing selection and create a new selection
Add to Selection - Add to any existing selections
Subtract from Selection - Remove from existing selections
Intersect with Selection - Create custom shapes
Feather

Feather blurs the edge of the selection, but must be selected before using the tool. A feather of zero would create a hard edge and this often is not helpful in blending your editing into your image, unnoticed (which should be your aim).
The amount of Feather depends on the area being selected. On a high resolution image, where a large area is selected, you will require a higher Feather and on a small area in an image, especially if the image is low resolution.
You may have to experiment, but this is an excellent way to learn and increase your skills. My suggested starting point would be 2-4px, but this depends on the size and resolution of the area selected.
Anti-alias


Anti-alias smooths out pixelated lines and edges.
Two circles were created with the Elliptical Marquee (press and hold Shift, while dragging for a circle), then both were filled with black. The top circle was created without anti-alias, while the bottom circle was created with anti-alias.
The bottom circles smoother than the top circle.
Anti-alias options exist in other tools as well. I recommend that where available, you turn on Anti-alias and leave it turned on.
Note that Anti-alias is only available for the Elliptical Marquee. It is not available for the other Marquee tools.
Select and Mask

Select and Mask is available on the Options Bar of most of the selection tools. It is also available from the menu: Select > Select and Mask...
Select and Mask is a very powerful tool that allows you to improve selections or layer masks. It comprises of several tools itself. It's such a a large and important subject that it has it's own dedicated tutorial.
This is such a large subject and essential skill for anyone using selections and layer masks in Photoshop.
Using the Lasso
New Selection
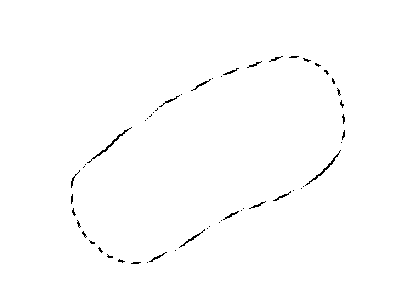
The Lasso tool is one of the simplest selection tools. Draw around an area, freestyle to make a selection.
Move a Selection
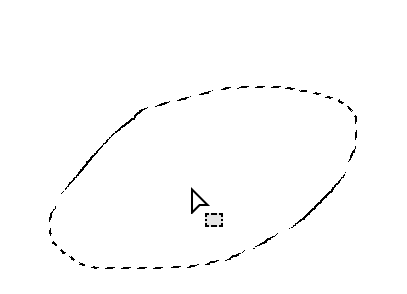

If you have the New Selection button selected, move the cursor over the selection, watch for the move icon, then click and drag to move.
If you have one of the other buttons selected (Add, Subtract, Intersect), that won't work. Press and hold the Crtl + Alt keys and click and drag to move.
Multiple Selections

Select the 2nd button, Add to Selection. If you create a selection that doesn't overlap any existing selections, you will have multiple separate selections.
Add to Selection
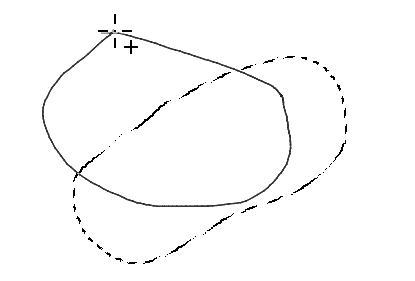

Select the 2nd button, Add to Selection. If you create a selection that overlaps an existing selection, the selection will be added to it.
Subtract from Selection


Select the 3rd button, Subtract from Selection. If you create a selection that overlaps an existing selection, the selection will be subtracted from it.
Intersect with Selection

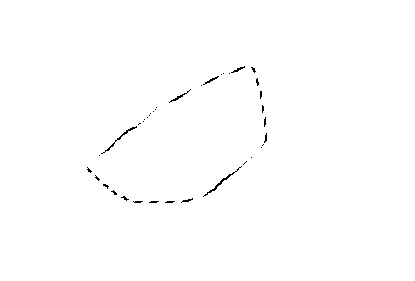
Select the 4th button, Intersect with Selection. If you create a selection that overlaps an existing selection, the selections will intersect and the remaining selection will only be the area covered by both.
Feather
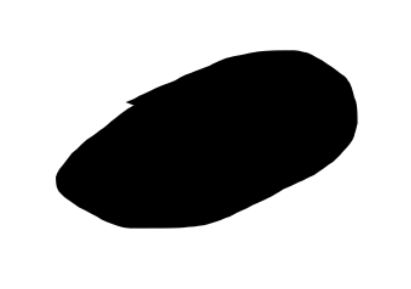

Feather blurs the edge. The first image had a feather of 0, so the edge is hard. The second image had a feather of 10. Both images were the same size, 700x500px. After the selections were made, they were filled with black.
Intersect with Selection


On both these images the feather was 40. The first image was 700x500px and the second image was 2100x1500px. Despite using the same Feather setting, because the images are different sizes, the amount of blur is different. You may have to experiment to find a suitable amount of Feather, as it will depend on the size of the image and the size of the selection.


