Page updated: 14 November 2026
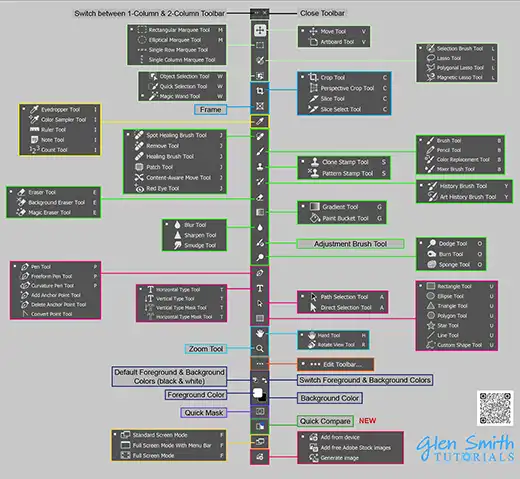
Interactive Photoshop Toolbar PDF (2027) Preview and download available on the Tools page.
Quick Compare
Quick Compare was added to Photoshop's toolbar in November 2026. It allows you to instantly compare your edits with the original image using a movable divider that you drag across the photo. This type of before-and-after slider has been used on websites for years, allowing visitors to compare images by moving a divider across them. Now you can use the same technique on your own photographs while editing in Photoshop, giving you a direct comparison of your original and edited image.

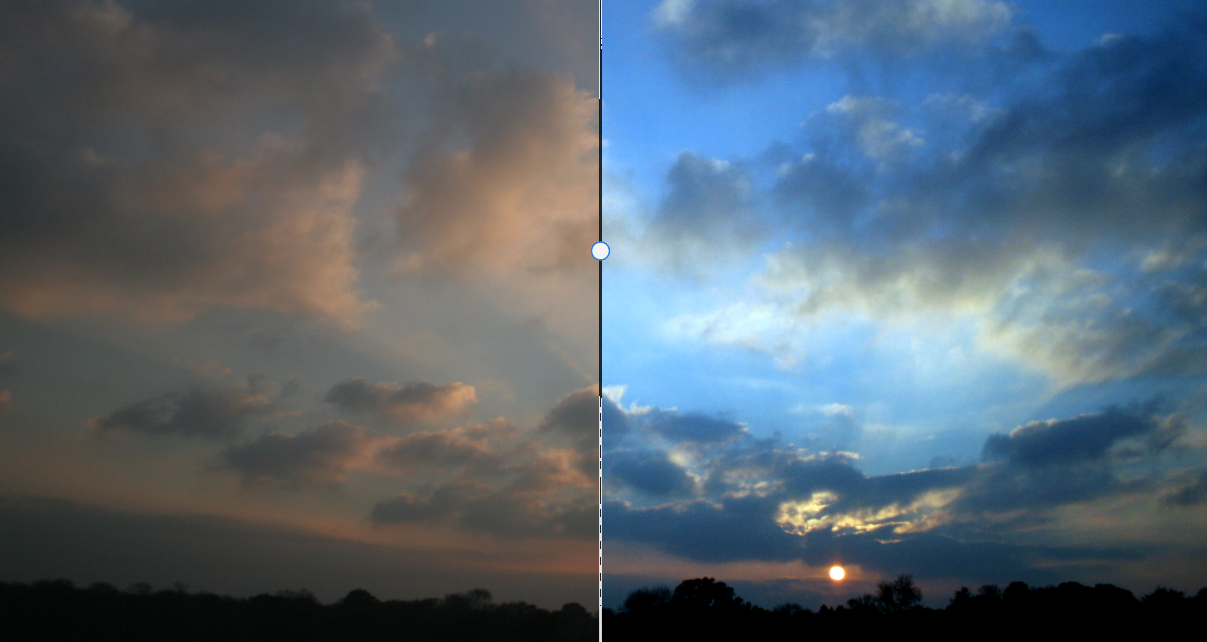
Drag the slider left and right to immediately see a before and after.
Turning a layer (or layers) visibility on and off is the regular way to make comparisons during editing, but this method allows you to see your editing directly alongside the original.
ON THIS PAGE
1. Original & Edited Images
 Original image
 Edited image
The original unedited image and the edited image.
2. Quick Compare Button
 Toolbar button unselected
 Toolbar button selected
Select Quick Compare on the toolbar. It doesn't share the button with other tools and is located near the bottom of the toolbar - three tools up from the bottom.
3. Quick Compare options
 Options
 Options Drop-down
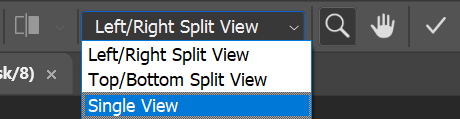
In the Options bar, click on the drop-down to select the option;
- Left/Right Split View; splits vertically
- Top/Bottom Split View; splits horizontally
- Single View; doesn't split. Clicking the Quick Compare button on the toolbar shows and hides the edits
4. Left/Right vs Top/Bottom
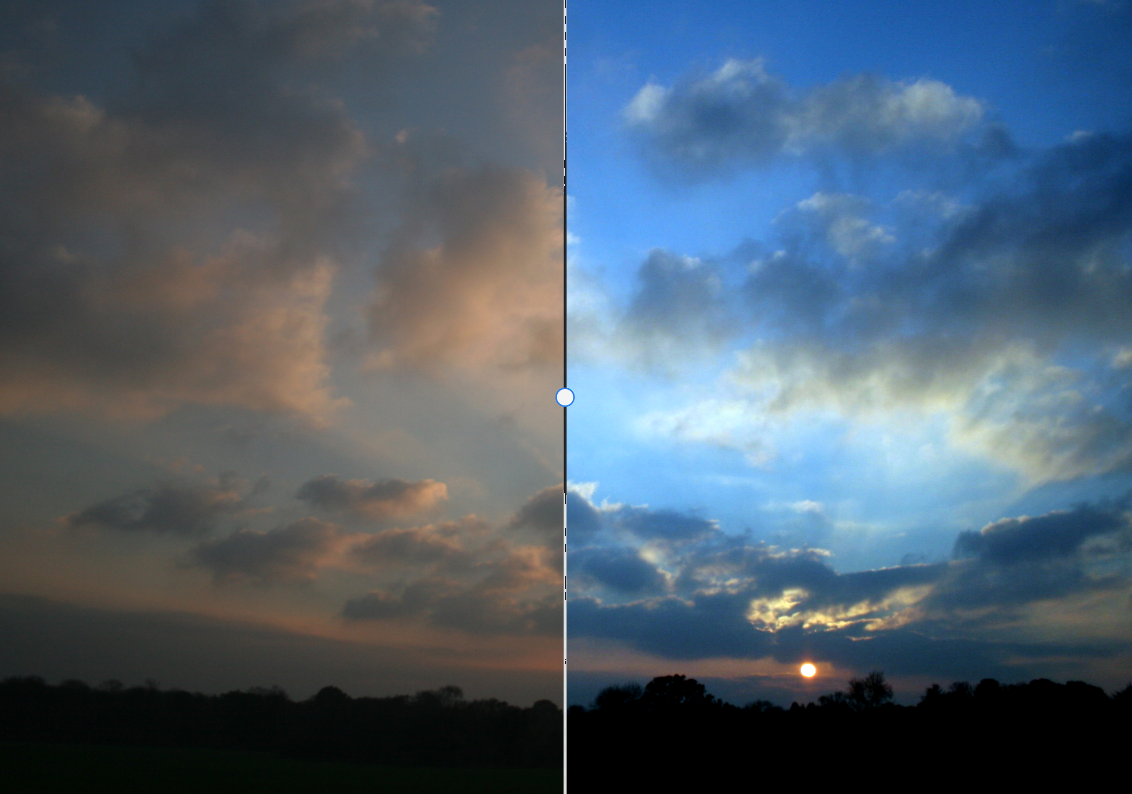 Left/Right Split
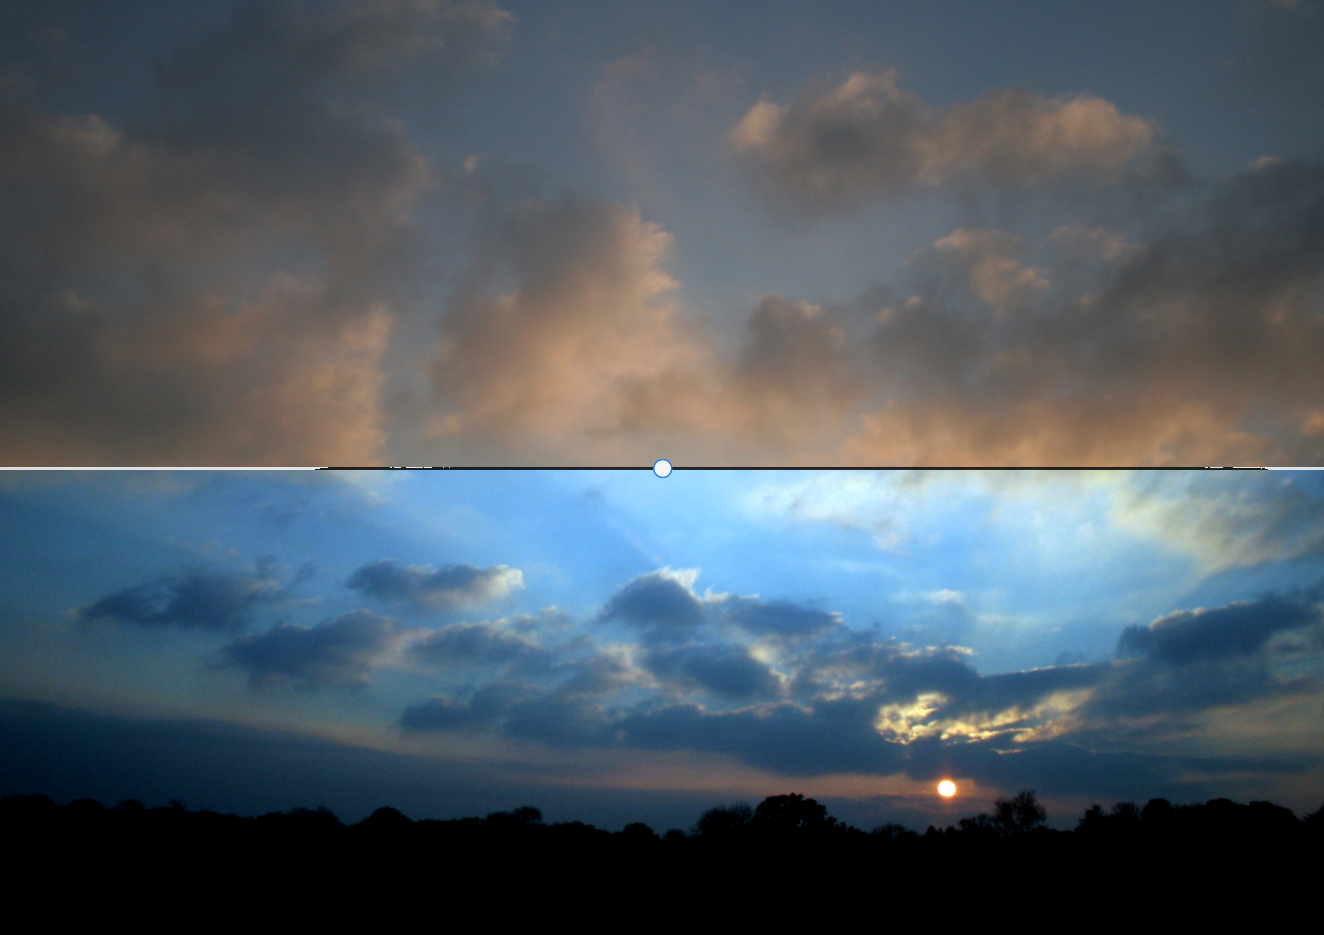 Top/Bottom Split
I've added a Levels Adjustment Layer and adjusted the individual red, green and blue channels, (to remove a color cast), then increased contrast by adjusting the white and black sliders.
5. Cursor changes
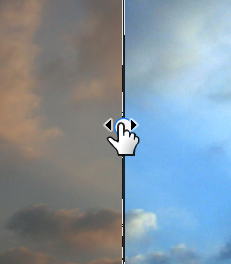 Cursor changes
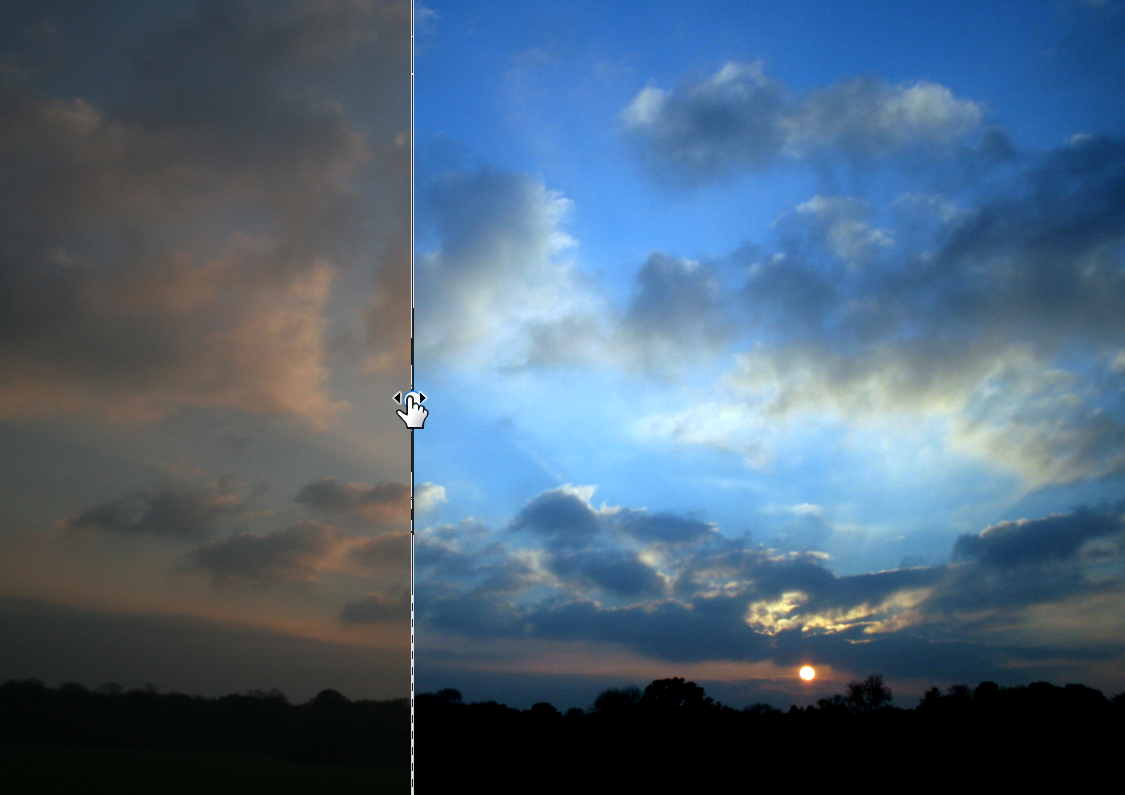 Drag the divider
Move the cursor over the dividing line and click and drag left and right. Note that you don't have to click directly in the circle in the middle. Anywhere on the line works just as well.
While you have Quick Compare showing, you cannot edit the image.
6. Single View
Original Edited When Single View is selected the Quick Compare button on the toolbar acts as a switch.
Click to show the edited version. Click again to show the original.
7. Close Quick Compare
While Quick Compare is open, you can't edit your image.
To close Quick Compare, do one of the following;
- Click the button on the toolbar
- Click the tick on the Options bar
- Press the Esc key (Escape) at the top left of the keyboard.
Then you can continue to edit your image.
Summary of Quick Compare
It's always good practice to check your edits against the original, during your editing process. Quick Compare is a handy tool to see changes at the same time as viewing the original. This could be very useful, depending on your editing.
There are other methods for comparing changes while you edit.
- The simplest is turning a layer visibility on and off, but if your editing involves several layers, that won't show you all the edits.
- Another excellent tactic, is to press and hold the Alt key while you turn visibility on and off of the original layer. This automatically turns all of the other layers visibility on and off simultaneously - except the original layer. This is a very useful technique, that I use a lot.
- Create a Layer Group of multiple layers. Then you can turn visibility off for the whole group in one click.
Quick Compare is new in Photoshop, at the time of writing, November 2026. As I haven't used it much yet, I don't yet know how useful this will be, compared to the existing methods, listed above.
However, I am expecting it will be a useful addition to compare before and after views side by side at the same time, which is something the existing methods don't do.