Page updated: 14 June 2026
Smart Objects
Smart Objects are layers that can be edited non-destructively. You can perform many actions without losing original image detail or quality. For example, if you scale or resize a regular layer to be very small and then enlarge it to its original size, you will see a degraded quality image. If you do the same thing with a Smart Object, there won't be any difference in quality from the original.
ON THIS PAGE
You can perform many actions non-destructively, including; resize, rotate, warp, skew and distort. When you use Filters on a Smart Object, they are Smart Filters and you can edit them and reorder them.
However some tools won't work on Smart Objects. These tools change the layer pixels, such as painting or cloning, although a number of these tools, such as cloning, can be used on an empty layer, above the Smart Object, for example a single document for printing, containing multiple identical business cards.
You can have several linked instances of a Smart Object, which will all automatically update when the Smart Object is edited.
Smart Objects can also contain other Smart Objects.
When applying some changes to a Smart Object that has Smart Filters, the filter effects are temporarily turned off while the transform is being applied, but then are applied when this is done.
How to Create a Smart Object
To convert a layer to a Smart Object, from the menu;
Layers > Smart Object > Convert to Smart Object,
or right-click and select Convert to Smart Object.
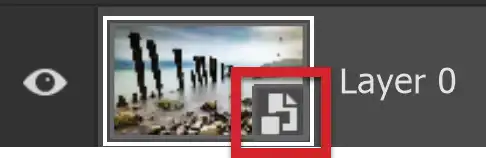
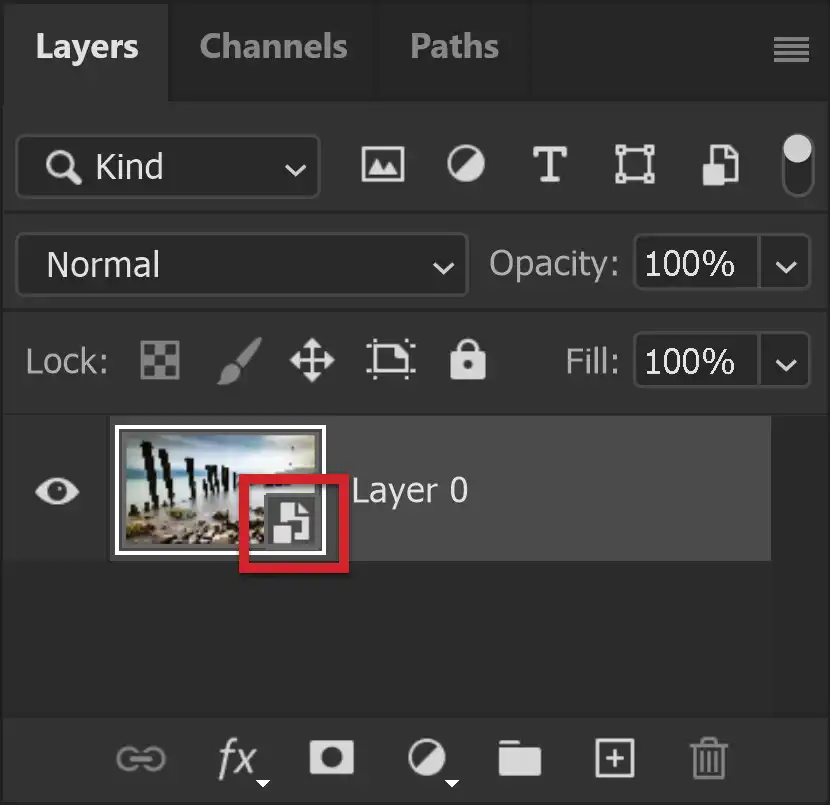
A Smart Object has a small icon in the bottom right corner of the layer thumbnail (highlighted in red).
Convert Smart Object to Regular Layer
To convert a Smart Object to a regular layer, from the menu;
Layers > Rasterize > Rasterize Smart Object, or Rasterize Layer,
or right-click and select Rasterize Layer.
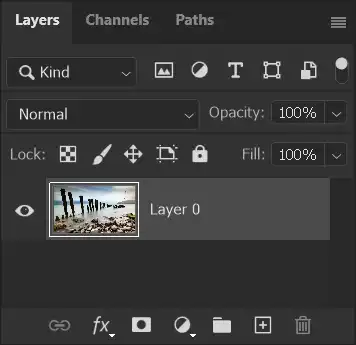
The Smart Object icon disappears from the layer thumbnail, as the layer is now a regular layer and not a Smart Object.
Resize Regular Layer vs Resiz Smart Object
This example demonstrates the advantage of converting a layer to a Smart Object before resizing.
Each example will follow the same steps. Using the Move Tool, each will be resized to be be very small and will then be resized to be much larger, like its original size.
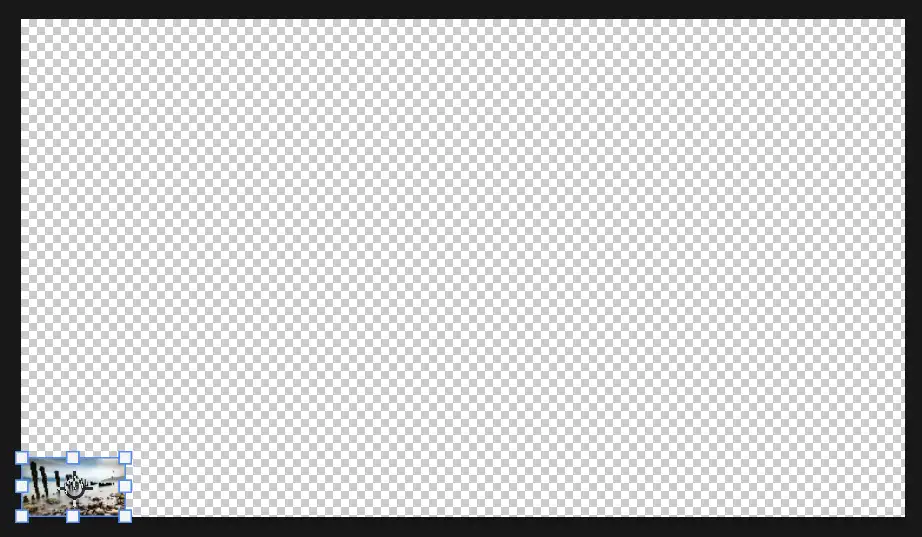
For each of the following two images, I firstly resized the image to be very small, using the Move tool. I then resized the image, again using the Move tool, back to approximately its original size.
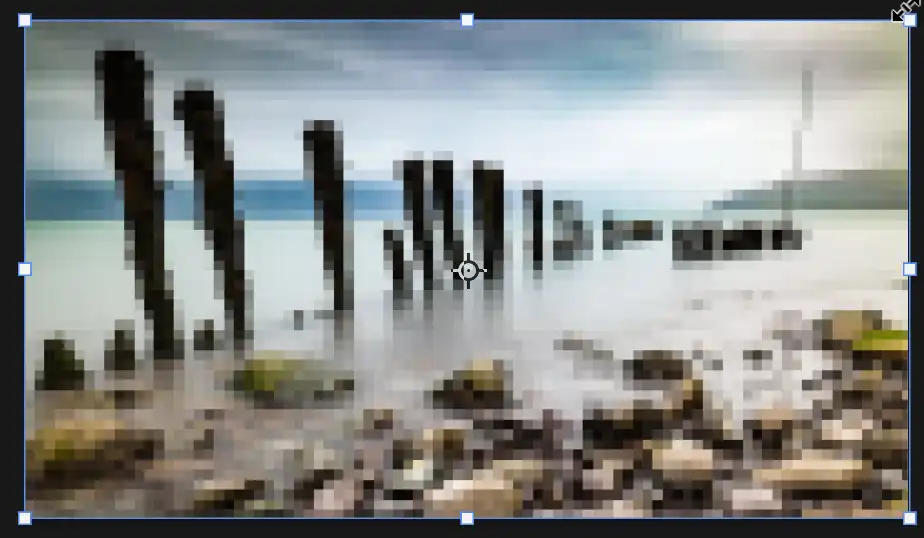
Regular Layer resized back to original size.
This is the result of resizing small, then resizing back to the original size of a regular layer. The resized version shows clear signs of pixellation.
As a regular layer, when it is resized small, the actual pixels are changed. When it is resized larger, it can only work from the resized pixels that were changed. As they are a lot smaller and the resolution was lower, it can only enlarge what was there.

Smart Object resized back to original size.
This is the result of resizing small, then large of a Smart Object. It doesn't matter how small a layer is resized, if it is a Smart Object, or how many times it is resized, it will not lose any of its original quality, unlike what happens when it is a regular layer.
Because it is a Smart Object, the changes are not made directly to the pixels on the layer. When it is resized, it is working with the original size.
Smart Filters
When you use a Filter from the Filters menu on a Smart Object, it will be a Smart Filter. You can either convert the layer first to a Smart Object, or in the Filters menu, you can select Convert for Smart Filters.
One important thing to understand about Filters; if you apply multiple Filters, the order in which they are applied is important. A different order will produce a different result.. See the examples below.
Another consideration with Filters is being able to edit the Filter settings after it has been applied.
With both of the above points, if you apply Filters to a regular layer, the only way to change things is to completely redo the filters.
With Smart Filters it's easy. Double click the Smart Filter in the Layers panel to open the Filter Settings, which will be as you last applied them. Just make your changes and click ok.
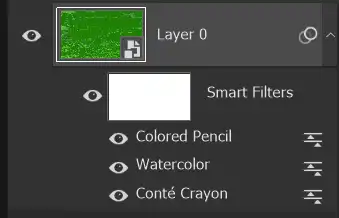
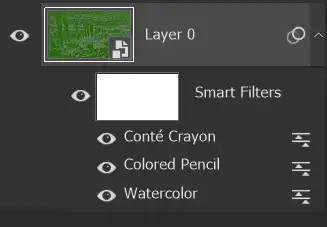
With Smart Filters, simply drag the Smart Filter in the Layers panel to reorder. If you have several filters, this can take a little time to update.
Smart Filter Examples
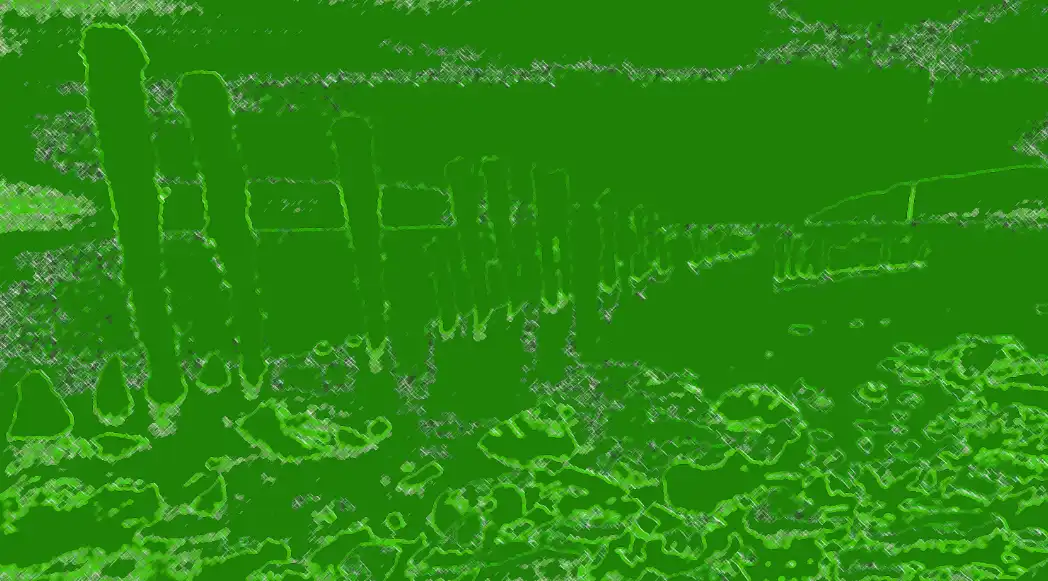
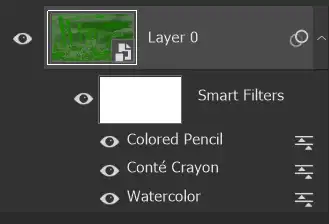
Original image, with no filters applied.
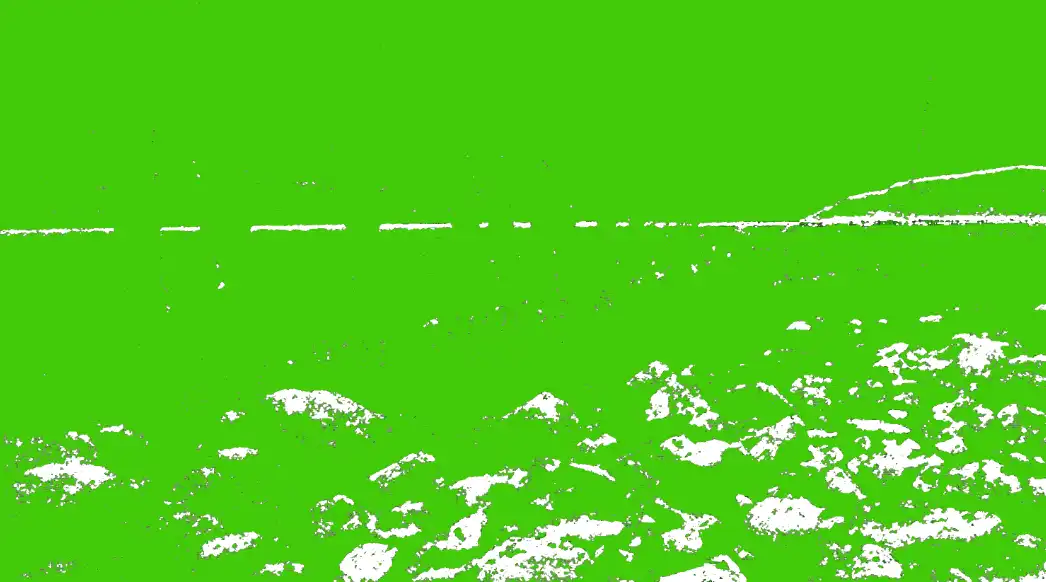
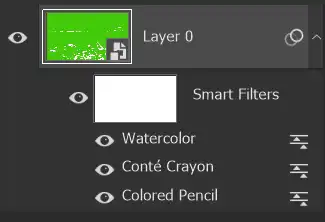
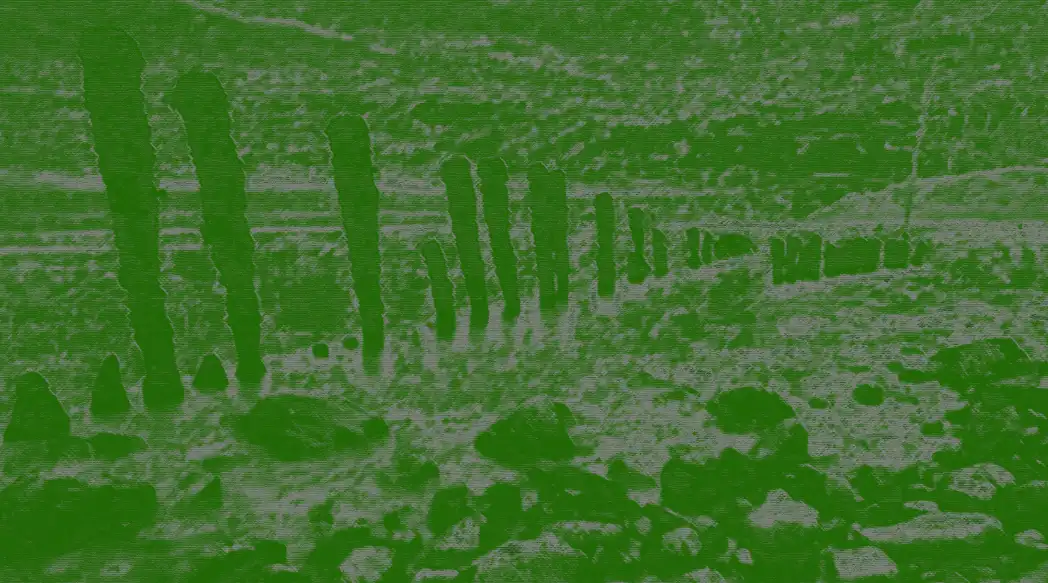
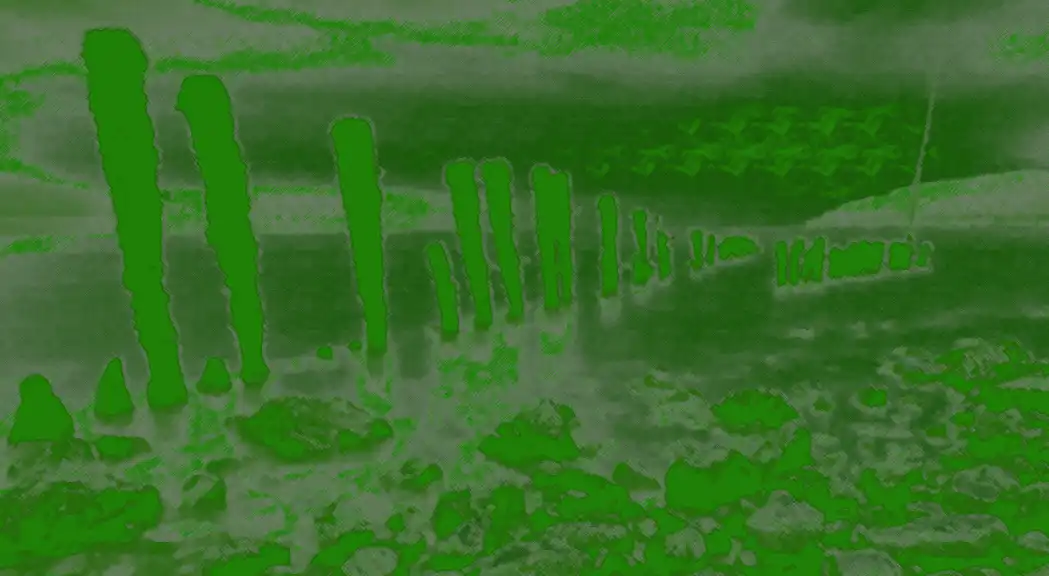
The following examples show the same 3 Smart Filters applied, each time in a different order, which produces different results.
In addition to changing the order, you can also turn each filter on or off, by clicking the eye icon next to each filter.
No settings were changed with any filter, only the order in which they are applied.
How to Edit a Smart Filter and Change Settings
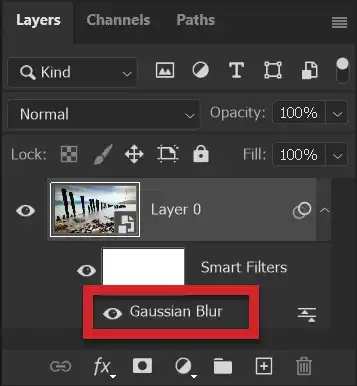
To edit a Smart Filter, double click the filter name. In this example, Gassian Blur.
The filter will open with the settings exactly as when you set, or last edited them.
Smart Filter Blend Mode
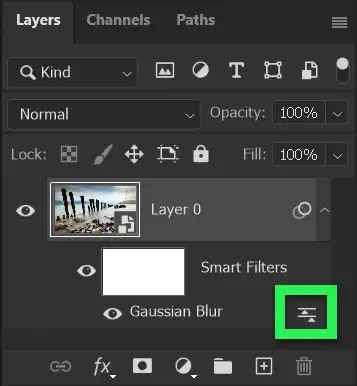
Double click the icon highlighted in green to edit the opacity and/or the blend mode of the filter. Lower the opacity to reduce the effect, although of course, you could also reduce the setting of the filter, although that would give a different effect.
Many different and surprising effects can be achieved by changing the blend mode of the Smart Filter.
Smart Filter Layer Mask
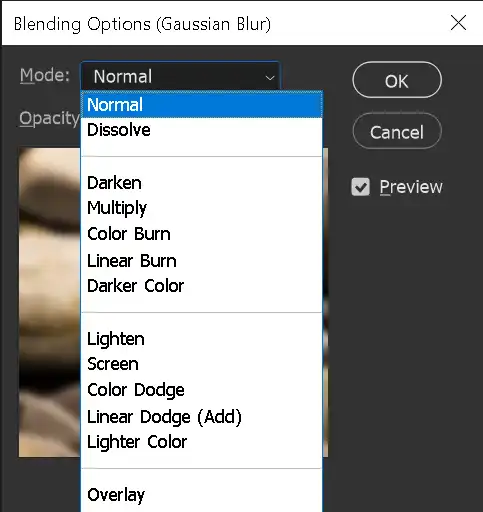
This is not a complete list of the Blend Modes. There are 27 Blend Modes available. If you are curious, try them out!
